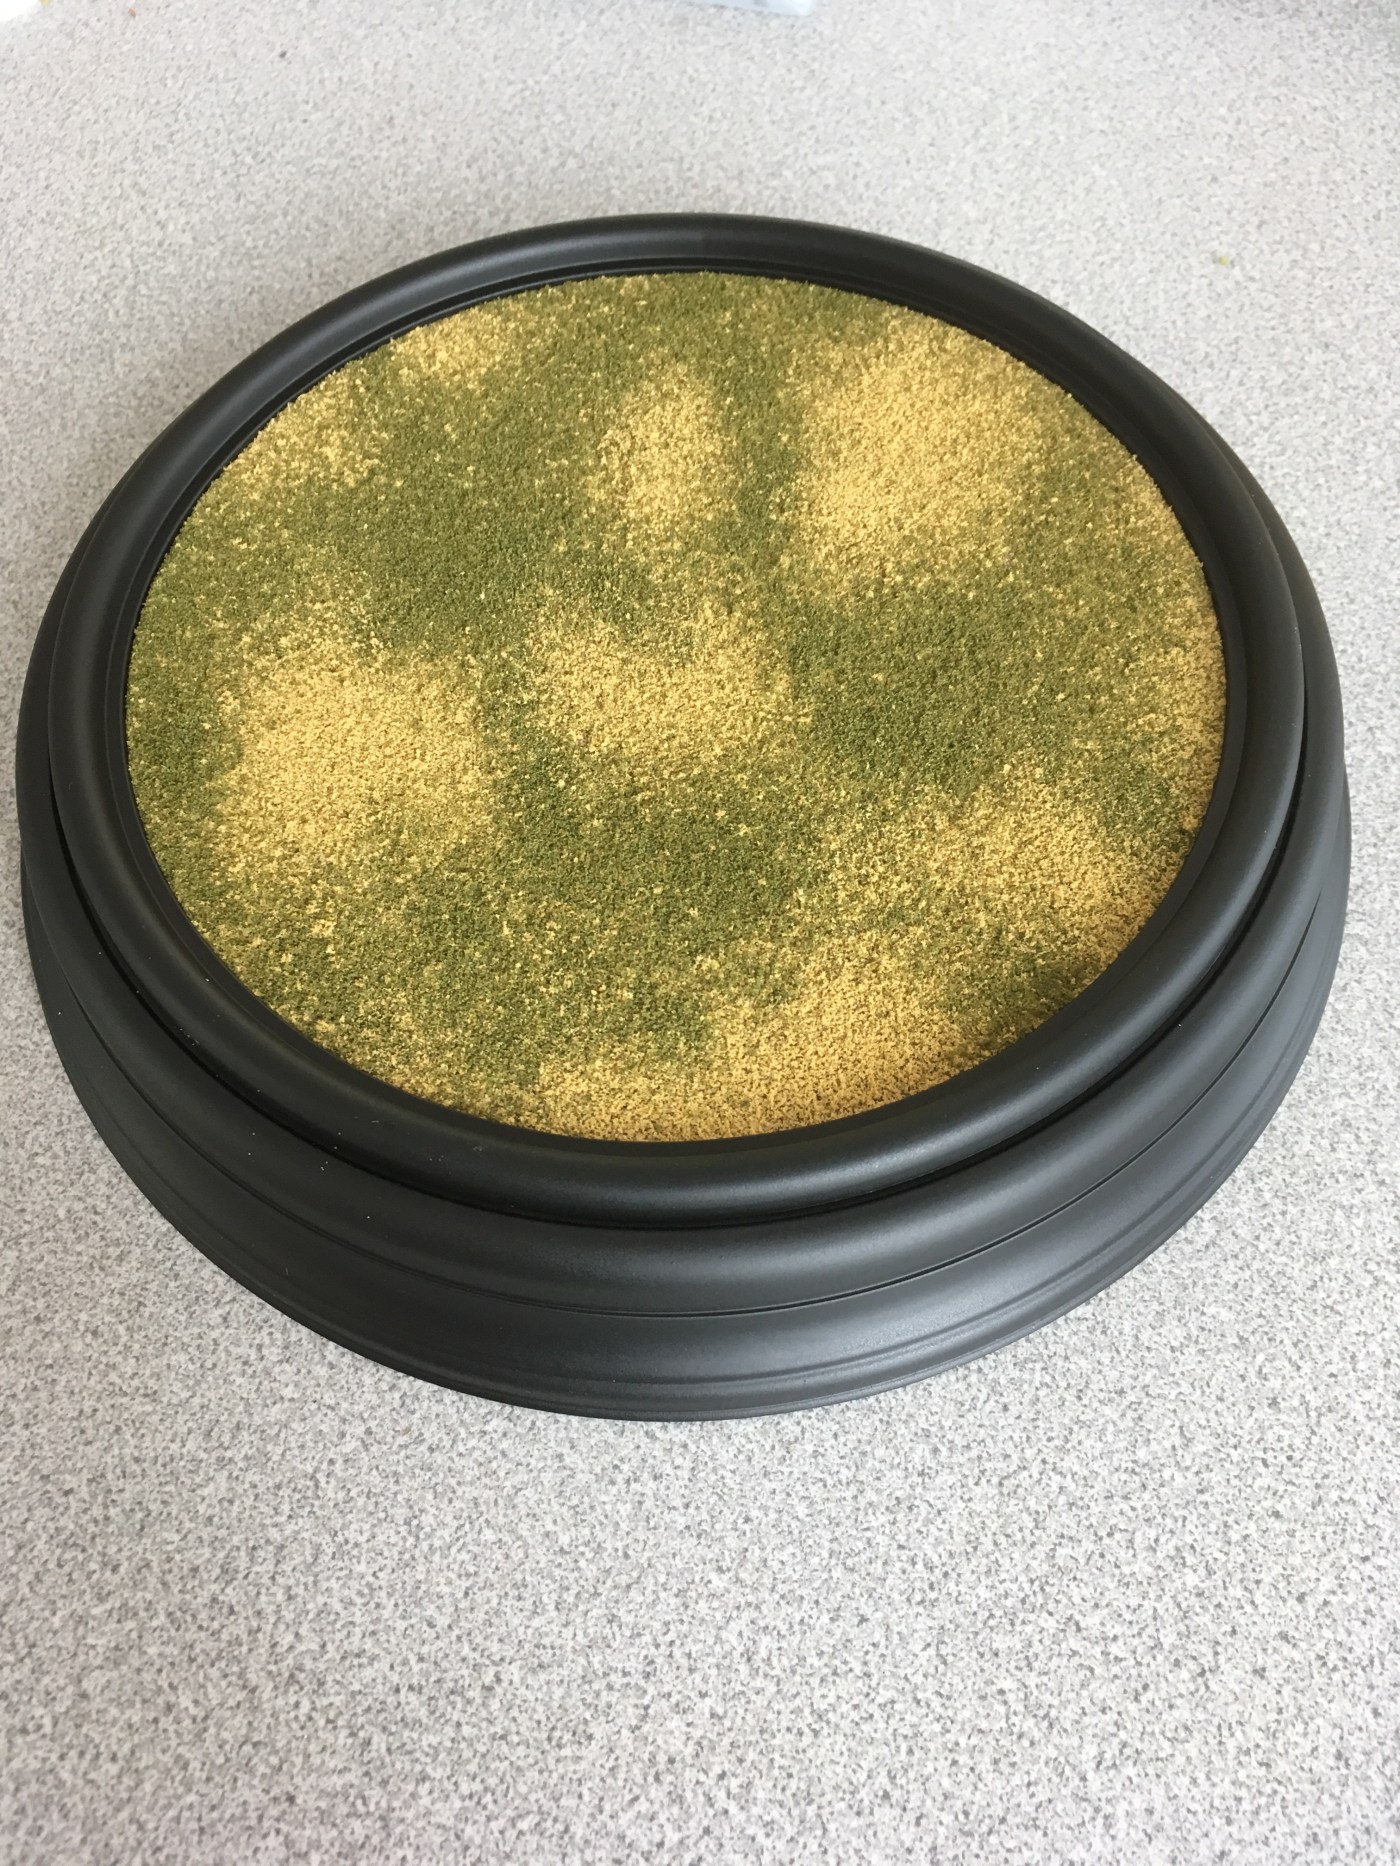
I have written previously about model bases for aircraft. I am still toying with the idea about designing and building bases that include graphics and information but in the meantime I decided to experiment with some round bases with some basic ground cover.
There are a few options for round bases. One is a milled piece of wood that is generally available at craft stores. These are easily available and cheap. However, they also tend to be unfinished and rough. They need tools, supplies and a bit of work to get up to be presentable as a model base. That is in addition to any ground work that the modeler might want to add.
Another option is to use a finished round picture frame. A bit more expensive but far less time consuming. All you would need to do is add ground work and you are off to the races.
I went with option 2 and ran into a slight problem: I could not find any round picture frames! But in my frustration, I came across option 3: Cheap clocks!
The one on the left was $6 and the one on the right was $4. That is pretty much the same price as any wood blank or picture frame. I quickly ran over to the paint section to get some Tremclad flat black paint (combination primer and paint), some foam brushes as well as some brown craft paint to start the ground work.
About that ground work
It has been a long time since I did any model railroading but I am still a fan of excellent model railroad scenery. One of the best out there is Luke Towan at Boulder Creek Railroad. He also does amazing Youtube videos. I wanted to do simple ground work and I followed his techniques while adding a couple of my own:
- Take the clock apart to get the glass plate. I also painted the silver clock in order to finish it with a smooth flat black finish
- Paint the glass or plastic face with the tremclad to get the craft paint something to bite into
- Paint Brown – you do not have to be precise, just get a nice cover with the foam brush
- Glue Mixture (3 parts glue to 1 part water and a drop of detergent) and spread that with a cheap foam brush over the brown glass plate. Luke Towan recommends Mod Podge but I used dollar store white glue.
- Spread dry tile grout – get the sandy kind and cover the plate with it. I used a dollar store spiece shaker to help me here
- Mist alcohol over the plate – get everything nice and wet
- Mix another glue mixture (1 part glue to 3 parts water and a drop of detergent) and mist that over the plate
- Spread fine ground foam onto the surface – this is where you can get as creative as you want. The hobby store has a lot of these available in the model railroad section. Even a small bag will allow you to make a lot of bases
- Repeat steps 6 and 7
- Reassemble the clock and you are done
These are very basic, very cheap and finished in an afternoon. I think they enhance the model without distracting from it. An added bonus: if you keep the clock boxes, you have an excellent way to safely transport them!


Hey, those are nice. I do more model railroading than model airplanes and yes, Luke’s skill and eye are impressive.
LikeLike
I am so impressed with the quality of his videos. A cut above most youtubers
LikeLiked by 1 person
Nice idea! Just to add, there are diorama accessories at local hobby stores. It is a section called “Scene-O-Rama” which has grass, gravel, sand, and asphalt mats that you just cut and glue down as well. They also have small items like brush, tall grass, rocks, etc.
LikeLiked by 1 person
Excellent idea. Of course this now means I have to go out and buy all that stuff to try it!
LikeLike
Great idea, and a nice tip about keeping the box. So many times I’ve gotten to the end of a build and only then had the thought, “Now how am I going to transport this thing?”
LikeLiked by 1 person
I’m going to look into this for sure, looks great for 1:48 aircraft. I wonder how much work would be needed to use the mech in the clock to turn the top of the base via the seconds hand.
LikeLike
Good question! If it’s balanced it could work. It might be a bit “tick-tick” with some clocks…
LikeLike