
This kit was my first attempt at a 32nd scale kit and would ultimately be the first model I entered into a contest. This model was completed in September 2009 and it shows how I did things back then. This model is still proudly displayed in the model case even though I am sure I could do a better job on it now.
The build was done completely OOB:


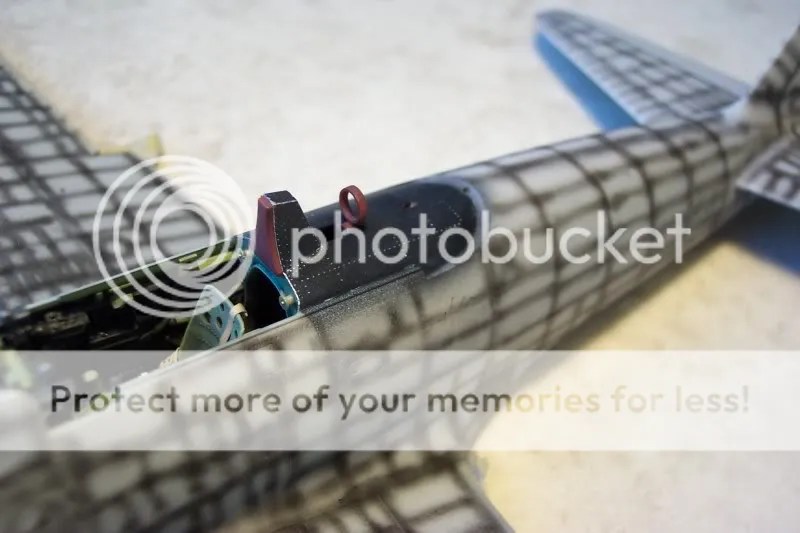
The cockpit with the addition of the chair, guns, firewall and oil tank


The only difficulty I had was with closing up the fuselage. It just would not line up perfectly. I think it had something to do with the bushings in the emprennage. It eventually went together though.
I was not 100% happy with the rust colour on the exhausts for the engine. It looked more convincing when I was mixing it (Hull Red, Yellow, Red) but it just looked brown once the paint dried.


I think the engine and cockpit are as perfect as you can find in plastic. It all fit together like a watch. The engineering and detail are fantastic.
The fuselage sides however… well, they needed a little work. There is a ton of detail right beside the seams so I had to fill and sand as carefully as possible. Not easy. I placed strips of tamiya tape as close to the seams as possible and I used as little filler as possible.
The seams on the fuselage behind the canopy and in front of the tail wheel were not very nice. I used a combination of miliput and Mr Surfacer and very careful wet sanding. I still managed to lose some detail as the panels and rivets are not as pronounced on the top and bottom of these parts. This issue was fixed with Tamiya’s A6M2 Zero.
Anyhow I just love the landing gear with the springs and such. Very cool. I even like the rubber tires but I do not like how well they pick up dust. I am going to have to keep them clean somehow.

I decided to do a light grey panel wash on the cowl and cowl flaps. I think it turned out well but I might rub more off on the sides now that I have taken some pictures.


Preshading! I did dark grey underneath and flat black on the top. This took a lot longer than I thought it would. I also had to keep cleaning the airbrush needle as I was using super low pressure and just a tiny stream of paint. But I like the outcome.
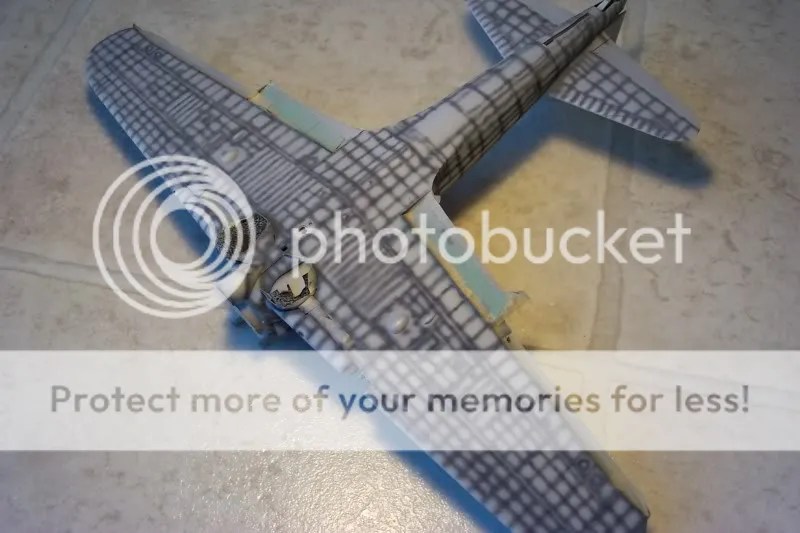

Now to blend everything in. I started with the belly. The wing on the right is almost done and the rest is in various stages of paint.

I find I have more control over preshading than post shading panel lines. Both take some practice until you are confident but I think that preshading has a lot more forgiveness. Its much harder to effectively preshade a dark colour. I am going to do it on the dark green upper surface but it won’t be as pronounced as the light grey under!
What I do is thin tamiya acrylic paint (either dark grey or black) about 50:50 and use my airbrush at a very low pressure. With some trial and error I tend to follow along panel lines, rivet lines, recesses, etc with a tiny amount of paint (very close to the model). I find that I can be steady with two hands on the airbrush. Straight lines are easier with one elbow resting on the table.
You don’t have to be perfect because the next step in the process will erase mistakes. However, the more precise you are, the less time you will take in the next step. Being patient is the most important thing.
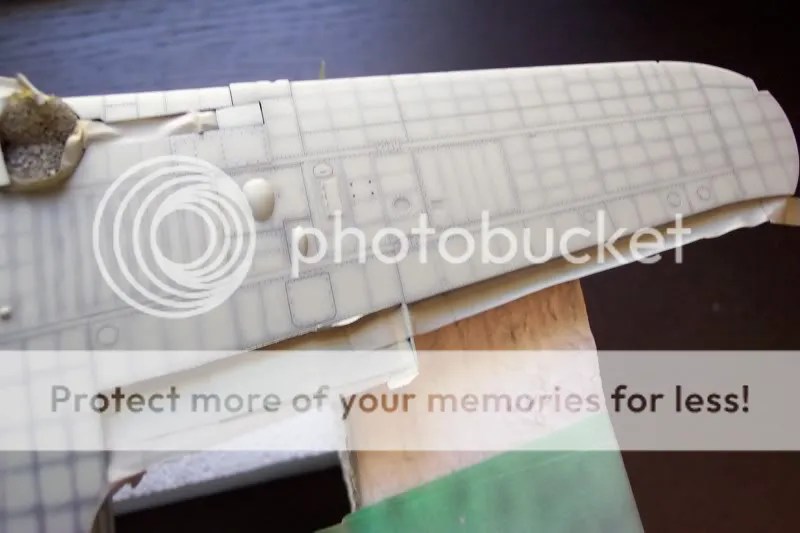
Once the preshade is done you mix up some base coat. I mix the base coat with a minimum of white (if its grey) or flesh (if its any other colour) at about 75% base and 25% white or flesh. Then I thin to about 50:50 with thinner. What I then do is then ‘fill in’ the outlined preshaded panels with this mix. Again, low pressure (less than 10psi) and two hands. I try to paint in the panels as close as I can to the rivet/planel lines so that I have a very thin preshaded line. It looks awful at first because you have a ‘quilted’ effect.
To tone this down and to bring in the magic you pull the airbrush back 6 to 10 inches and you open up the spray. What this does is tone down the preshaded lines and blend in the ‘quilted’ panels. As anyone will tell you, this is the hard part. Not enough blending and you will keep your quilt. Too much blending, and you will lose the look of the preshade. Its better to not do enough blending, rather than over doing it. What I do is blend in sections and take a step back. You can always come back and add more.
To paint the top I used the Tamiya IJN Green 2 in the bottle. One strange thing about it – it is an XF and so I thought it would be flat. This stuff is more semi-gloss. I find that painting with gloss is a little more difficult. Its just hard to see exactly where the paint is going before there is too much buildup. Also – it makes taking photos a little more difficult. Sorry for the quality of the pics this time!


I also tried to fade in the fabric surfaces a little. This involved a lot of masking and I just wanted a subtle variation in the paint. What I tried to do was to paint on the masks and then the overspray would provide the subtle colours.


Inspiring. Might have to give this kit a try. Thanks
LikeLike
It is a real pleasure to build. Grab one when you see one.
LikeLike