
I’ve had these Tamiya Wildcat kits on the shelf for a long time. It seemed that every time I considered building one, something else bumped it down the pile. However, I read that Eduard was planning to release a series a new mold Wildcats in 48th scale sometime in near future. If the Eduard Wildcat is anything like their amazing Hellcat, I know that my poor Tamiya Wildcats would be left behind. That would be a shame.
I decided to try some new things with this build:
- Multiple builds of the same kit
- AK Interactive Real Colour Paints
- Starfighter Decals
Chances are I will not build another Tamiya Wildcat when this build is finished. As well, these are relatively simple kits so building two at the same time will not be too difficult or time consuming. Building multiples also allows me to practice new skills and apply lessons learned very quickly.
About the Kit
The -4 was the last major variant of the Wildcat and served the US Navy and Marines from Midway to the end of the war. So there are a lot of options for us builders. Other than that, what can I say about these Tamiya Wildcat kits that has not already been said? The F4F-4 is a nice, simple kit from Tamiya from the 1990s and still holds up today. The only issues with the kit are:
- the full cockpit floor;
- the join of the wing to the fuselage;
- the sliding canopy will not ‘sit’ correctly in the open position; and
- the fuselage is festooned with over-sized rivets.
I did not bother cutting the floor. Once the cockpit is installed and the fuselage is buttoned up, you definitely won’t see your work here. As for the wing join, on one kit the fit was perfect but on the other it needed to be ‘finessed’ with a clamp.
I decided to remove the rivets. They are very apparent on the model and would have interfered with the decal application later on. When deciding whether to keep them I went for my Wildcat pictures. This one is of the F4F-3 at Chicago O’Hare Airport. If you click on a few of these pictures you can see the rivet detail. While they are apparent up close, they are not visible at a normal viewing distance. They are not as pronounced as on Tamiya’s Wildcat.


Cockpit


Once the cockpit is inside the fuselage you really can’t see much of it. I did not cut out the floor of the Wildcat but I added some Ultracast Wildcat seats. These come in a pair and have great seatbelts molded on. They are practically a drop fit for the original Tamiya seat. The basecoat was Gunze interior green and I masked the panels for a layer of Tamiya Nato Black followed by some dry brushing.
Engine
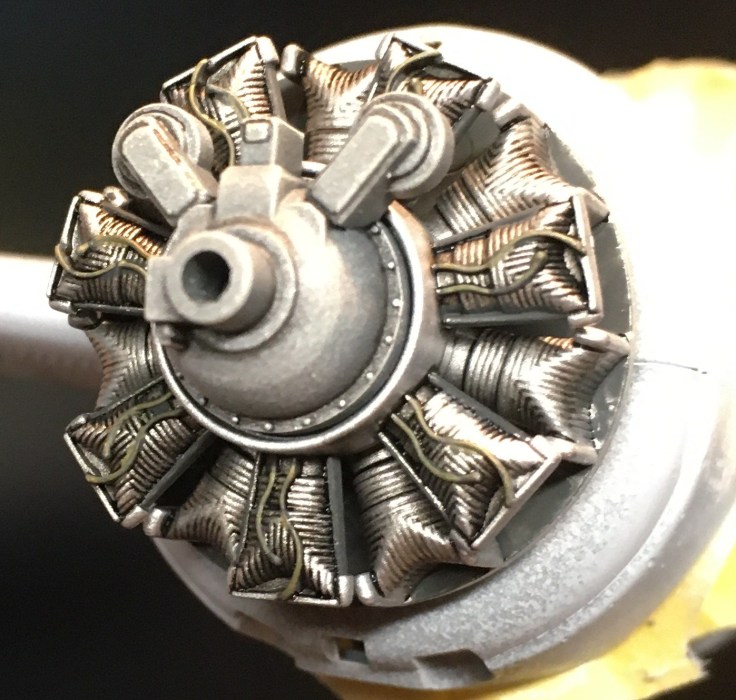
For the engine I decided to stay with the kit parts only. And to tell you the truth, with careful painting, some washes and some dry brushing, this kit engine looks the part.
Wheel Wells
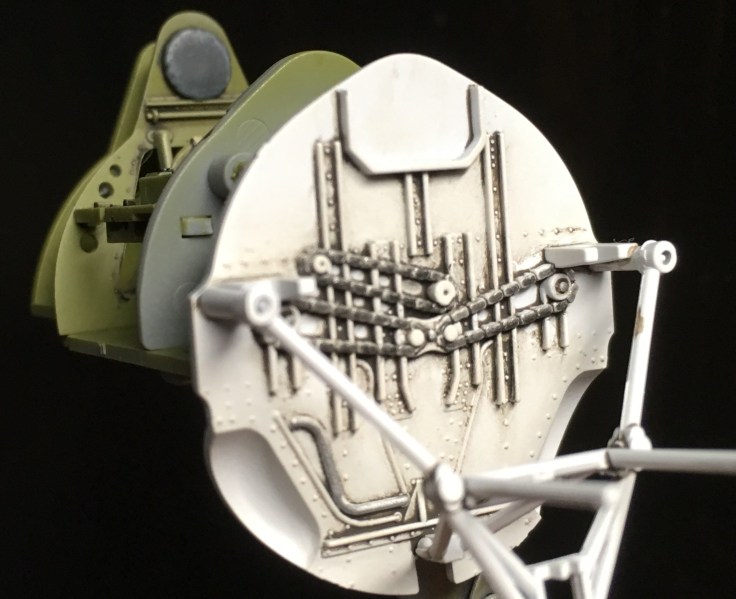
An interesting fact about the Wildcat: the landing gear was not operated by electrical motors or hydraulics. These were hand cranked by the pilots. Imagine getting off the carrier with a full load, maintaining speed and heading, watching the airspace around you and having the crank the gear up. I imagine that was not very easy. The “crank” mechanics are somewhat replicated by the kit and were fun to paint and pick out. They are visible on the model if you know where to look!
The Rest of the Build.
I did not go crazy on these kits as I wanted to get to painting. I filed out the machine gun holes and installed some hypodermic needles as gun barrels. I only had to set up a little strip of evergreen styrene to get them to line up properly.

Painting
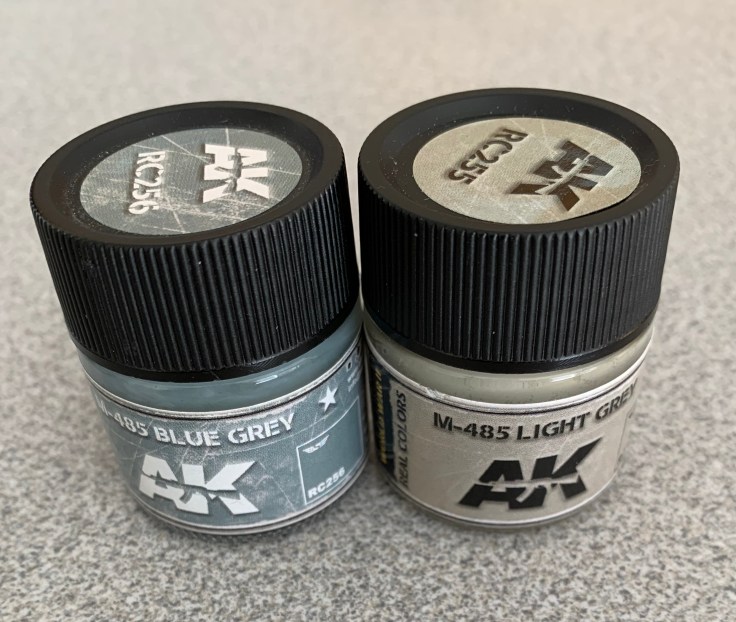
These AK Interactive paints are lacquer based acrylics and will not react well to alcohol based thinners. That said, any lacquer thinner will work. Since I was going for Midway Wildcats, I had to get paint for a light blue upper and a grey lower.
This is where I ran into my first snag: The AK paint seemed to be too light. I compared it to my Birdcage Corsair (painted with a mix of Tamiya paint) and it was definitely a lighter blue. I also checked out some builds on the internet but these were all over the map in terms of the colors other builders used.
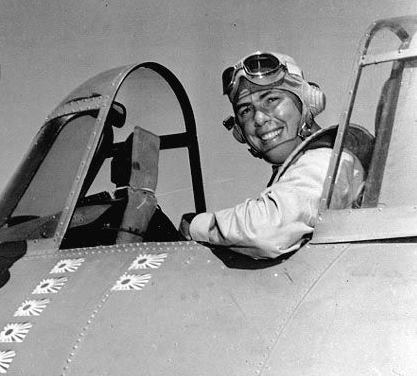
Maybe there is no consistent match because maybe the paints used were different from plane to plane? Now I know that it is difficult to rely on color photos but check out these period pictures:


The AK Paint looks closer to F3 on the left. F-15 on the right seems much darker.
Color aside, I really liked using these paints. They thin easily and shoot through the airbrush wonderfully. They also go on with a gloss that is nice enough to put the decals on. A definite plus. What sold it for me was when I made a little mistake and needed to sand the fuselage. I polished the surface to get it as flat as possible and then simply reapplied the paint over the sanded section. The result was perfect blending. I am definitely going to be using these paints again.
Starfighter Decals
I got this set of Starfighter Decals Wildcats at Midway at a recent model contest and I am sure glad I did:
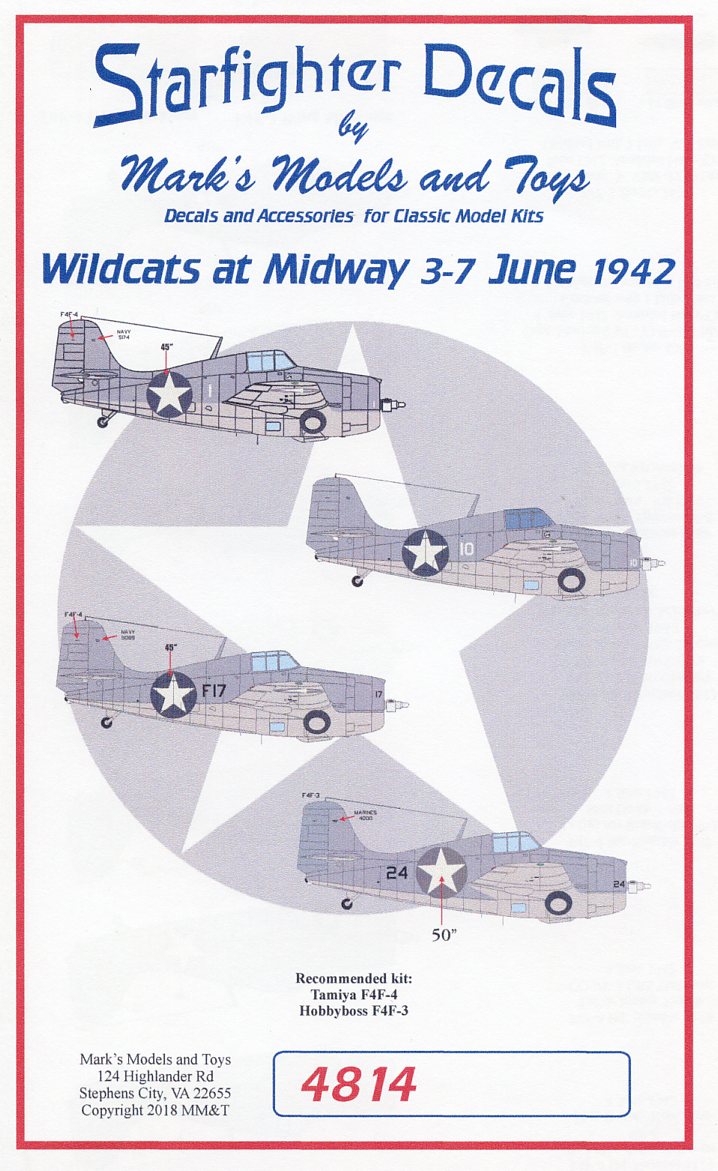
There is an excellent value for the price. This set provides me with enough decals for 2 F4F-4s and a F4F-3. That is a little over $3 per model. More importantly they are great decals. They are printed properly and they all went on consistently and only needed a little microsol to get into the panel lines. I recommend these decals and I will be using more Starfighter decals in the future.
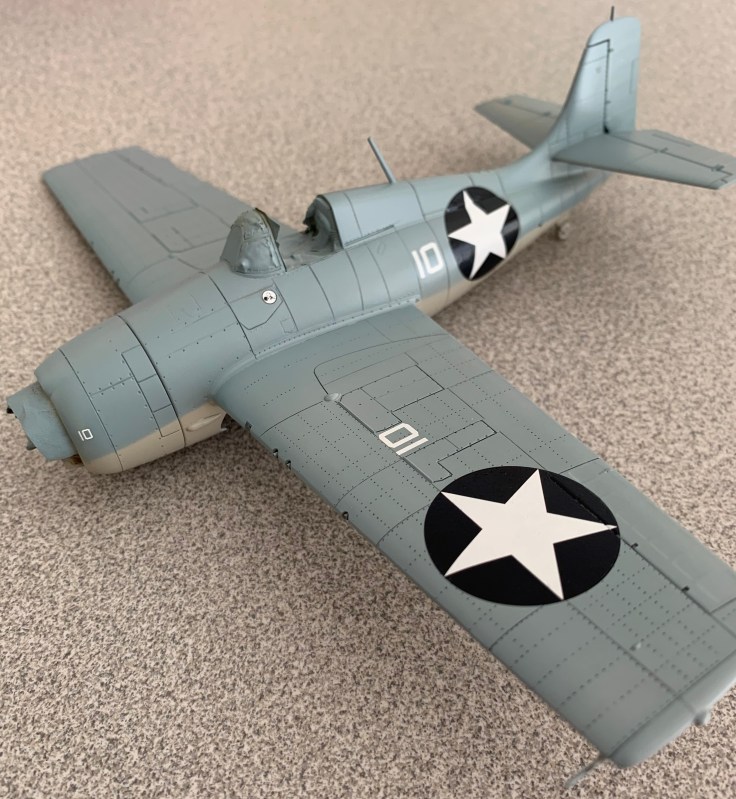
Final Builds
E.S. McCuskey’s Wildcat 21
Scott McCuskey initially flew dive bombers and later Wildcats from the USS Yorktown. He participated in the Battles of the Coral Sea and the Raid on Tulagi. However, it was McCuskey’s actions on June 4, 1942 that are very noteworthy.
From the Find A Grave memorial site:
“After a scramble launch from the USS Yorktown, [McCuskey] personally intercepted 18 Japanese Val dive bombers approximately 10 miles from his ship. Pressing home his attack, he closed within point blank range of the aircraft in the first chutai, to avoid colliding with the second chutai, shooting down 3 on his initial pass and causing the formation to break up. He then engaged numerous “Vals”, who had dropped their bombs on their target, in a wild dog-fight until expending his ammunition, at which time he had two “Vals” on his tail. He was able to break off the engagement by diving for the water. He was credited with 3 kills and 3 probables during this engagement.”
Later in the day he added two Zeros to his record. That makes for quite a day. By the end of the war McCuskey was designated an “Ace”, with 14 confirmed kills and earned two Navy Crosses, four Distinguished Flying Crosses and eleven Air Medals.


Arthur Brassfield’s Wildcat 10

Prior to serving as a Wildcat pilot aboard Yorktown, “Art” Brassfield was a midwestern school teacher. He participated in the battle of the Coral Sea with distinction by shooting down two Japanese planes. He shot down four more during the battle of Midway. From one of his Navy Cross citations:
“In company with four other friendly fighter planes, Lieutenant Brassfield intercepted a formation of 18 Japanese dive bombers approaching the YORKTOWN. Pressing home persistent and aggressive attacks in the face of fierce opposing fire, he personally destroyed three of the enemy craft and damaged two others, thereby contributing such effective resistance that only a few of the 18 planes were able to get through to our ships. Later, during the same action with the enemy, he vigorously attacked and shot down in flames a Japanese dive-bomber which was strafing survivors of a friendly Torpedo Plane which had made a forced landing at sea.”
There is something about that last one that I really enjoy. By the end of the war he was credited with 6.33 kills. He stayed in the Navy and enjoyed a successful career until he retired in 1969.


Final Thoughts
I love finding out a bit more about the pilots who flew these Wildcats. They were up against some pretty depressing odds but held their own. In many ways the Wildcat was inferior to the Zero when they met in the Pacific. But in some ways it was superior. The US Navy quickly learned how to maximize these advantages to allow their pilots to hold their own against the Japanese. When Wildcats fought as a team and did not enter into a 1 on 1 turning fight, they could being a lot of firepower onto a Zero. Four or six .50 caliber machine guns would make quick work of a lightweight unarmored airplane.
I really like the AK paints even though they are a departure for me and I will be looking for more Starfighter decals. I am not so sure I will be building multiples in the future. While I think it is great to get two models done instead of one, I found at times I was just rushing both builds to get to the next step. This might have been because I wanted these done for the upcoming NoreastCon show.
Let me know what you think of these models or the Wildcat in general. As a fighter, it was not the prettiest out there but it has a certain ‘underdog’ appeal to it. I’d like to hear about experiences building multiples of the same kit as well.

I think that blue-grey looks good; as I understand, it was mixed for each application from “50% Navy Blue and 50% Gull Grey” so its only natural to have variations in the color.
The Wildcat is one of those types that’s objectively mediocre, yet so many great things were accomplished with it. As you said, underdog appeal!
I remember seeing a number of pilot interviews from years ago where they talked about their planes; after going on at length about all of its deficiencies they were asked if they’d rather have Zeros, and to a man they said “no way!” For all its shortcomings, it had good guns and radios, pilot armor, self sealing tanks and was reliable and rugged.
LikeLiked by 2 people
I didn’t think of that – the paint mix being a guideline! That explains a lot with these pictures.
LikeLiked by 1 person
Nice Wildcats! I generally build in batches, I find it is much more efficient that way.
LikeLike
I’ve only started using those AK Real Color paints in the past year and really like them. The only thing that will have me using other brands is if AK don’t make the shades I need.
On the matter of batch builds, I’ve done it a bit and it is more efficient in many ways. However, like you, I find myself cutting corners and not being as rigorous as I should be in ensuring everything is done as well as it should be. So even though I have a number of models of the same subject to make (having just ordered three of the new KP MiG-19) I will try to go back to making one model at a time and doing it right.
By the way, nice looking F4F. I made one of the Airfix 1/72 F4Fs last year and it is a really neat little kit making up into a very nice looking little model.
LikeLike