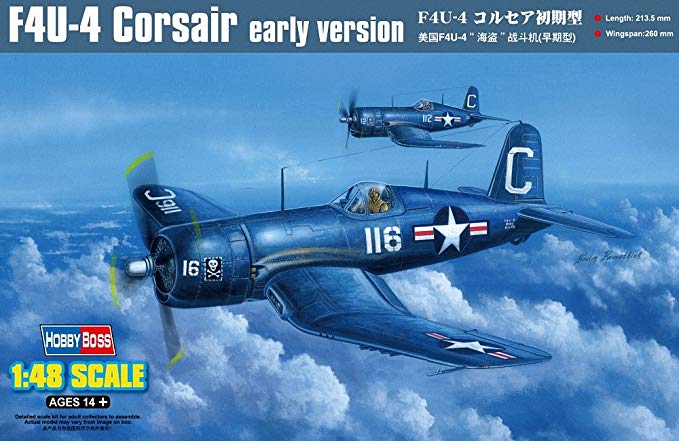
Do we finally have a Corsair -4 worth building?
In the wonderful world of 1/48 models, when it comes to Corsairs there are two alternatives: Tamiya and Hasegawa. These two companies seem to have split the variants simply: Tamiya has all the early war Corsairs while Hasegawa has the late war and post war variants. Every one of these kits, while not perfect, makes a quality model with minimal fuss and are widely available.
…Except for the F4U-4
Despite it being the ultimate version of the fighter (later variants would more accurately be described as strike fighters or fighter bombers), there just doesn’t seem to be a go-to for the -4 Corsair.
Hasegawa makes/made/makes one but it is very old with raised panel lines. If that doesn’t bother you or if you want to invest some quality time with your scriber, I believe the shape and dimensions of the model are good. But the cockpit and other details would be minimal compared to today’s models. Also, I believe this isn’t originally a Hasegawa kit either – its an old mold bought by Hasegawa years ago.
Academy sells a -4 but it has had mixed reviews. I can’t say much about it because I have not built one (yet). I’ve read there are some shape issues on the fuselage around the canopy. But these can be had very cheap.
Tamiya does not make a -4 but one can make a -4 out of a -1D Corsair with the help of a CMK conversion kit. That was what I did when I made my first -4 Corsair:
")


")

And wow… what an unbelievable chore that was. The resin shrunk and did not fit in key areas (flaps and cowl front!) and I had to buy ultracast flaps in order to get any flap to fit. The end result was a solid “meh” but I got my -4 into my collection:
")


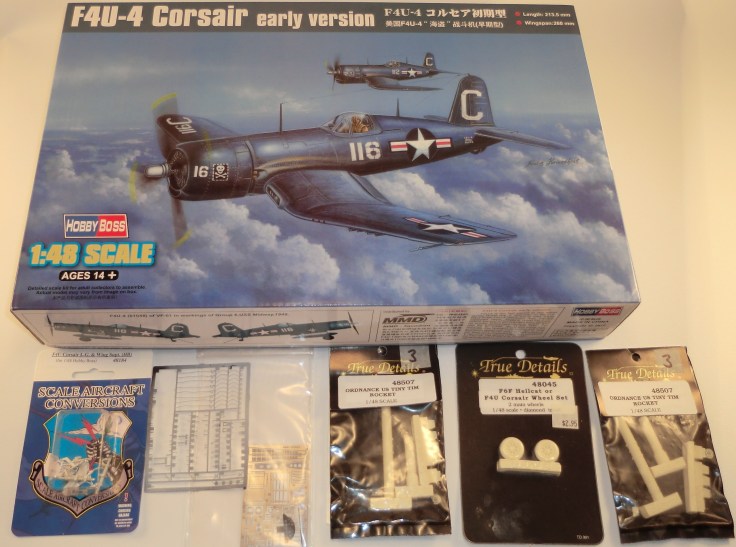
But then Hobby Boss stunned the world with their announcement of the definitive F4U-4 in both early and late models! I of course signed up for one and swallowed hard at the asking price. When it got to the top of my build pile, it was supposed to have a True Details Cowl and Prop. However, after ordering and receiving 2 sets of warped parts, I just stayed with the kit parts. I decided to use a set of Fine molds styrene seatbelts as well as a Scale Aircraft Conversions F4U-4 metal landing gear.
Cockpit
The cockpit floor and consoles went together very easily and had lots of molded on detail. A drybrush made this detail pop. I added some space PE handles:
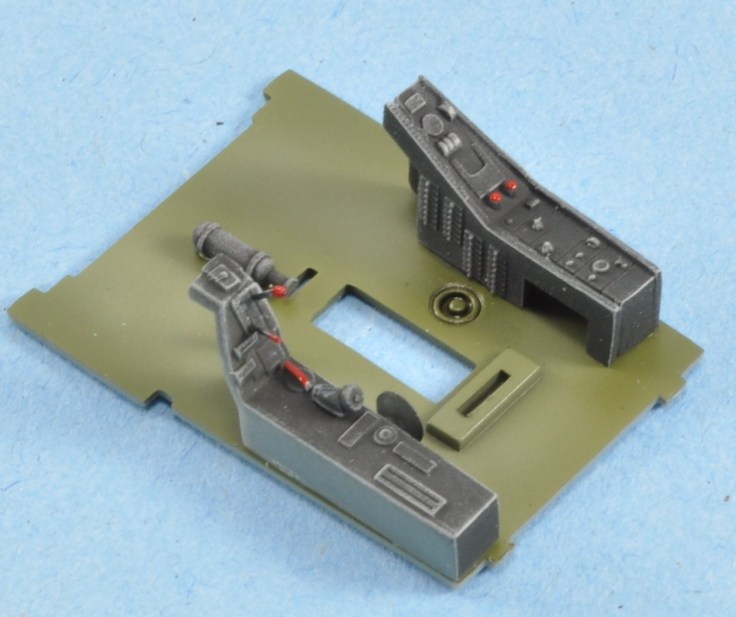
Sidewall: The framing is from the kit but for some reason the kit did not include a throttle quadrant or a flap setter. I added those from the Eduard Set:
The finemolds belts are very nice and I think they really stand out. I imagine they would be even better if glued to styrene but these ones are on the PE seat. I replaced the instrument panel with the old Eduard one for the Hasegawa F4U-4…. its not their best IP but a little nicer than having to cut out all those instrument decals!


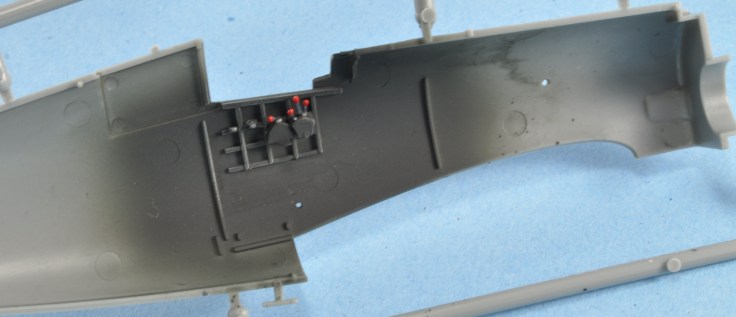
One bummer is that I spent a considerable amount of time painting and shading the firewall….. and not one bit of it will be visible in the end!
Oh well.
The “turtle deck” in this kit comes as a choice for the early or late version (there is a little ‘bump’ at the top of the late version. I am going to keep this late version and see if I can incorporate it onto my next Hasegawa build as those don’t seem to have the necessary bumps.
Engine
Wow! This is pretty much the hands down most detailed 1/48 kit engine I have come across. The only thing I did was add the ignition wiring and paint. Most of it fit like a glove but there were a few adjustments needed. I drilled out the ignition wiring collar to accept all the wires and I drilled out the exhausts. In these pictures they are not quite “rusty” yet, that was done later.
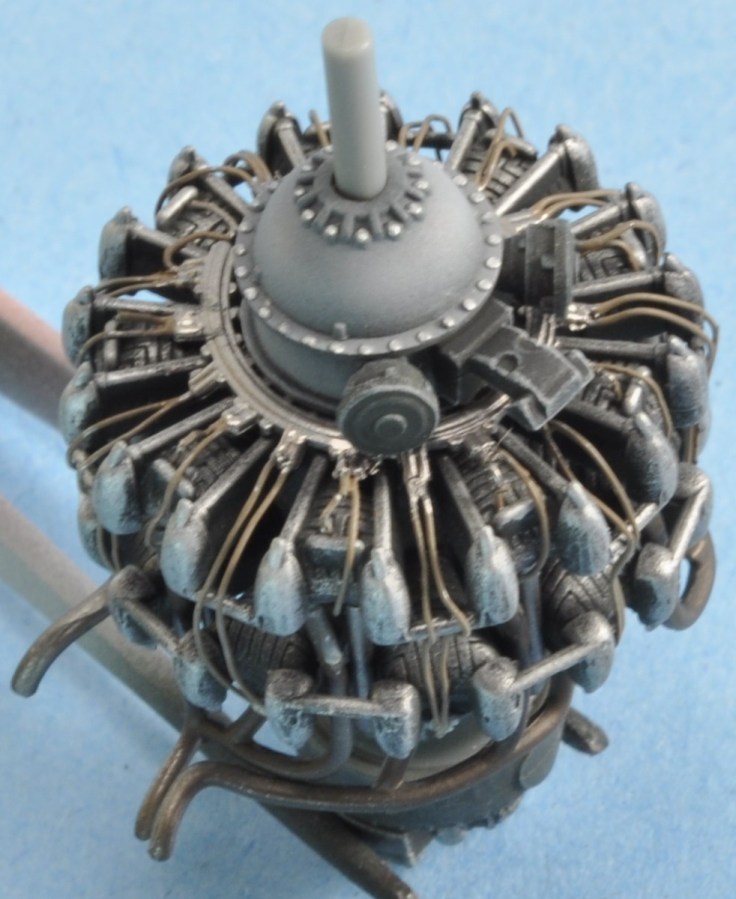
You won’t see the detail at the back of the engine because once it is installed, it is fully contained in the fuselage… so I didn’t pay too much attention to it.
Gun Bay
This is no aftermarket set. The kit comes with a well detailed gun bay in both wings. All I did here was drybrushing and a wash – neat little feature. I couldn’t figure out how to get the ammo to “lie down” flat. However, once it was sandwiched in the wing, it all worked out.


Landing Gear
The Scale Aircraft Conversions set for this kit is very nice and very easy to work with. I did not have a lot of experience with metal gear but this set required little cleanup and was a drop fit for the kit parts. The kit features a multi-part tail gear build and the metal pieces from SAC worked perfectly:
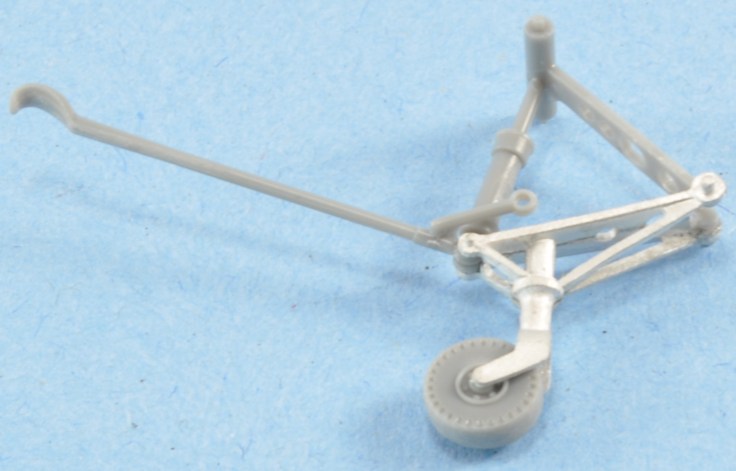
The mains are in two parts – fit is perfect. Overall the SAC landing gear is an improvement over the kit parts and appear very durable.


The Scale Aircraft Conversion legs are very nice and very easy to work with.
Paint and Decals
I decided to finish this F4U-4 with Jesse Brown’s markings. The paint is Lifecolour. I did two different shades of flat to detail the fabric sections. I used a light grey wash to bring out the details. I am not sure I will go that route again:


Such a beautiful and ultra cool model! The F4U-4 is my favorite warbird if all times and you did a remarkable job with this kit!!
Can you explain how you did the ignition wiring please?
I’m getting back into model building after many years & I am just curious as to your technique & resource. Was the wiring something you devised yourself?
Thanks so much!
LikeLike
Thank you Bobby! The ignition wiring is just lead line (used for tying fly fishing lures) and you can get it at better fishing stores or online. I like it because it is very easy to work with and bend and it holds it’s shape. As for resources, you just need to find some good images of R-2800 engines to see where the wiring goes. The hobby boss corsair engine comes complete with a wiring harness, so it is easy. I have another blog entry about making radial engines with nice pictures and the lead line if you are interested.
LikeLike
Thanks so much for the reply!
Just yesterday I found your blog entry about the wire and your technique. I had never even considered lead wire…it was just a failure of imagination on my part. LOL!
I have your blog page saved and have been reading through many of your posts, they have been very helpful!
Thanks again, I really appreciate it!
LikeLike
Hey, I have had a bit of trouble with the True Details correct cowling that came with the model kit I purchased. The pour ring attached to the front cracked BADLY as I was cutting it away, so badly that it cracked the cowling in two separate places…just a poor setup from them imho. Another thing I noticed was that the “chin” intake was badly shaped & looked as if it had the corners scraped out with a dull knife, I was going to have to fill the corners with putty & reshape them. It also had DEFINITE superglue residue & a fingerprint in it…and this was a factory sealed package. I was luckily able to find a Loon Models correct cowling and am waiting for it to arrive from an eBay seller. Hoping this turns out much better! I am seeing so many posts on problems with True Details accessories being warped and brittle, do you reckon they are having issues across the board?
LikeLiked by 1 person
I tried true details twice and all I got were deformed cowlings. I figured they were pulling these out of the Molds before they were done. But they also had rough details. I ended up using the kit cowl despite it being a bit off. I think there is some great uses for resin for seats, cockpits and other little bits. But for things like cowlings, a lot more care is required.
LikeLike
Yeah, I agree wholeheartedly! I’m going to try this one by Loon Models to see how it works. It has no casting ring & is finished out so hopefully it’s better.
LikeLike
David R Lentz (email address below)
Thanks. You give a nice head’s up to a poor aspiring novelist, a hopeful classical vocalist, and a starving artist. You can give my email to other modellers.
Have you seen Trumpeter’s 1:32nd-scale kit of the late-war Chance Vought F4U-4 Corsair USN Carrier-Based Fighter-Bomber? Or Tamiya’s 1:32nd-scale kit of the Chance Vought F4U series Corsair USMC/RN-FAA/USN Fighters?
LikeLike
Hi David – Glad to help. As for the Tamiya big Corsair, I have built it and it is very nice: https://modelairplanemaker.com/2018/10/28/tamiya-1-32-f4u-1d-corsair-build-review/
LikeLike