When it comes to building models I think most of us strive to develop the skills that will get us consistent results with few surprises along the way. The idea being that consistency will lead to a lot of successfully completed models on the shelf. But it can also lead to that feeling of rinse and repeat. A modeling rut, if you will.
To break from the rut, sometimes we have to take chances.

I was feeling bold after my successful foray into semi-serious weathering on the P-38. Normally I am not a huge risk taker when it comes to making models. Taking a risk may lead to a pleasant result but it could just as easily mess up something beyond fixing. Yes, the whole point of this is to enjoy a relaxing hobby no matter what the result. But I don’t want to spend a hundred hours on a model only to mess it up at the very end and toss it.
However, I was feeling like I was in a bit of a rut. So, I was looking to build something a little different and I wanted to try some new things (which meant taking some risks). For this build I decided to do the following:
- Build a model from a relatively new and unknown company
- Build a biplane; and
- Rig a biplane.
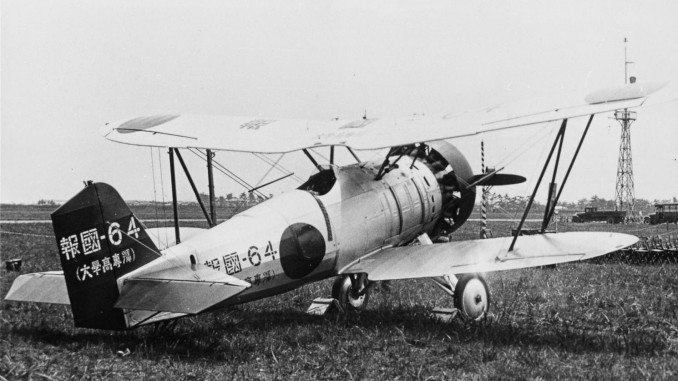
This would be my second attempt at a biplane. Years ago I did one because that was what all the cool kids were doing. It was a 1/48 Eduard Fokker D.VII fighter that I specifically chose due to the lack of rigging. I quickly discovered the toughest aspect of biplanes when I messed up the wings rather badly. Turns out I was not one of the cool kids. This time around I did a bit better. First, lets take a look at the real airplane.
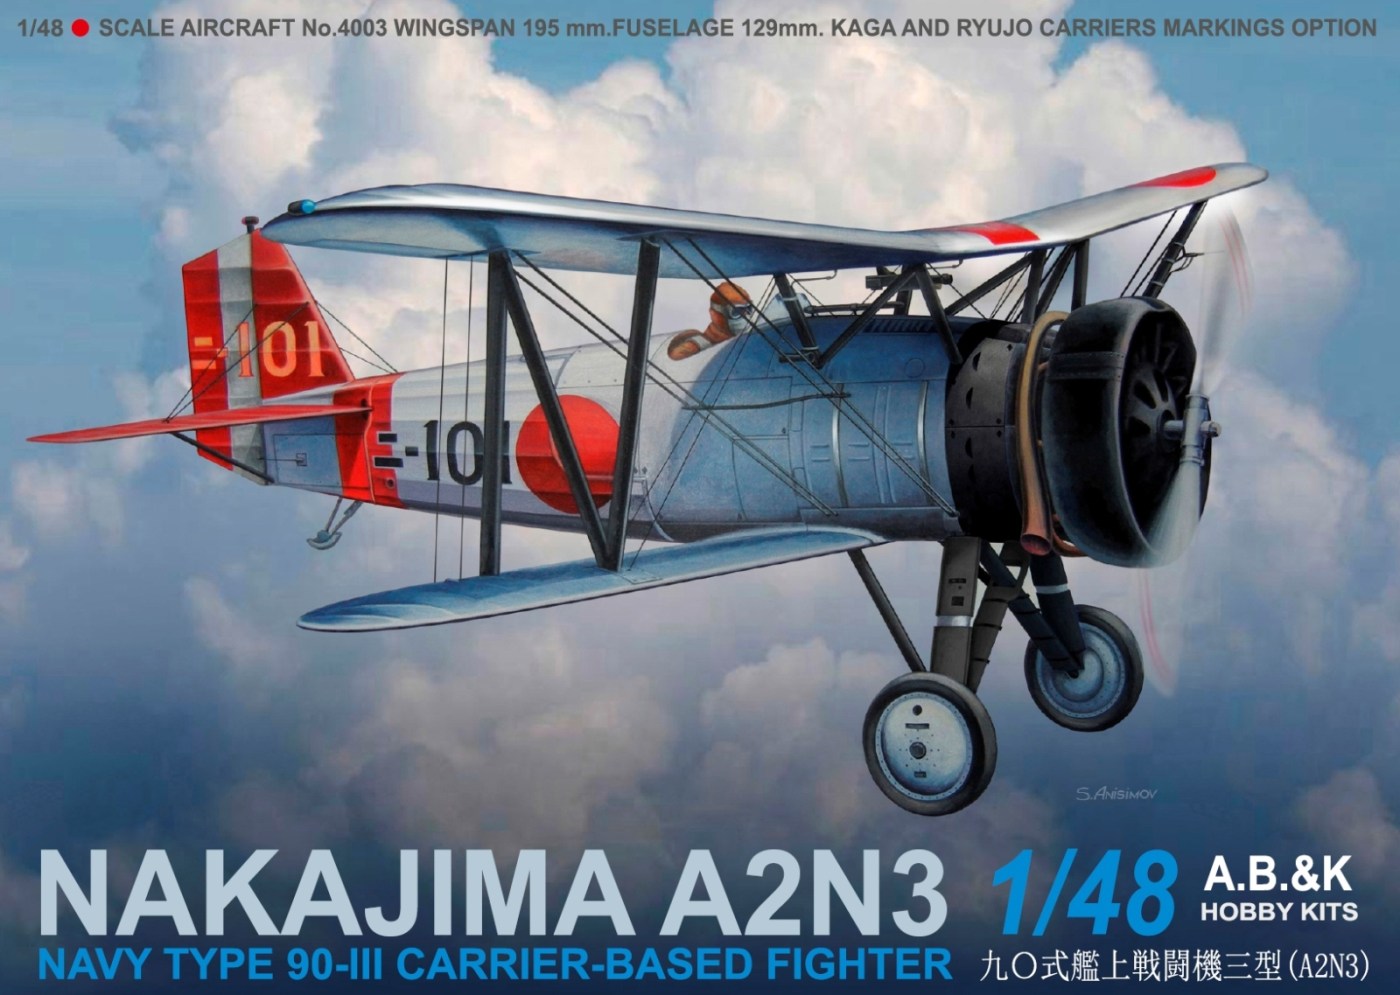
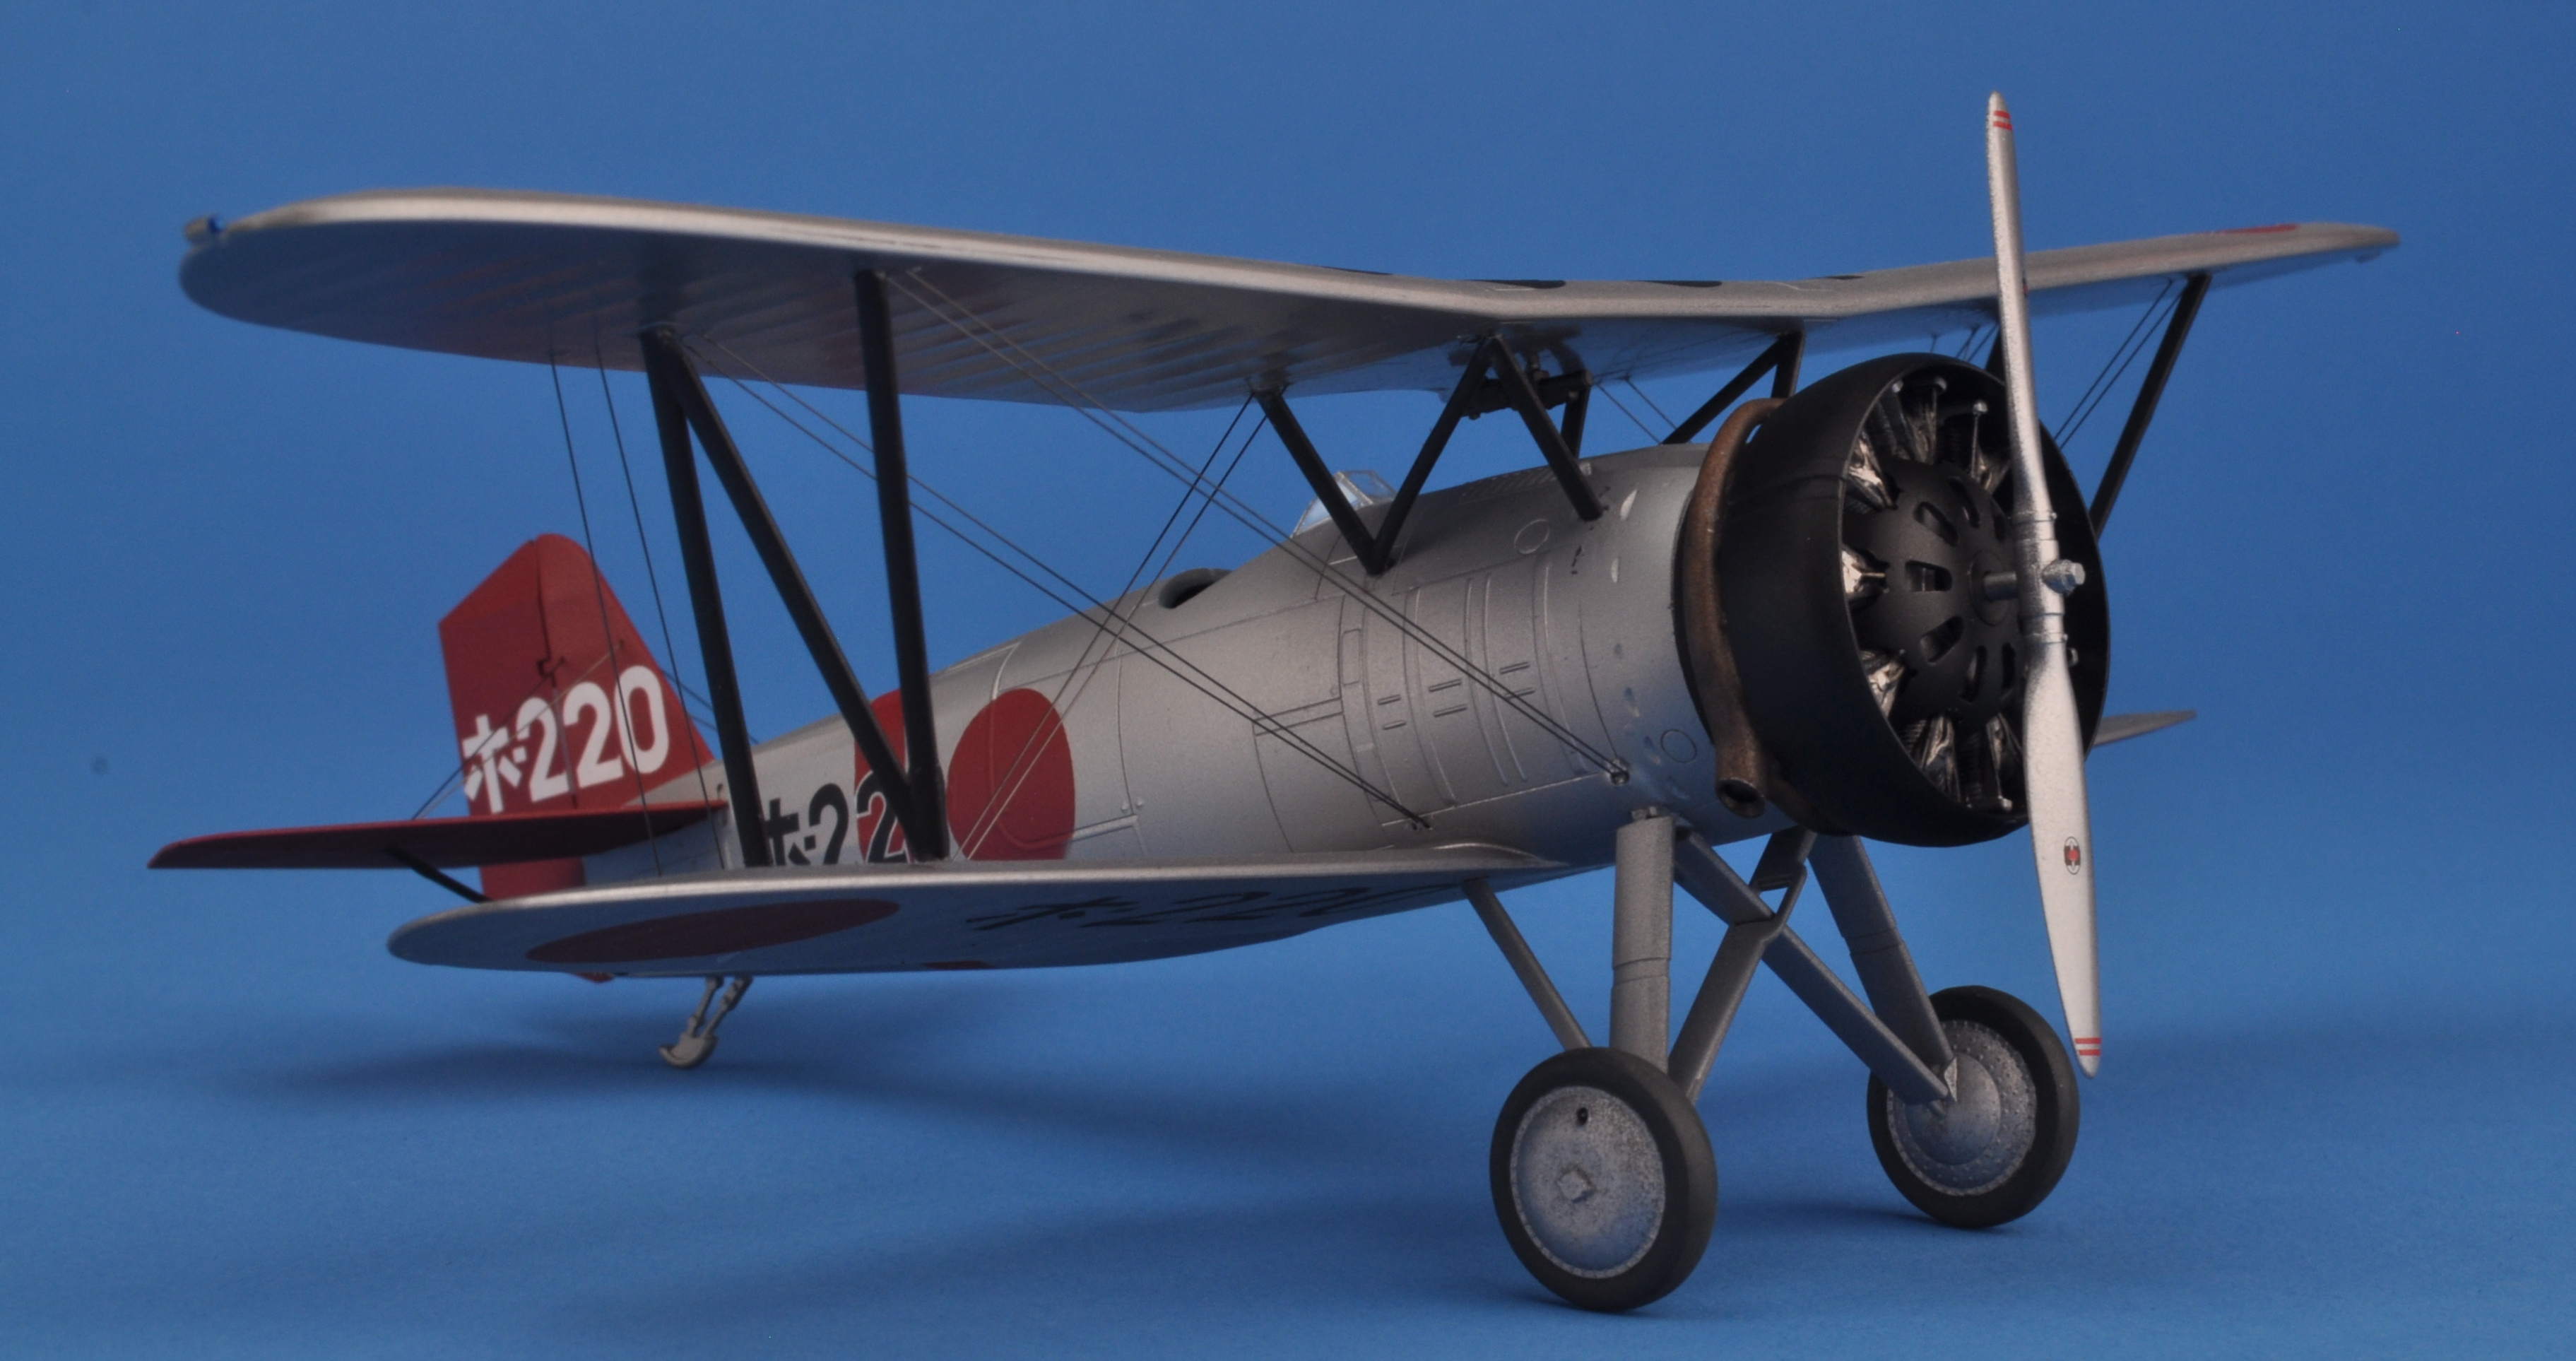
The Nakajima A2N
The A2N was a fighter designed to operate off of Japans first carriers in the interwar years. It is said design of the Nakajima A2N was influenced by the Boeing Model 69 and Model 100 fighters, both of which had been imported to Japan in the late 1920s. The A2N was an agile aircraft, and it was accepted for production as the Navy Type 90 Carrier Fighter in 1930. A total of 106 aircraft were built between 1930 and 1935.
The A2N was produced in 3 main versions and a trainer (2 seat) version:
- A2N1 had a level upper wing, but dihedral on the lower wing. Its twin machine guns were mounted low on the fuselage, making them difficult to clear if they jammed.
- A2N2 had the same arrangement of wings as the A2N1, but the guns were moved into a more conventional position on the upper fuselage.
- A2N3 had dihedral on both upper and lower wings.
Between 1932 and 1936 they served aboard the carriers Hosho, Kaga, and Ryujo. A small number of Kaga’s fighters participated in the Second Sino-Japanese War that began in 1937. Otherwise the A2N had a very short service life before being replaced with the A5M Claude. By the time the US entered into the Pacific War, the Claudes were replaced with Zeros. I don’t believe any A2Ns were being used by 1941.
AB&K Models
This is a relatively new company and they have a fairly instructive “About” section on their website. A.B.&K Hobby Kits was created by ‘three enthusiastic modellers’ who want to offer models that have been overlooked by the large manufacturers.
AB&K started in Ukraine where they casted models from resin. They now operate in the Czech Republic and take care of their own production and distribution. That said, I have seen the A2N3 available at Hobby Link Japan.
They have a handful of 1/48 and 1/72 aircraft model kits as well as a pile of detail sets. I ordered my kit directly from the AB&K site and it arrived fairly quickly in a sturdy box. The box is surprisingly small (about the size of a 1/72 Prop Fighter) and the parts are well packaged.
I’m not one to place the red lines onto the parts or get readings from the electronic calipers. The parts may not be at the highest level of detail that we are seeing from the biggest and most cutting edge companies but they are still very good. Actually, the stretched fabric sections of the wing and fuselage were done very well. Overall, I’d compare the parts to what you would find in a Hasegawa or Tamiya fighter kit from the 90s. There was one attachment point that seemed out of place:

The kit instructions were well laid out and there was a separate colour painting instruction sheet. One very nice feature of the instructions was the rigging diagram that really helped me understand where the rigging had to go. This kit also had some excellent decals. More on those below.
The Build
The cockpit is basic and with the exception of the instrument decals, it reminded me of airplane kit cockpits from years ago. I can tell you it is small compared to the cockpits of later WW2 airplanes. The seat is so small it almost looks out of scale. Then again, this whole plane is tiny.
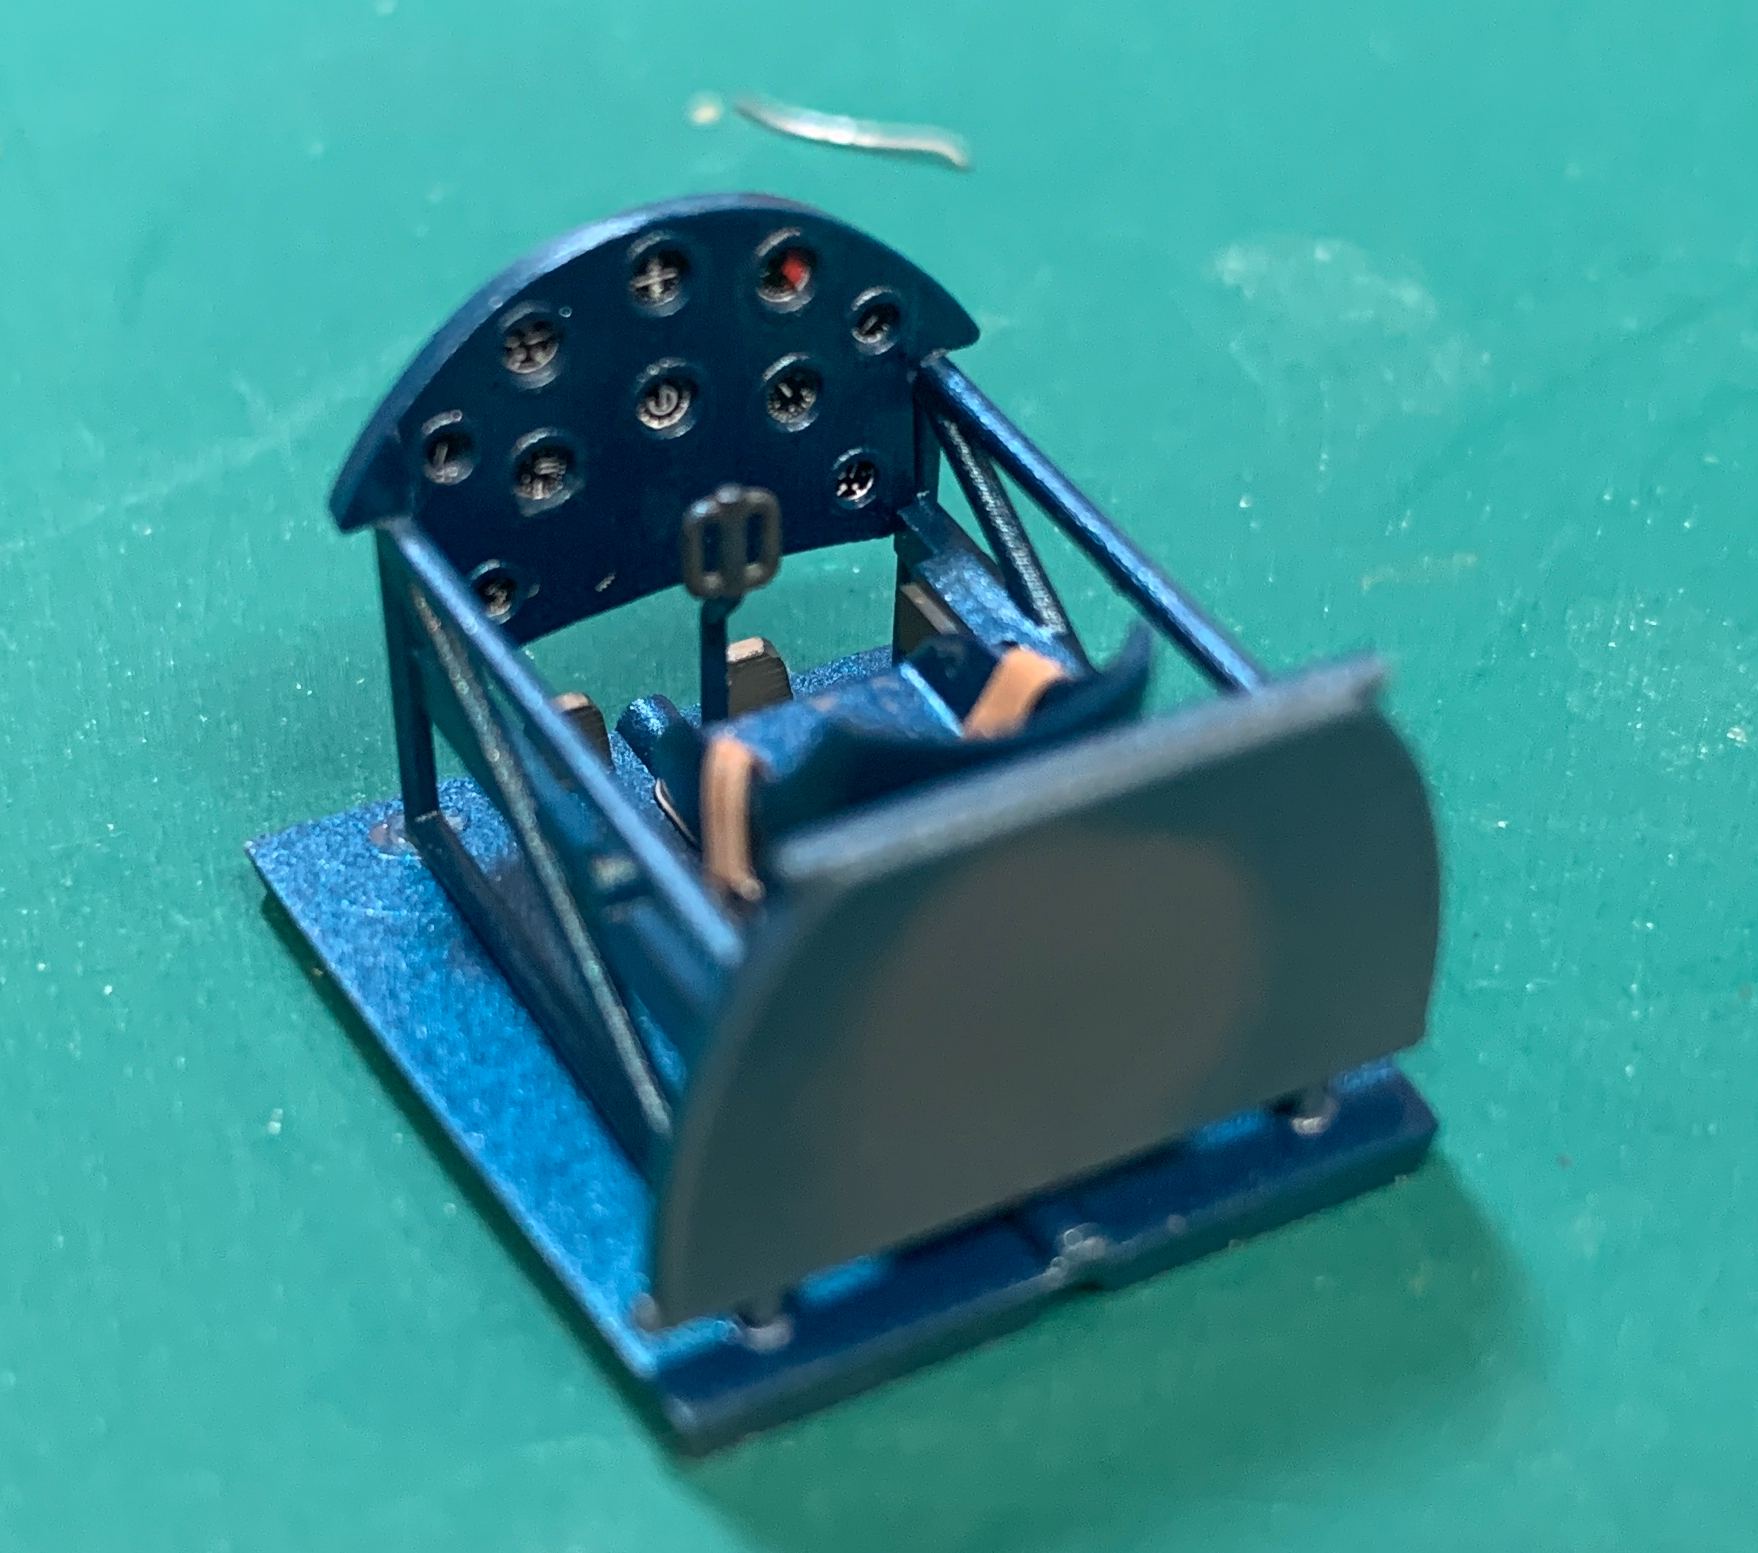
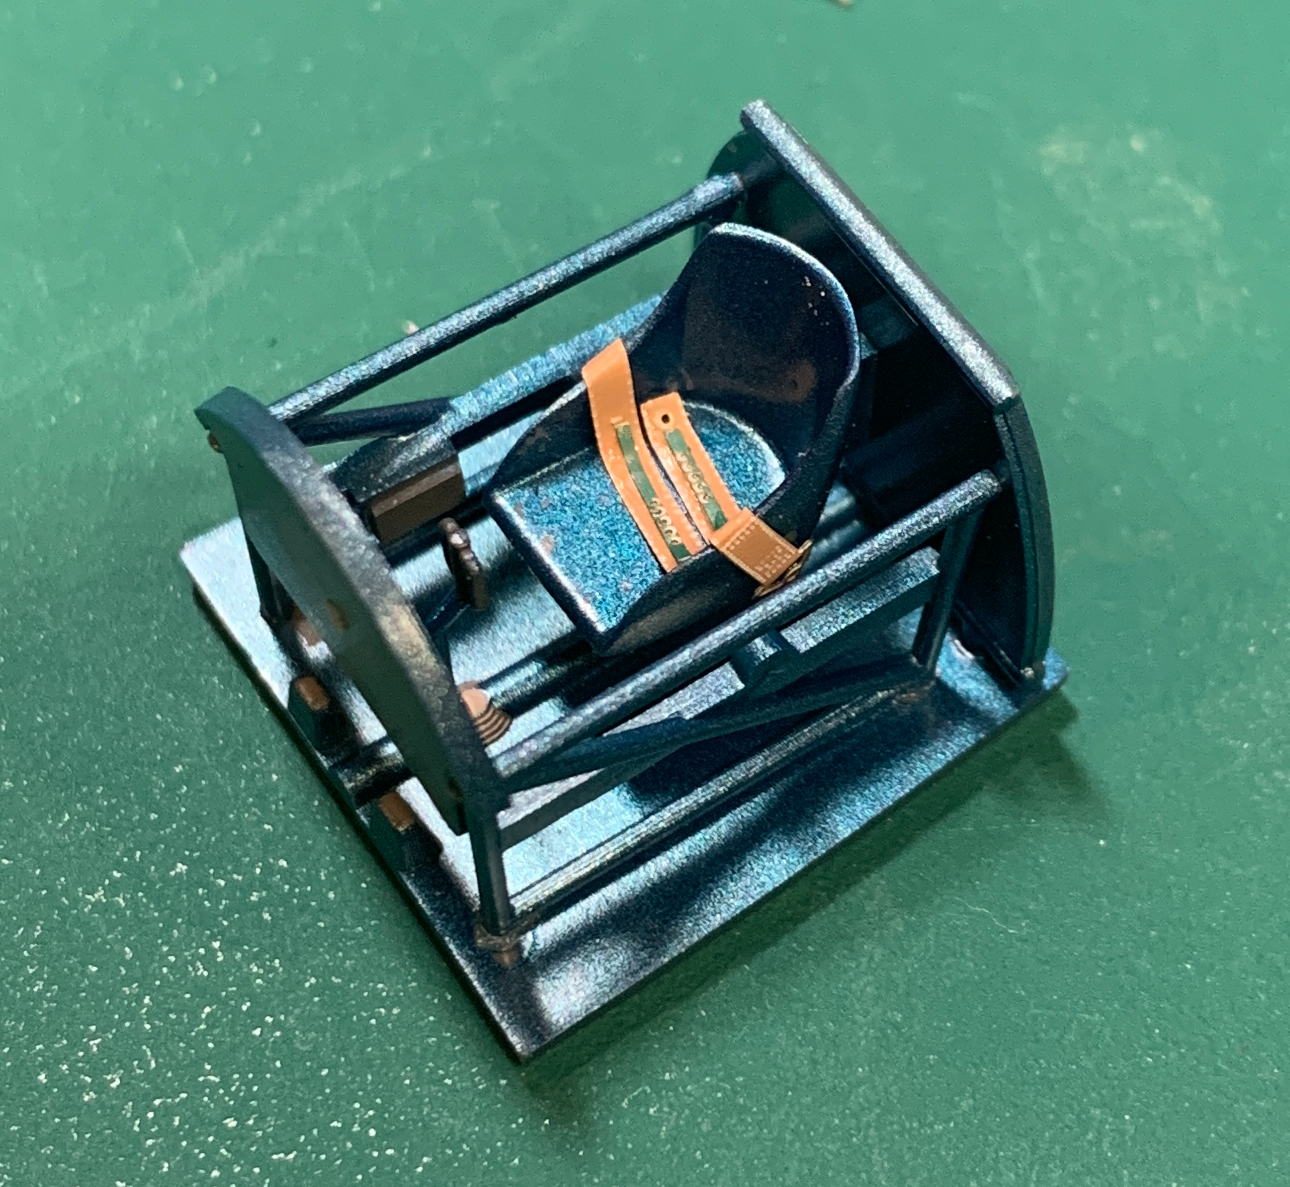
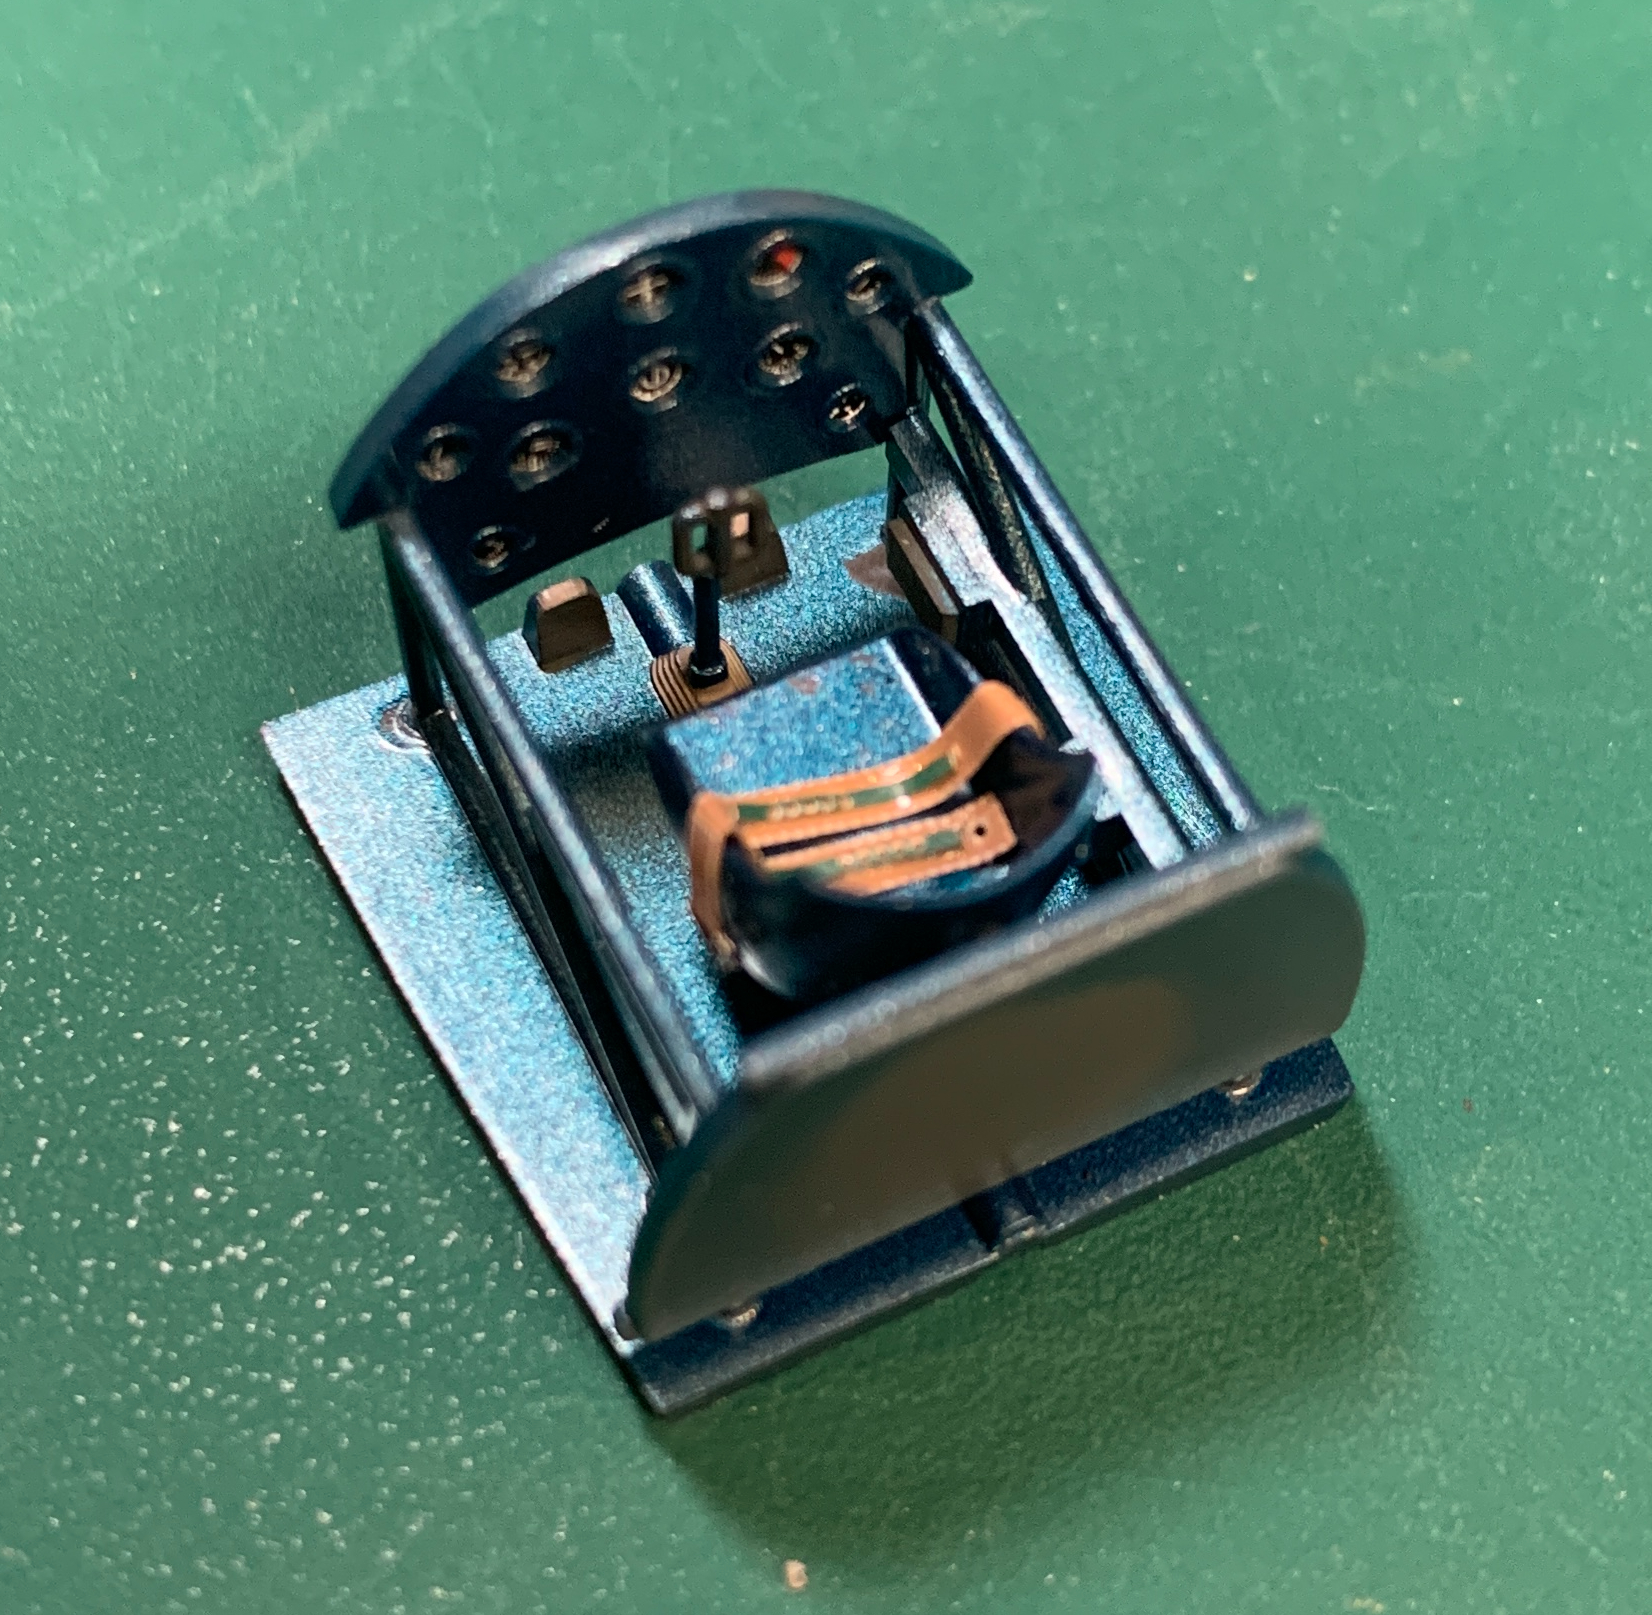
Completing the cockpit is a breeze. I knew only a small fraction of the cockpit would be visible from the small opening in the fuselage so I did not worry too much beyond painting it that Aotake blue colour and adding in some photoetch IJN seatbelts that are appropriate for Nakajima built airplanes.
Installing the cockpit into the fuselage was not as straightforward. I tried multiple times to close the fuselage and ended up with gaps due to the wideness of this little cockpit. So I sanded one side of the cockpit considerably and that allowed me to close up the fuselage completely.
The rest of the build was at times challenging and at other times very straight forward. The tail planes fit perfectly as did the rudder. However, the bottom wing required a lot of sanding and fitting to get into place. When I did get it to fit, I had a solid join but I was left with some gaps to fill at the front and back.
The little machine guns, which seem to shoot through the engine cowl, were simply represented with short rods on the sprue. I replaced them with hypodermic needles.
Painting
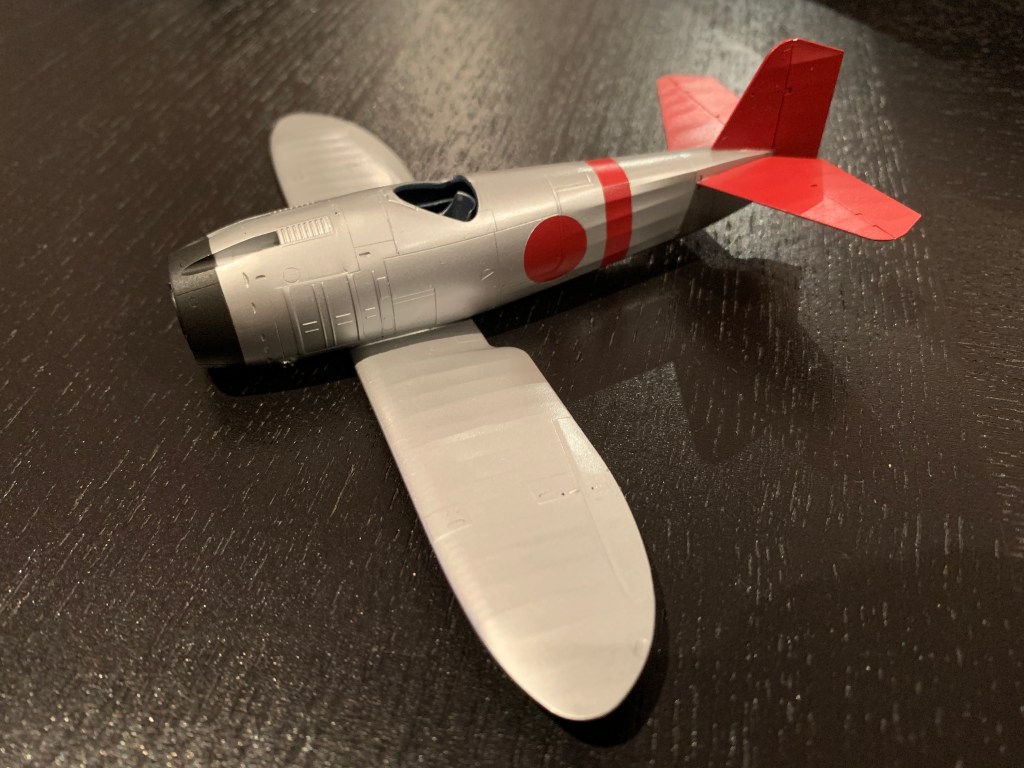
What this model lacks in size it more than makes up for in its paint schemes. These are silver doped planes with red stripes and flying surfaces. A classic 1930s look and very attractive. Given I’d never be able to match the red flying surfaces to the honarus, I started with mixing the red (Tamiya Gloss Red and Tamiya Hull Red with about a 3:2 ratio) and spraying it where the red parts would be. I took out the circle cutter and masked the honarus and the tail planes.
The silver is LP-70 Gloss Silver lacquer from Tamiya and I have to say that I love how this paint sprays. It is very good and goes on nice and glossy.
Decals
I generally dread the decal stage on my models. This time I was pleasantly surprised: The decals are very good! I did my usual warm water and they slid off within seconds and almost instantly started to conform to the surface without any chemical help. Within minutes they looked painted on. These are as good as, if not better than any after market decal I’ve ever used. Why can’t all decals be like these?
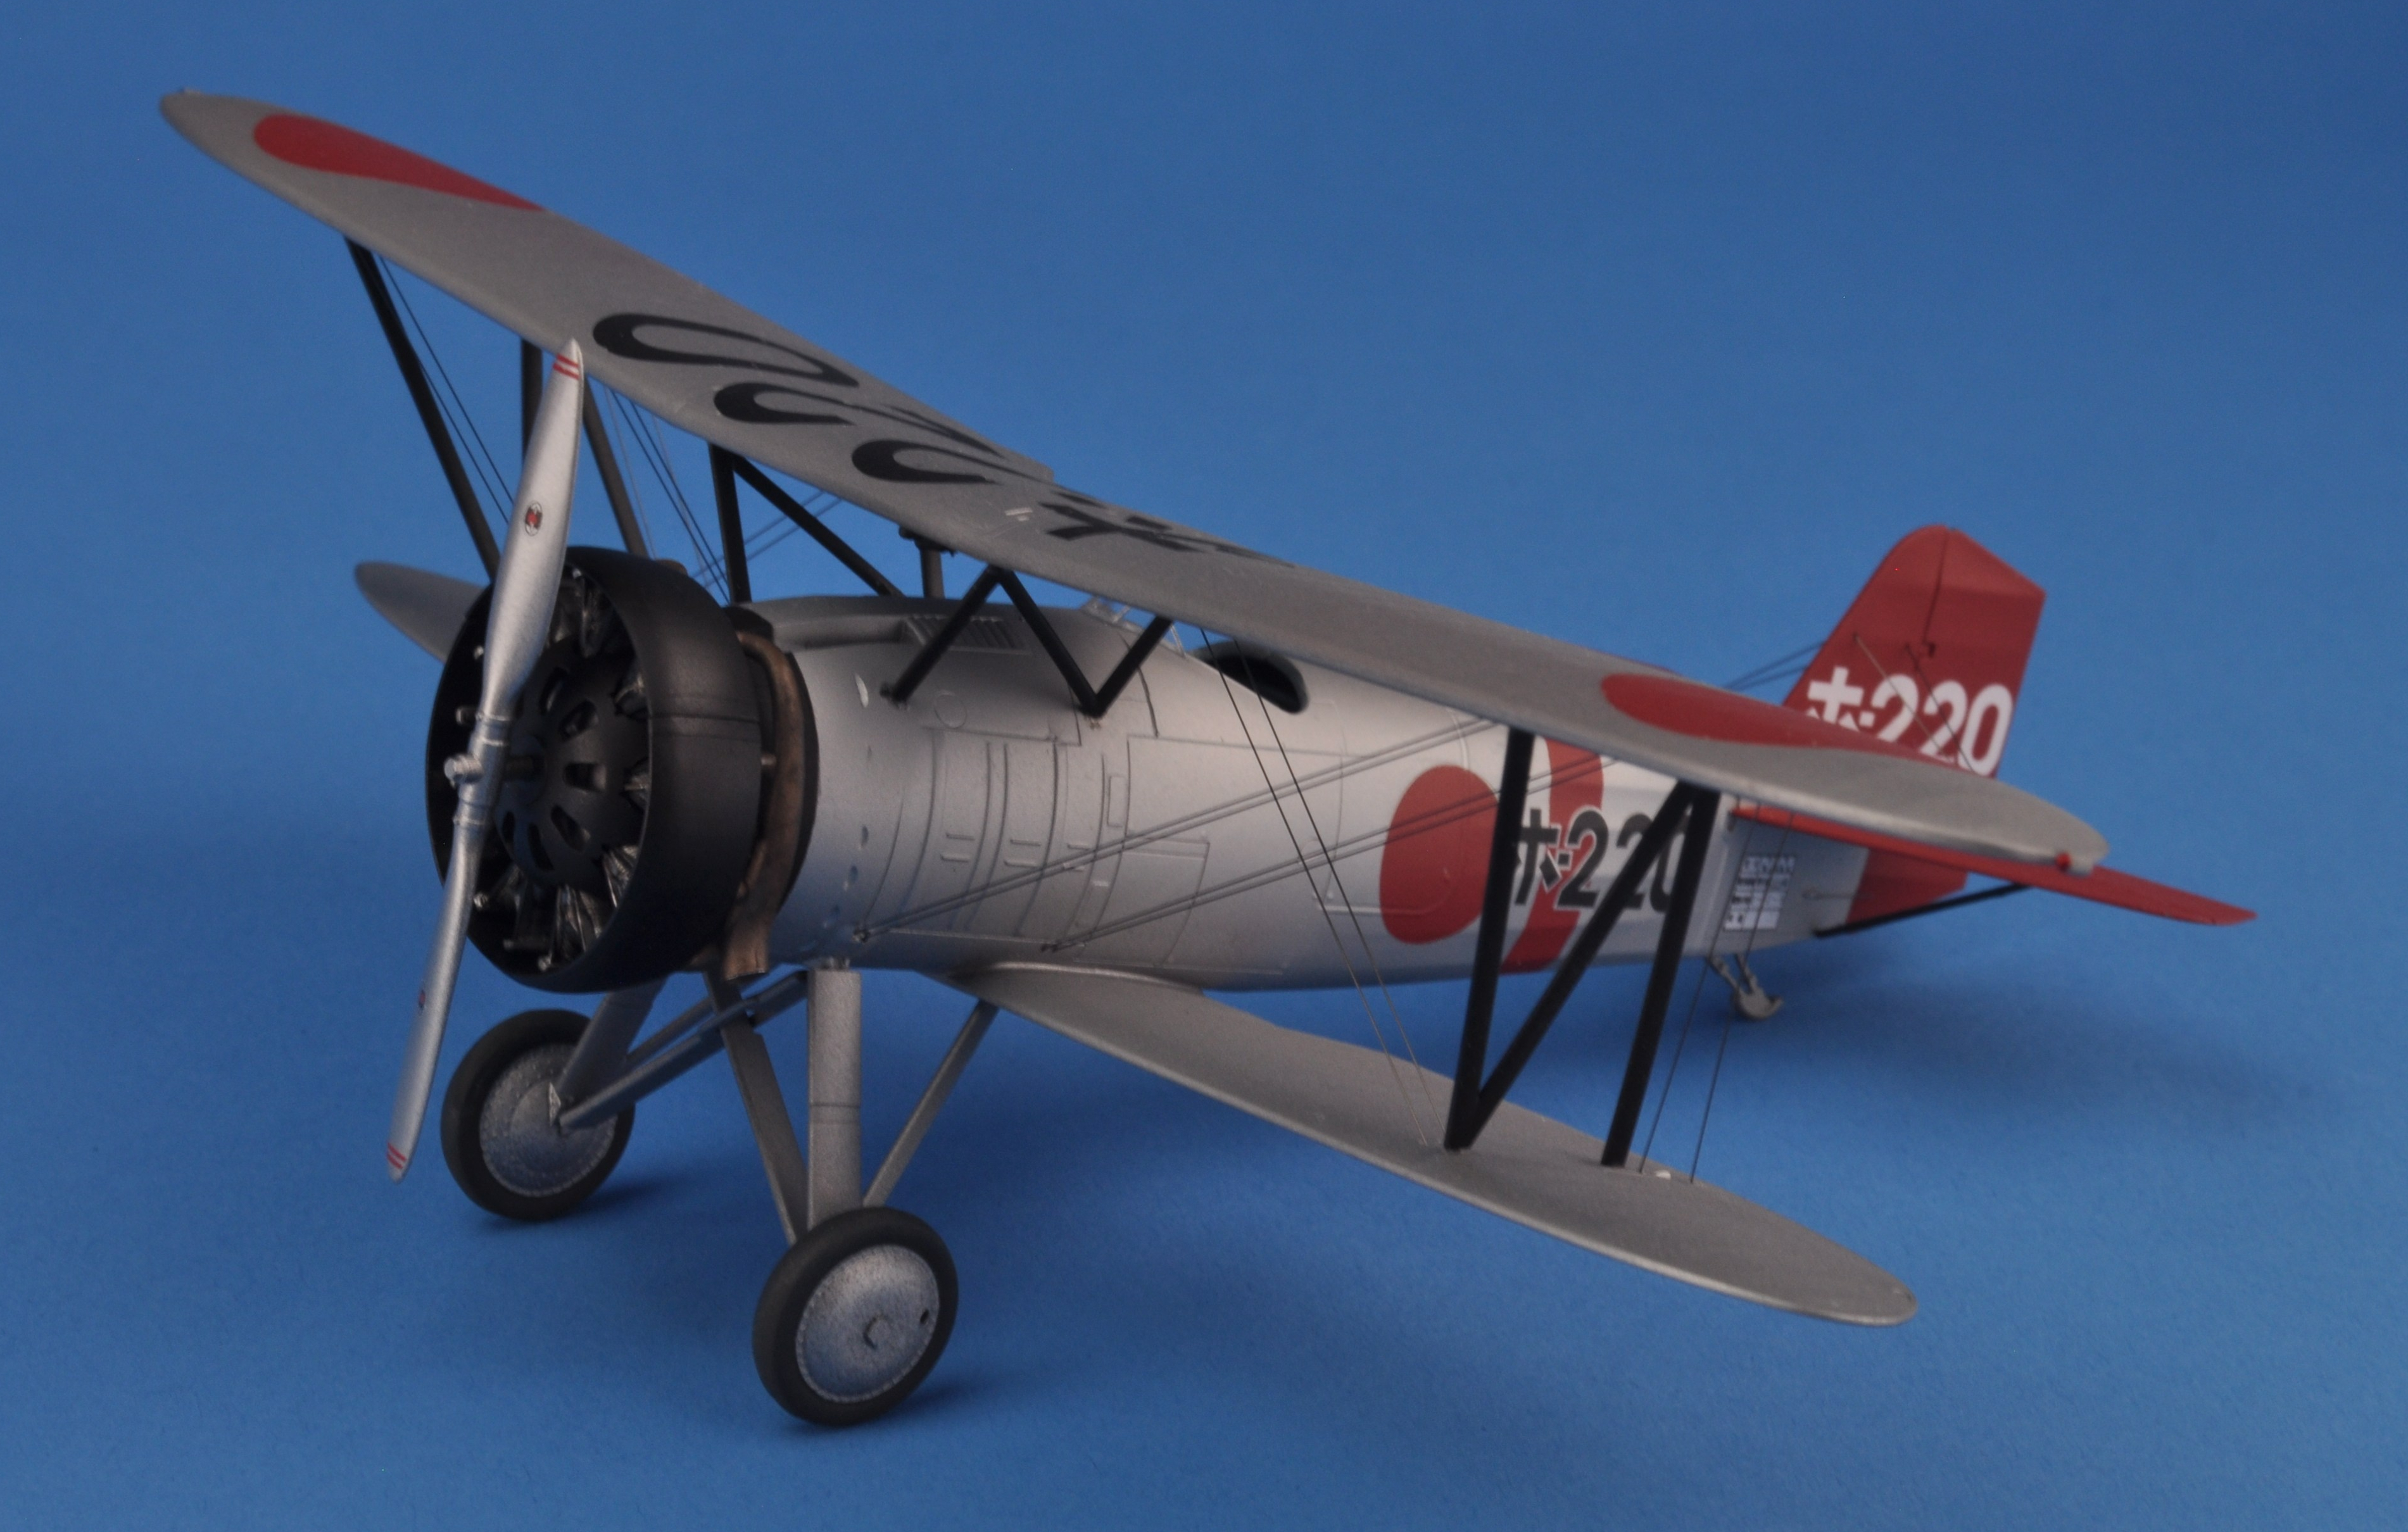
Final assembly
I was really worried about the landing gear as it was in multiple pieces that look like they ‘float’ in trenches engraved on the fuselage. However I should not have worried so much. Everything (the wheels, bracing and gear legs) ends up being integrated and it all locks into place at the correct angles. I was very impressed by this aspect of the model
Adding the wing is always a difficult part of a biplane build. My approach was to start with careful assembly of the bottom wing so as to ensure a level foundation. On a biplane, if you can get the wings to be level and parallel, then you are most of the way home. The last thing to worry about is a ‘scissor’ misalignment. To complete this step I attached the braces to the bottom wing and the fuselage. Then I did the “flip it onto the top wing and glue one section at a time” method.
I ran into more difficulties at this point. I do not blame the model’s design for this because this is only the second biplane I have ever attempted. Eventually I got the upper wing attached to all of the braces using the engraved attachment points. It was relatively level too. However, this took days of finicky work and I am wondering whether there is a simpler and more consistent way of doing this.
Then there was the rigging. This was my first attempt so I set my expectations accordingly. Years ago I read an article where the author used Wonder Wire to rig his Revell Stearman and it looked awesome. It is made with extremely thin ceramic wire and is sold by Precision Enterprises. They do not have a website but they do take orders over the phone. The wire is straight as an arrow but you can bend it in order to fit it into place. It is to be ‘chopped’ using a blade. It took some getting used to but by the time I was fitting in my third wire, it was simple enough.
Overall, rigging is very finnicky work and best done to some music in the background but it really improves the look of the model when it is complete.

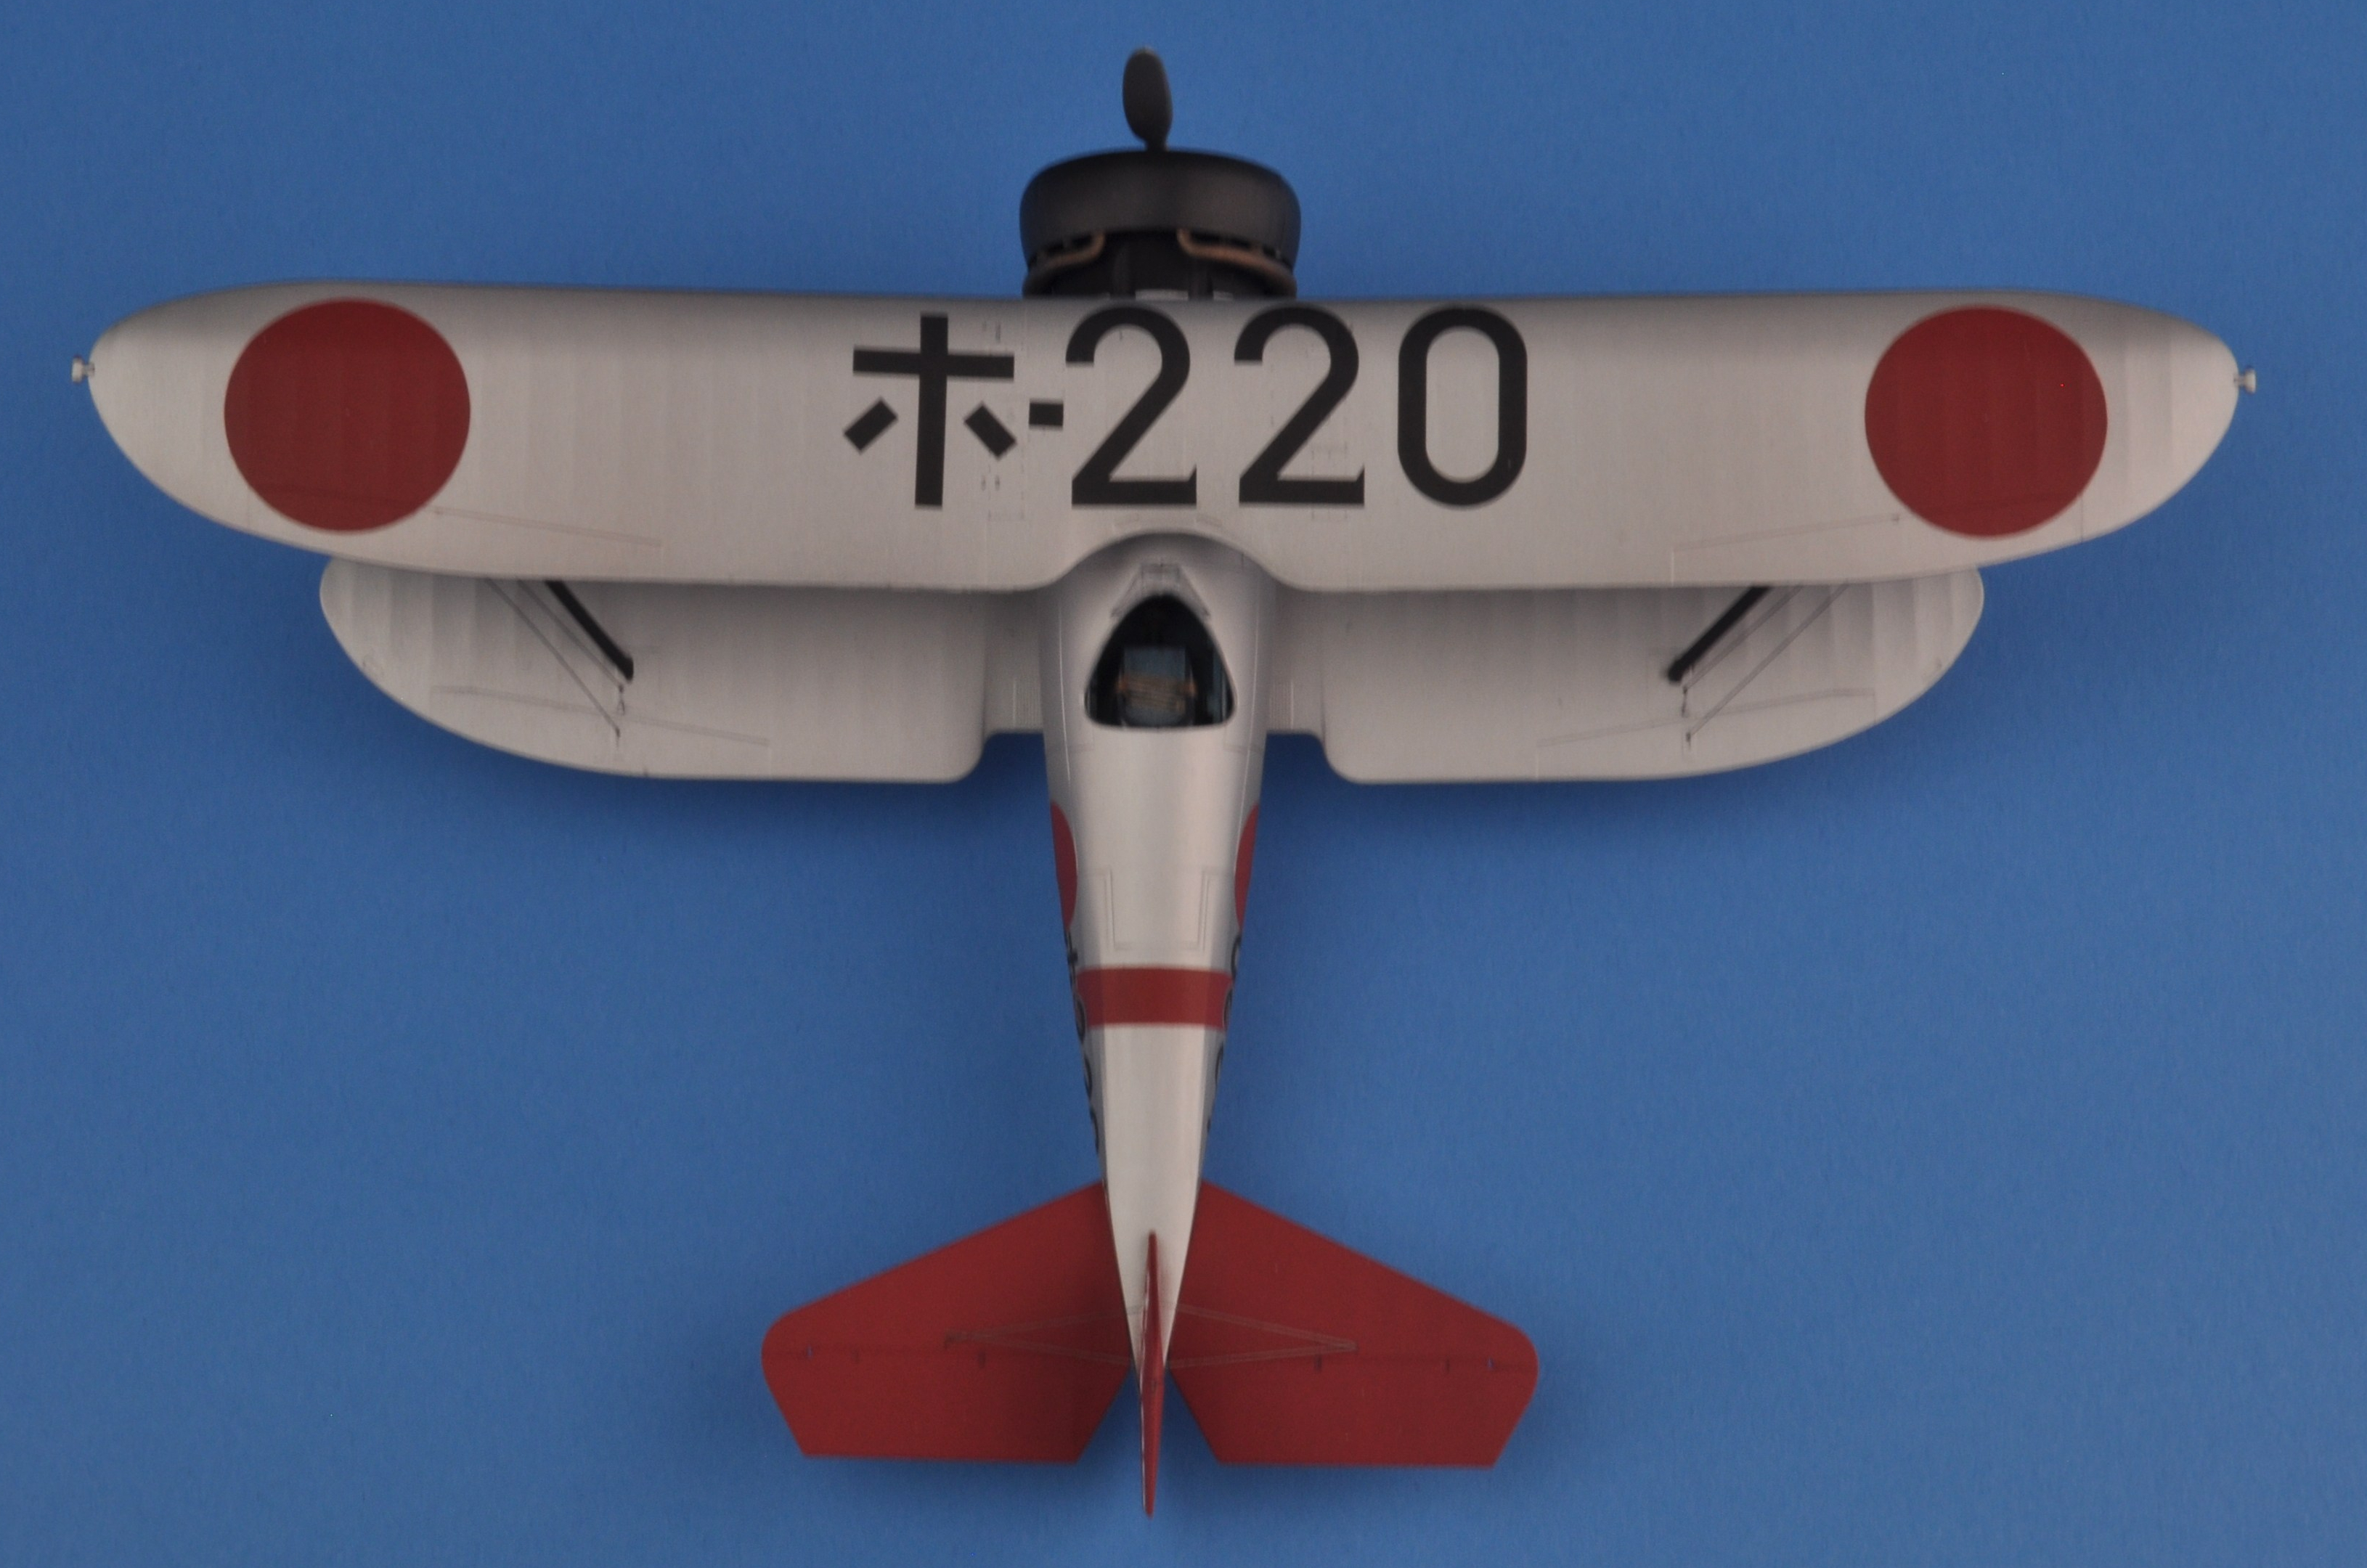


Final Thoughts
AB&K have certainly produced a well designed little kit of an interwar fighter. It would be of interest to those who like Pacific War planes, Imperial Japanese Navy planes, interwar fighters and those who like their planes with two wings. A definite plus are the decals. I look forward to seeing more kits from AB&K in the future.
As for the build, I am happy I took a few more risks. This second biplane attempt went far better than the first and I am happy with my rigging efforts. It makes for a very colourful model in my ever shrinking display case and it gives me some experience and courage to go for a Wingnut Wings build in the future.
When I first started back in the hobby I tried to incorporate one “new thing” into every build. Once it was photoetch. Another model had resin bits. And another needed some scratch building. Other times I tried to use new painting techniques like pre-shading and post-shading. At some point I stopped making a point of trying something new with each build. Maybe I should bring this back.
Do we have any risk takers out there? What have been your builds that were outside your comfort zone? Did you ever go for a model you’ve never heard of before? Were these builds successful and if so (or even if not) did you learn anything new? Or are you more calculated in your approach and limiting your risk to only one new thing every now and then?
As for my second foray into biplanes, I think I am missing some trick to getting the wings on properly. Any pro tips out there? Or, is this something that comes with experience and might be easier with certain kits?
As usual, I’d like to hear your thoughts.

Only way to get better! Nice job Chris.
LikeLiked by 1 person
Beautiful. I have the Fine Molds A2N1. Very nice.
LikeLiked by 1 person
Reblogged this on David Knights' Weblog and commented:
An awesome build of a lesser known Japanese aircraft.
LikeLiked by 1 person
I have this kit and am about to start it. Nice work on yours here.
As someone who’s been building biplanes since I was too young to know they were difficult, allow me to suggest a good way to get the upper wing on: glue it first to the fuselage cabane struts; get that nice and solid, then add in the outer interwing struts – you can usually pop them into position on any well-designed biplane model (like Eduard’s WW1 models), then apply glue to fix them in position.
That wire is an interesting suggestion. Thanks.
LikeLiked by 1 person
Ah! That makes sense. I will try that the next time. I am thinking those 4 attachment points need to set for some time to be solid. Good to know – thanks for the tip!
LikeLike
Very nice!
LikeLiked by 1 person
I am really loving the theme/design of your website.
Do you ever run into any web browser compatibility issues?
A few of my blog visitors have complained about my
website not working correctly in Explorer but looks great in Firefox.
Do you have any ideas to help fix this issue?
LikeLike