
Too long to read? Here’s a link to the video.
People are going back to the Moon! As a kid, I was absolutely obsessed with the lunar missions—even though every single one of them happened before I was born. I still treasure the moon mission memorabilia I fished out of flea markets and garage sales decades ago.
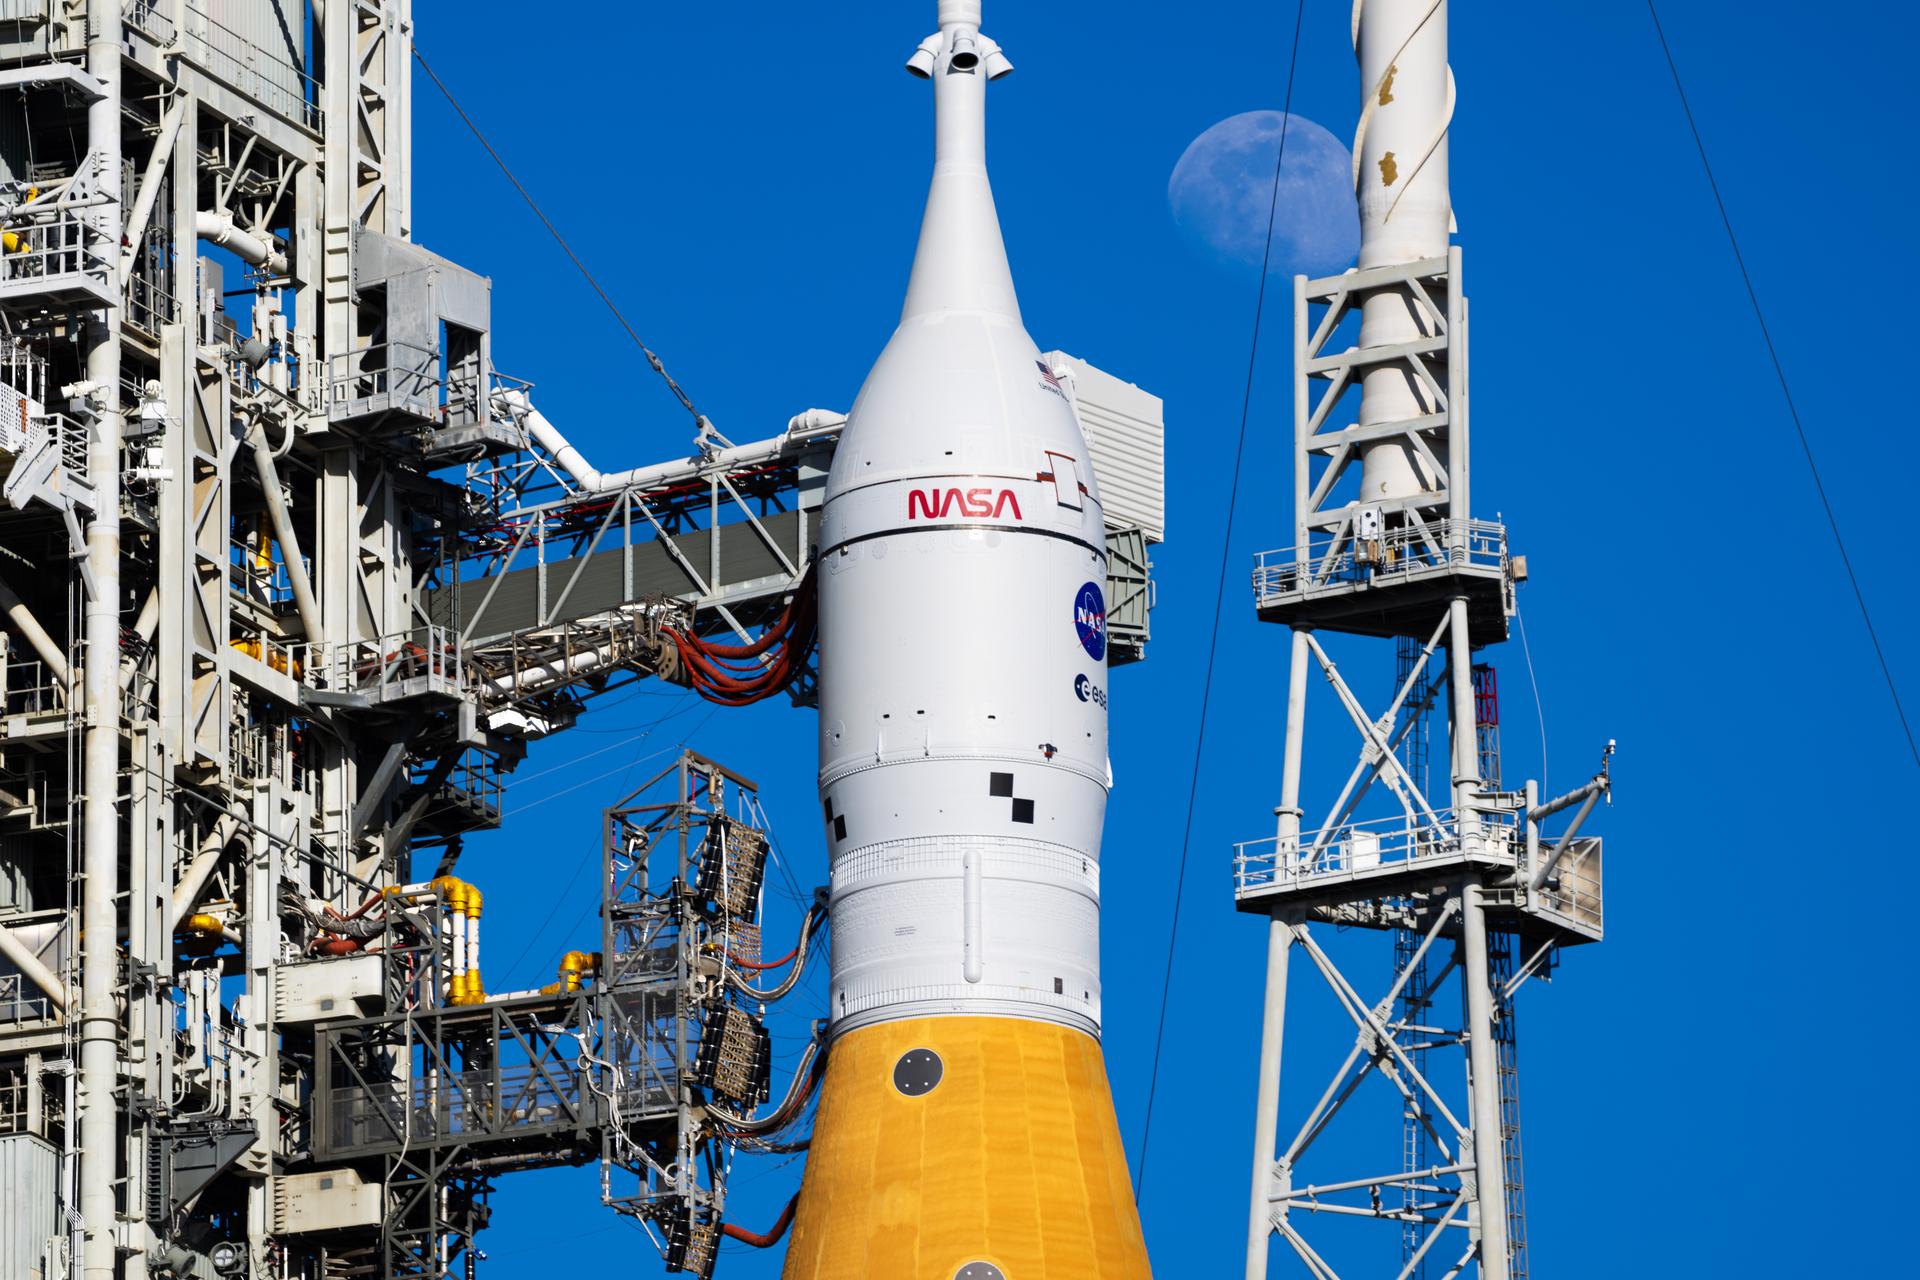
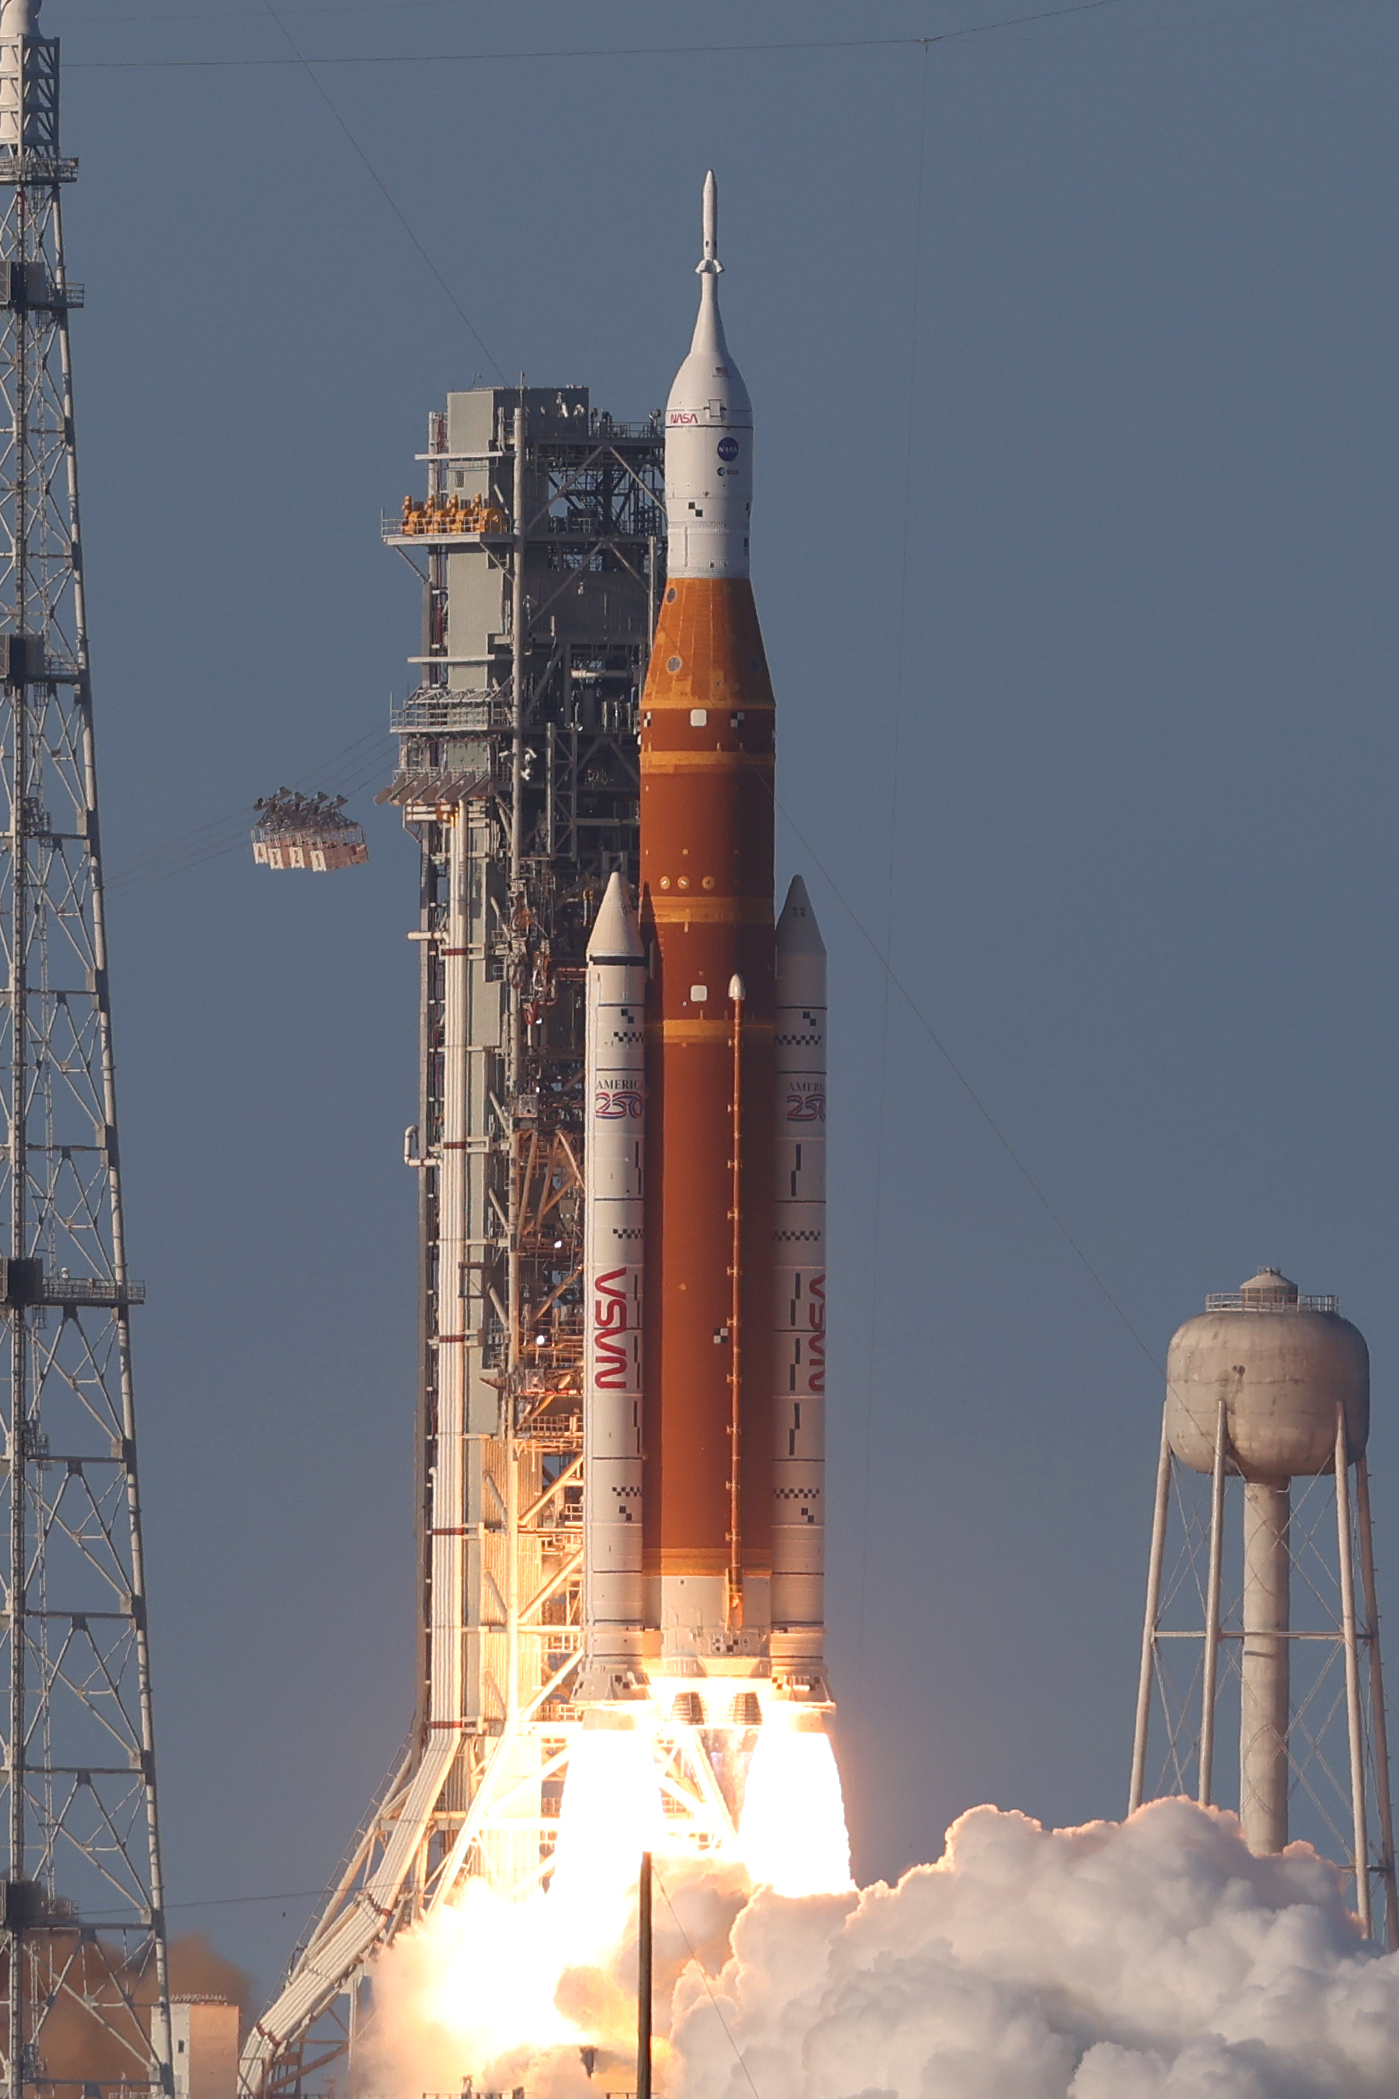
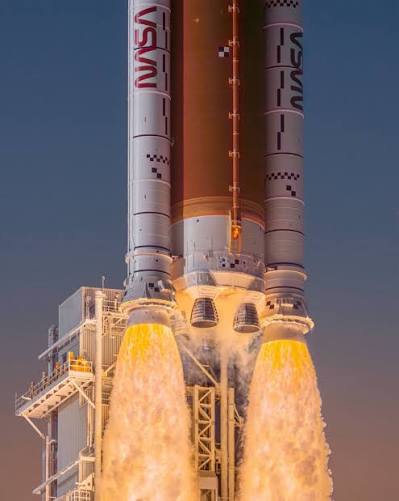
But NASA’s Artemis program is definitely not your grandpa’s moon rocket. It is cutting-edge, modular, and designed for the future. Although it wears a slightly odd color palette. If you squint your eyes just right, it looks like a Saturn V and a Space Shuttle had a baby. Odd aesthetics aside, it makes for a brilliant model.

It comes with a bland, generic plastic stand. However, I had a plan to change up how this thing would be displayed!
Building the kit: It’s Just Three Tubes
I chose the Revell Artemis kit because it was sitting right there on the shelf at my local hobby shop, and the price was incredibly reasonable for a brand-new tooling. My last experience with Revell was their SR-71 Blackbird, which went together beautifully. This Artemis kit was no different.
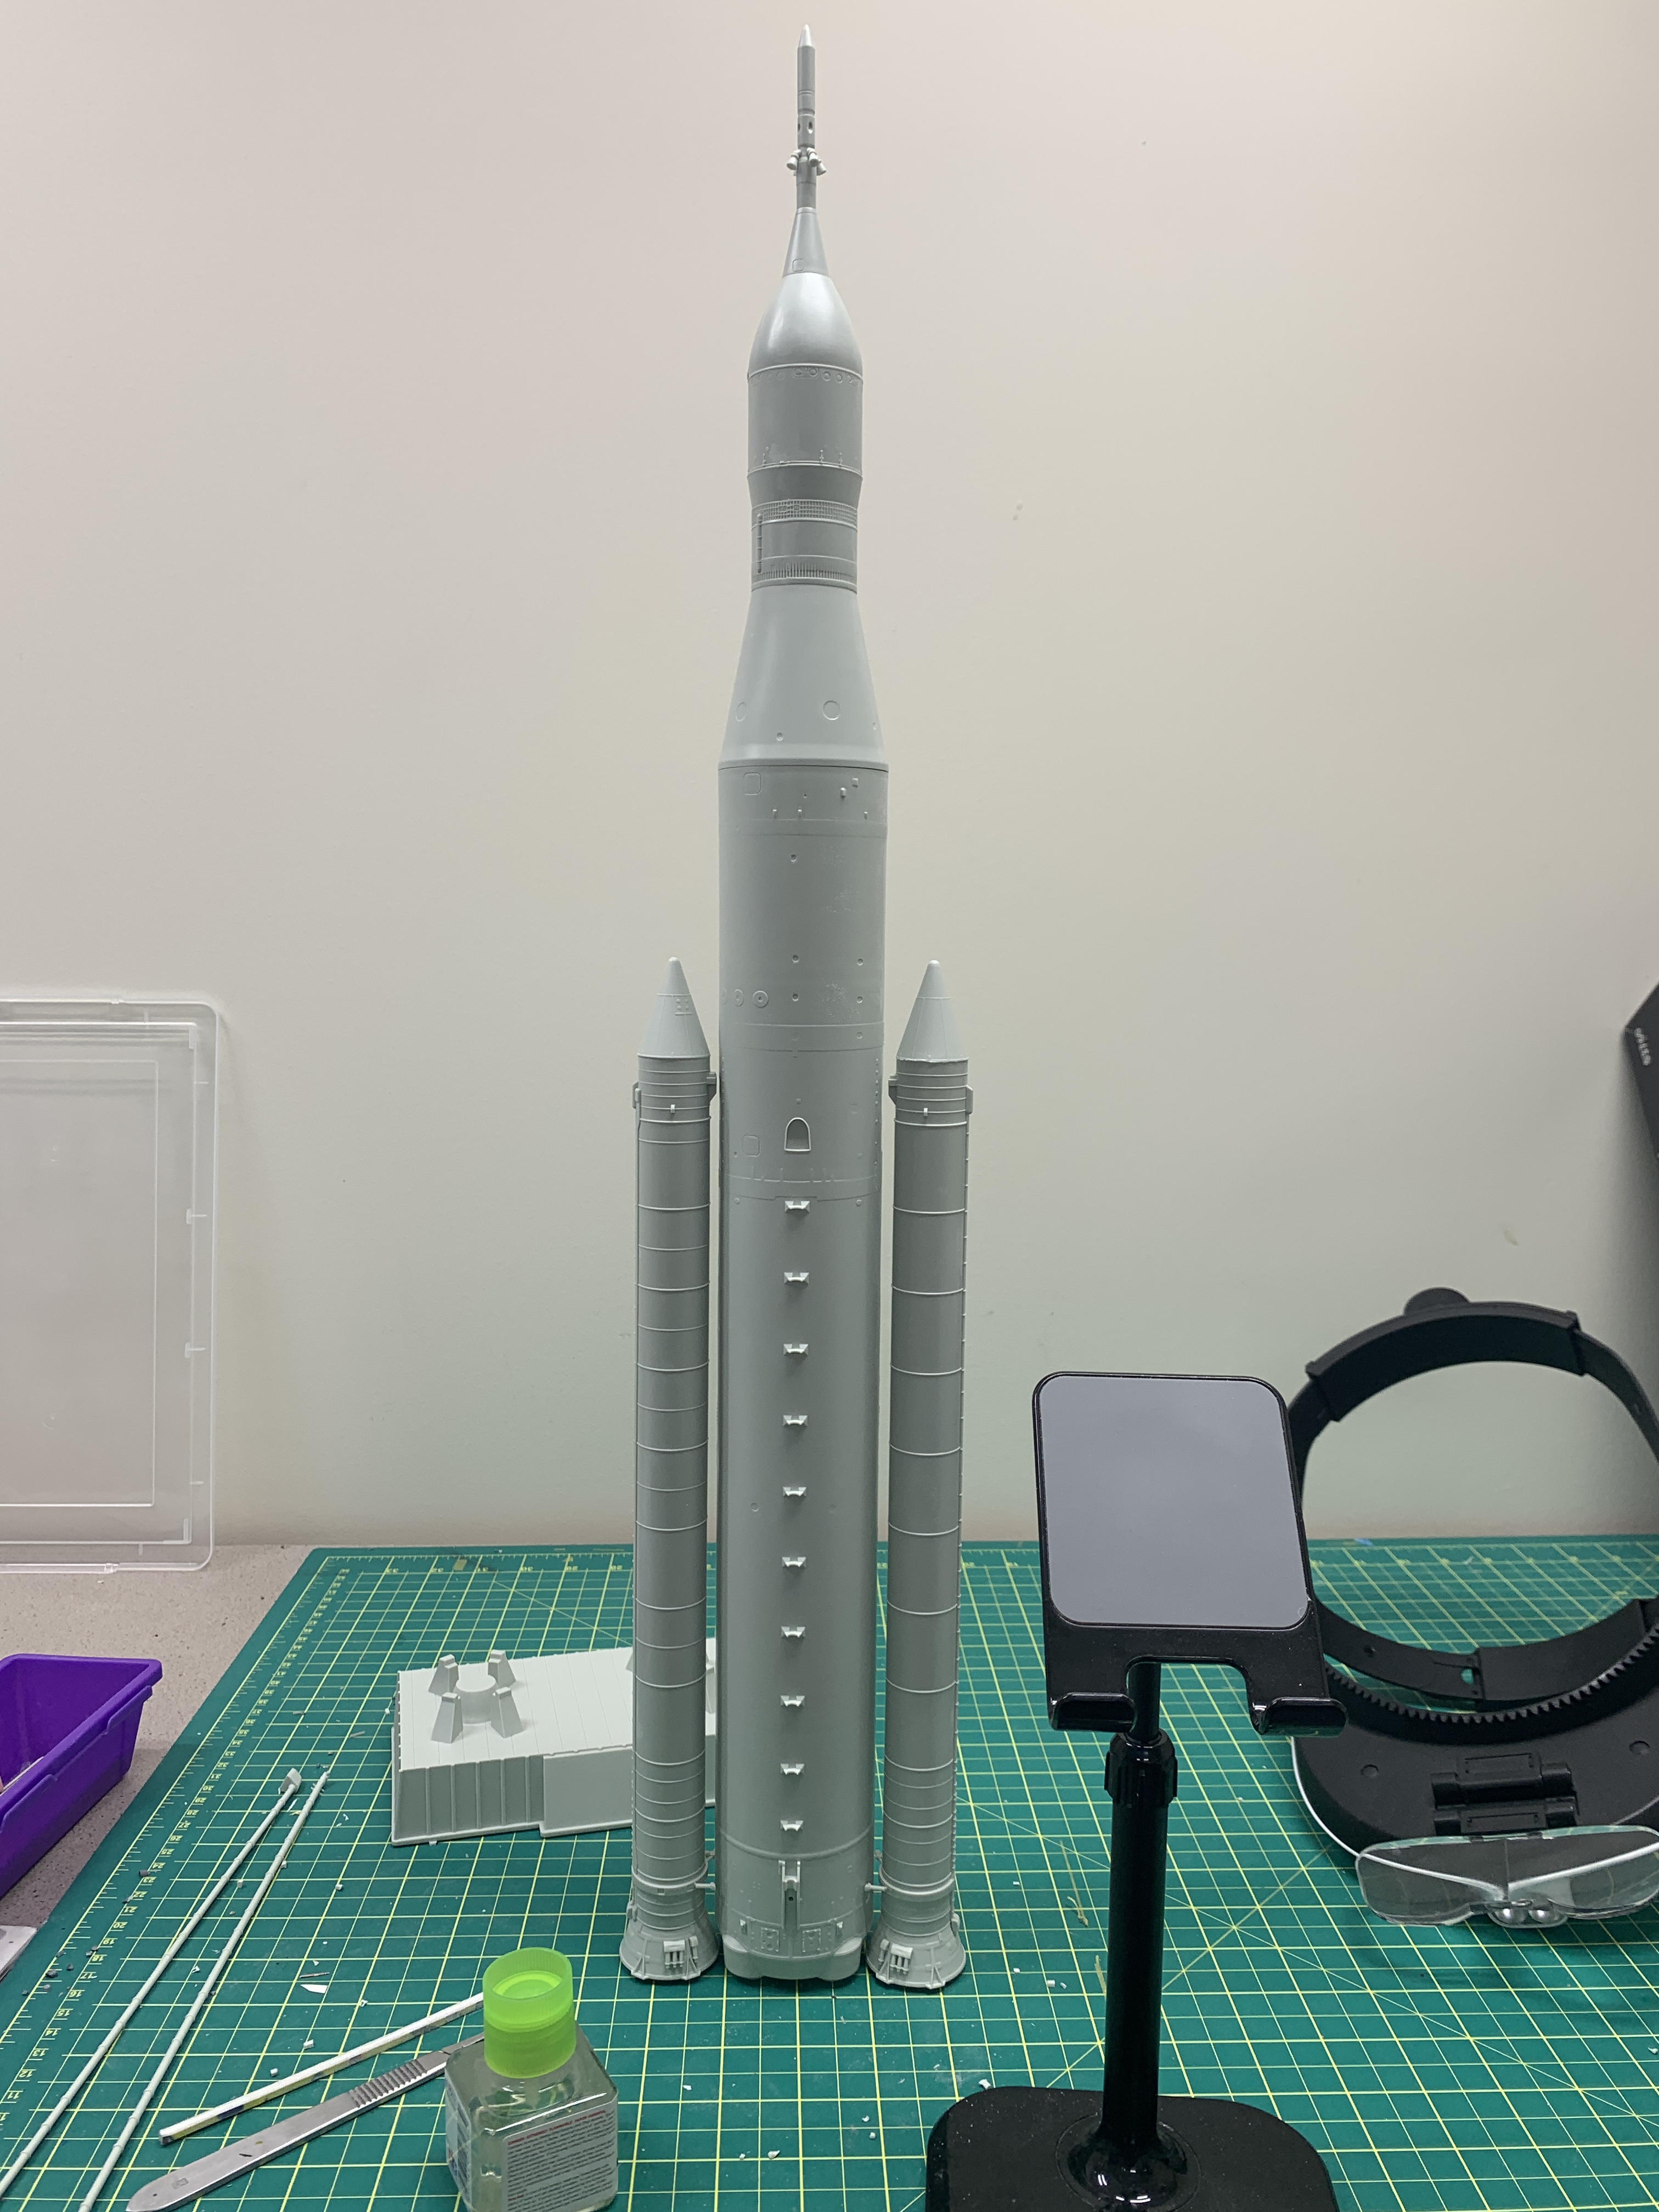
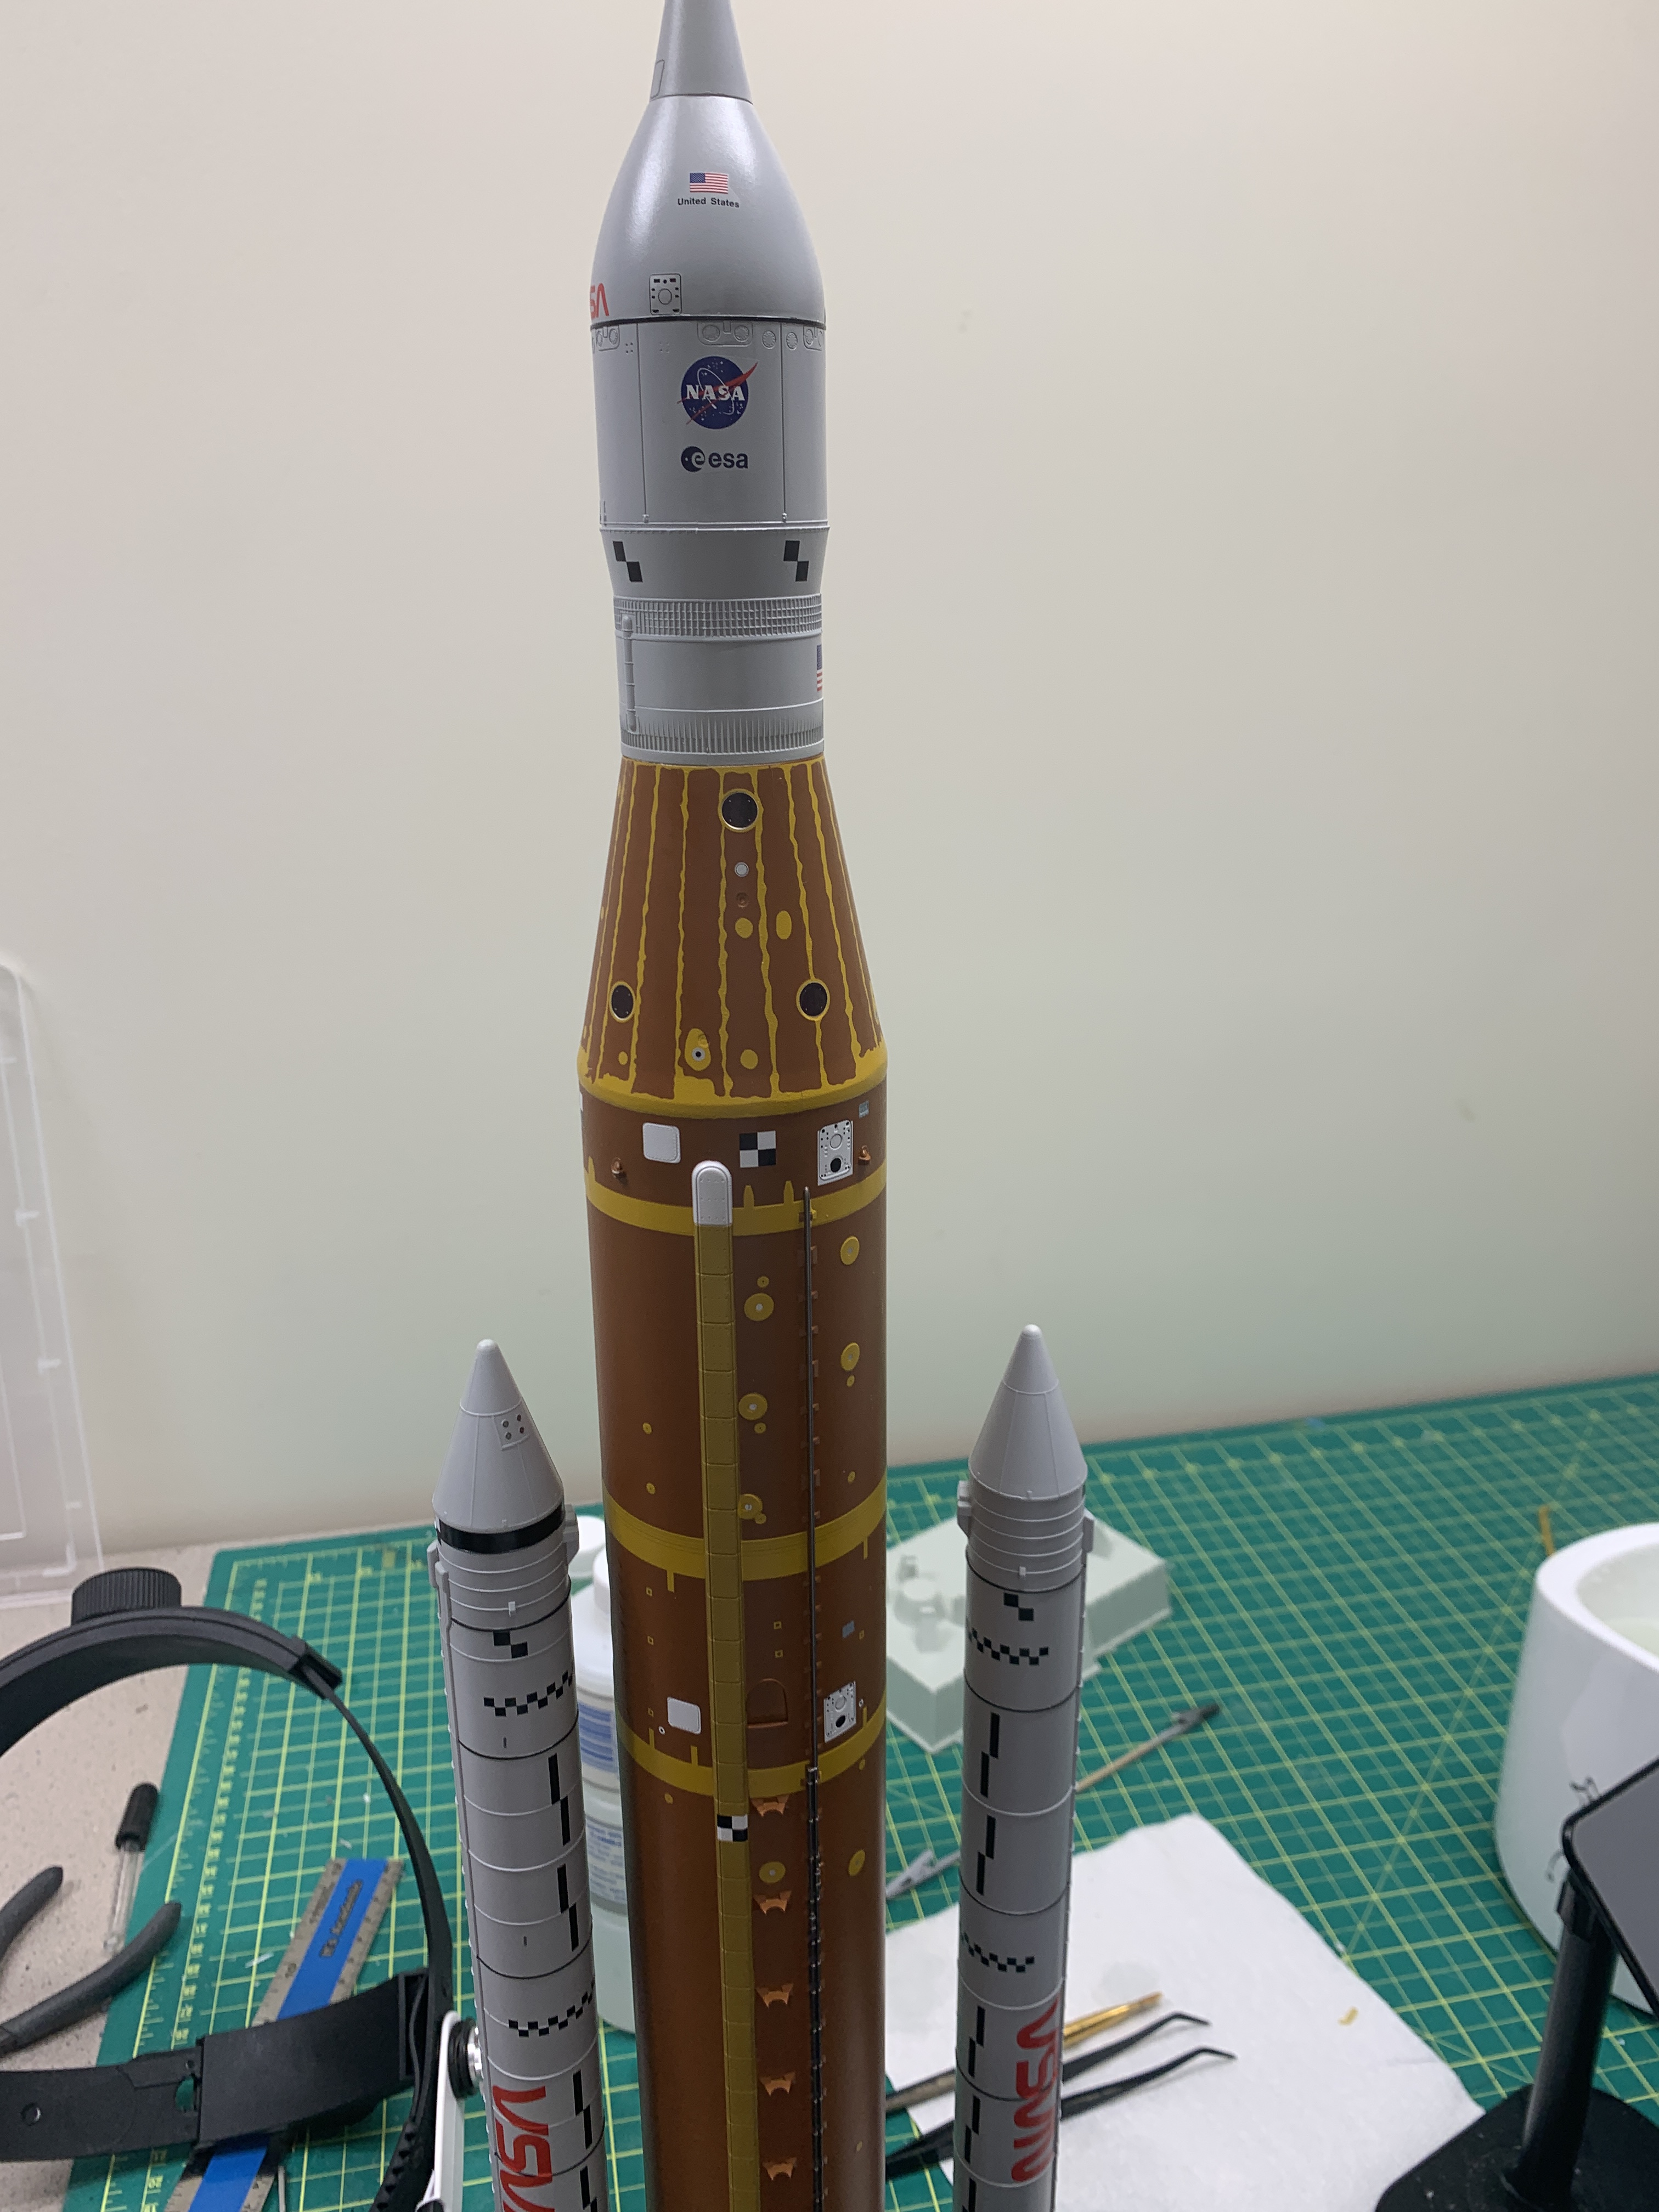
Because the rocket is essentially three massive tubes, the part count is low, and the assembly flies by. However, I messed up a couple of times. Several parts look substantially similar but are definitely not interchangeable. My advice? Assume nothing and pay close attention to the instructions—especially when you reach the command module.
Painting: Both Easy and a Challenge
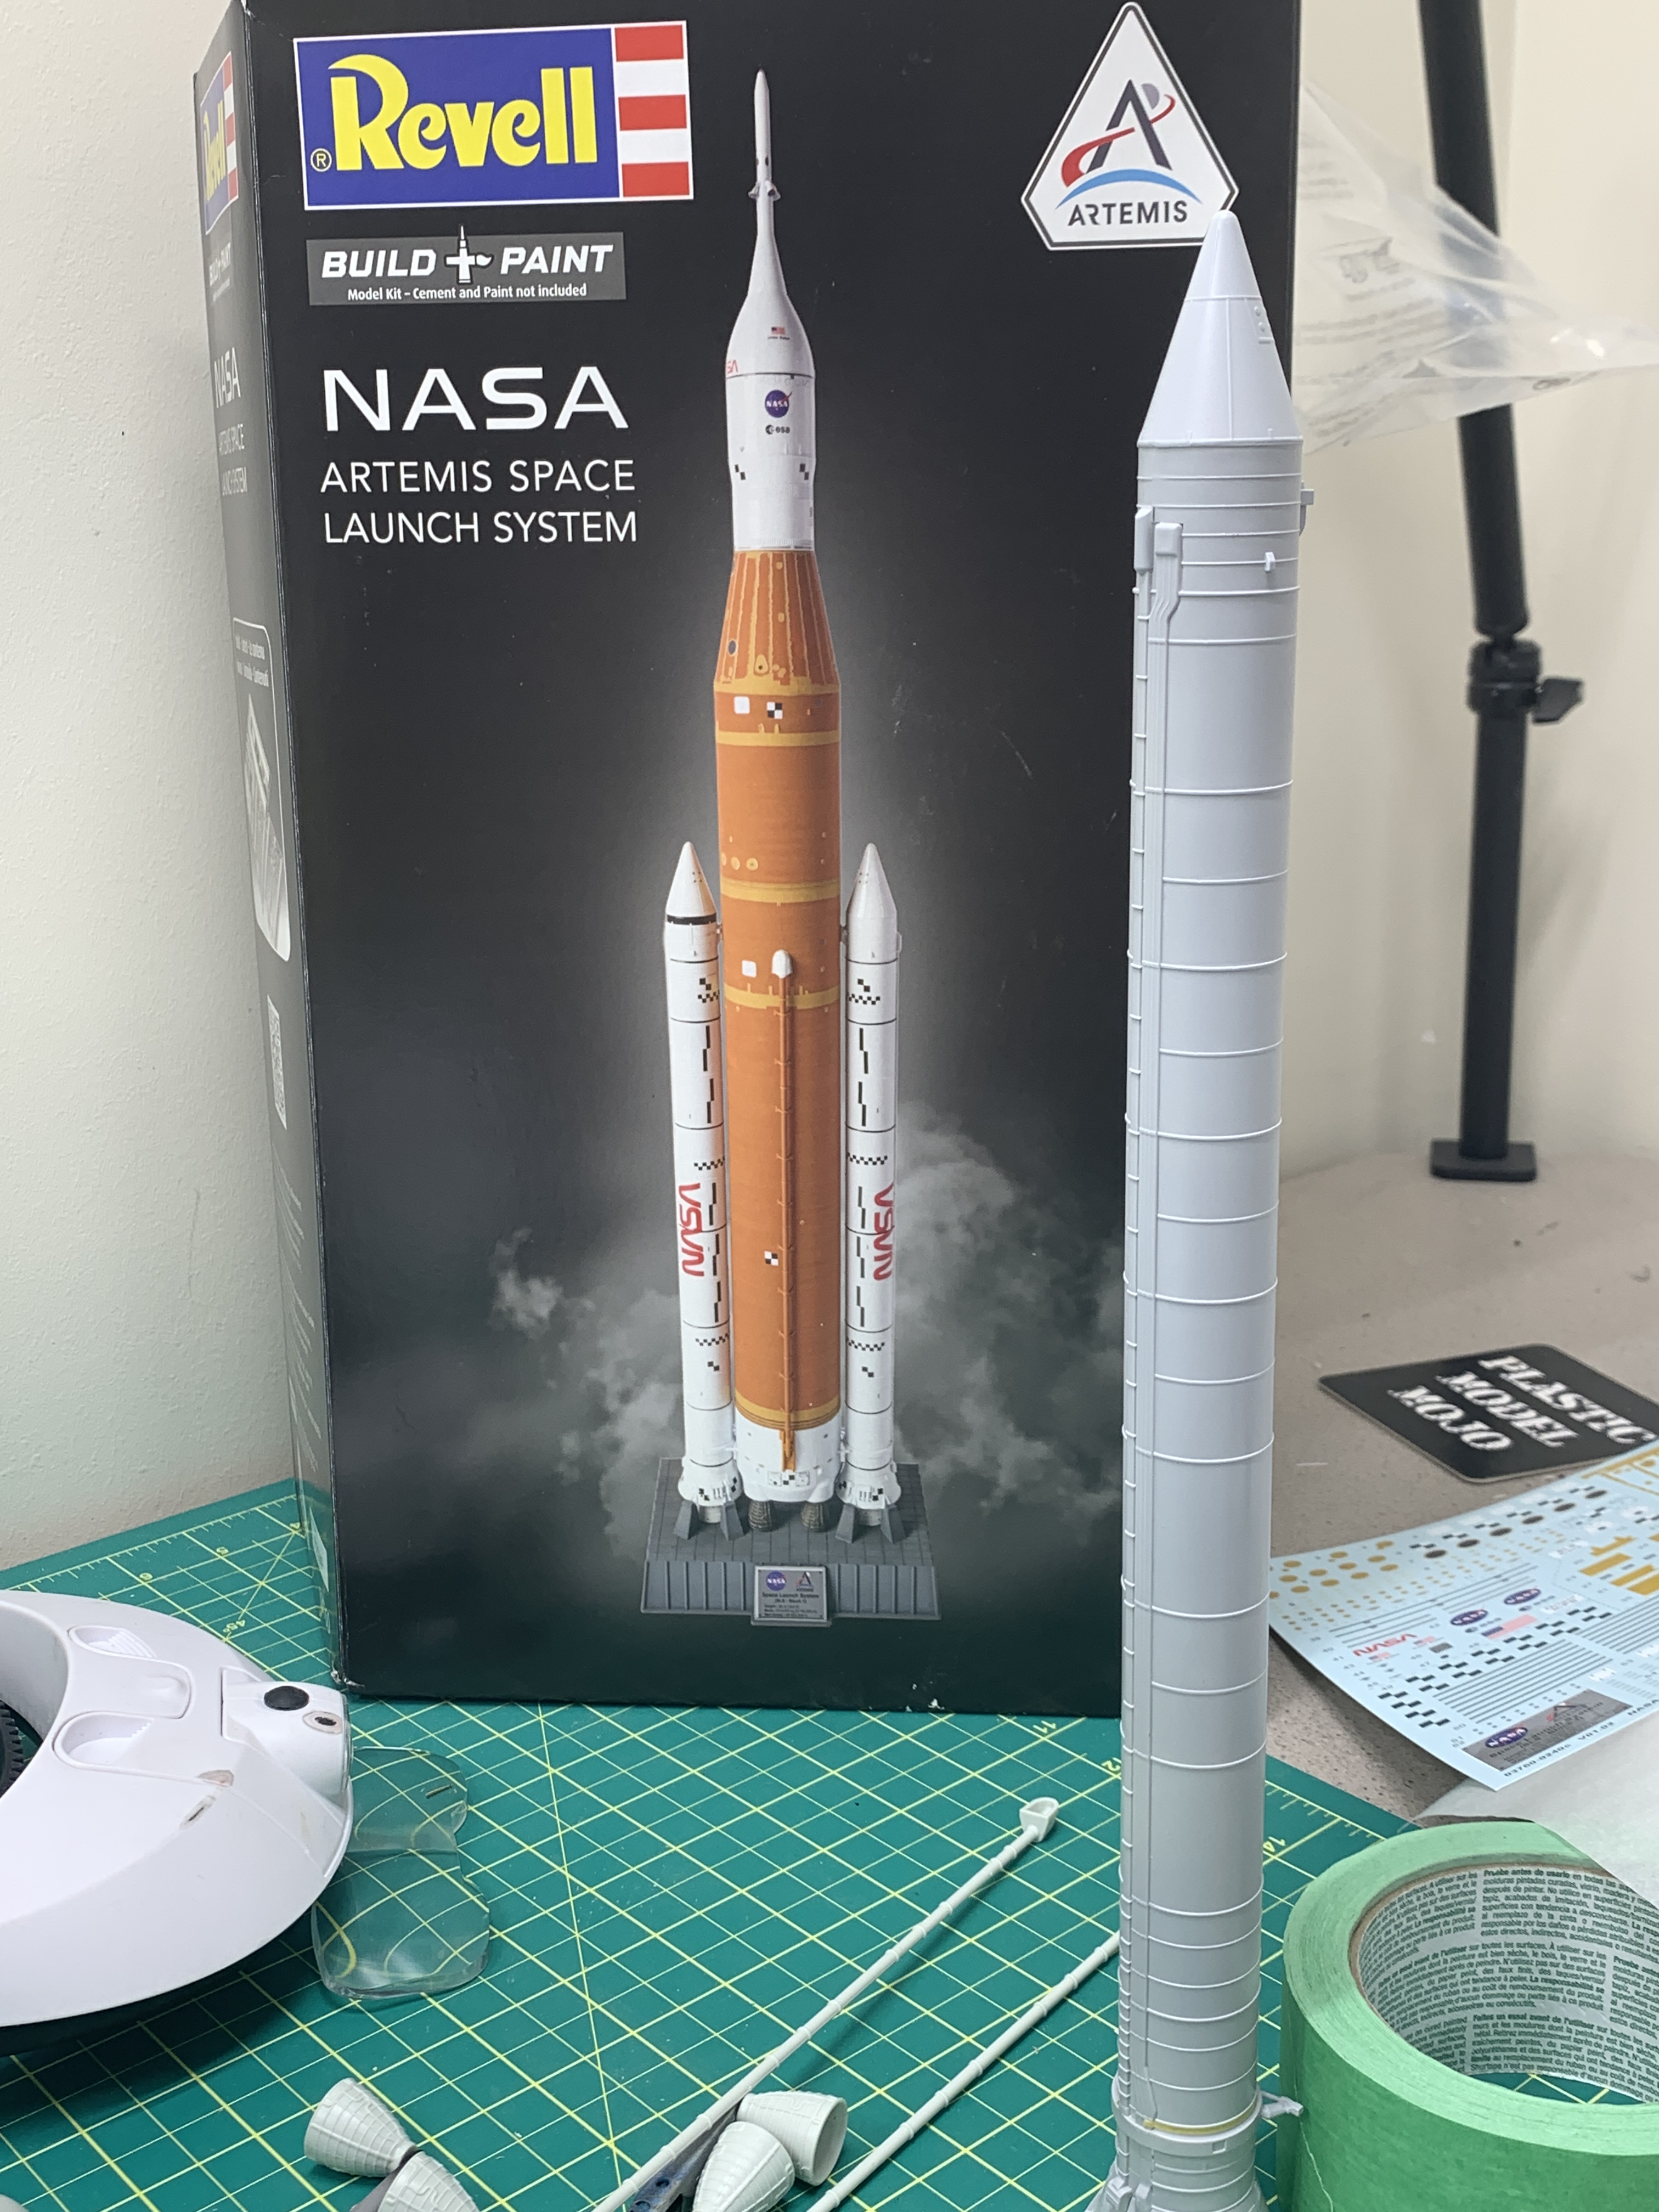
The first step is easy: gloss white. Every single paint line carries it. I laid down a few coats of gloss white across the solid fuel rockets, the command module, and the base of the main rocket. I had to laugh while spraying—these massive rocket parts barely fit inside my paint booth! Finding a logical way to hold onto them while spraying was a puzzle in itself, but the smooth gloss finish gave me the perfect slick surface for decals later on.
Next came the black stripes on the solid fuel rockets. While the kit includes decals for these, masking and painting them is much cleaner.
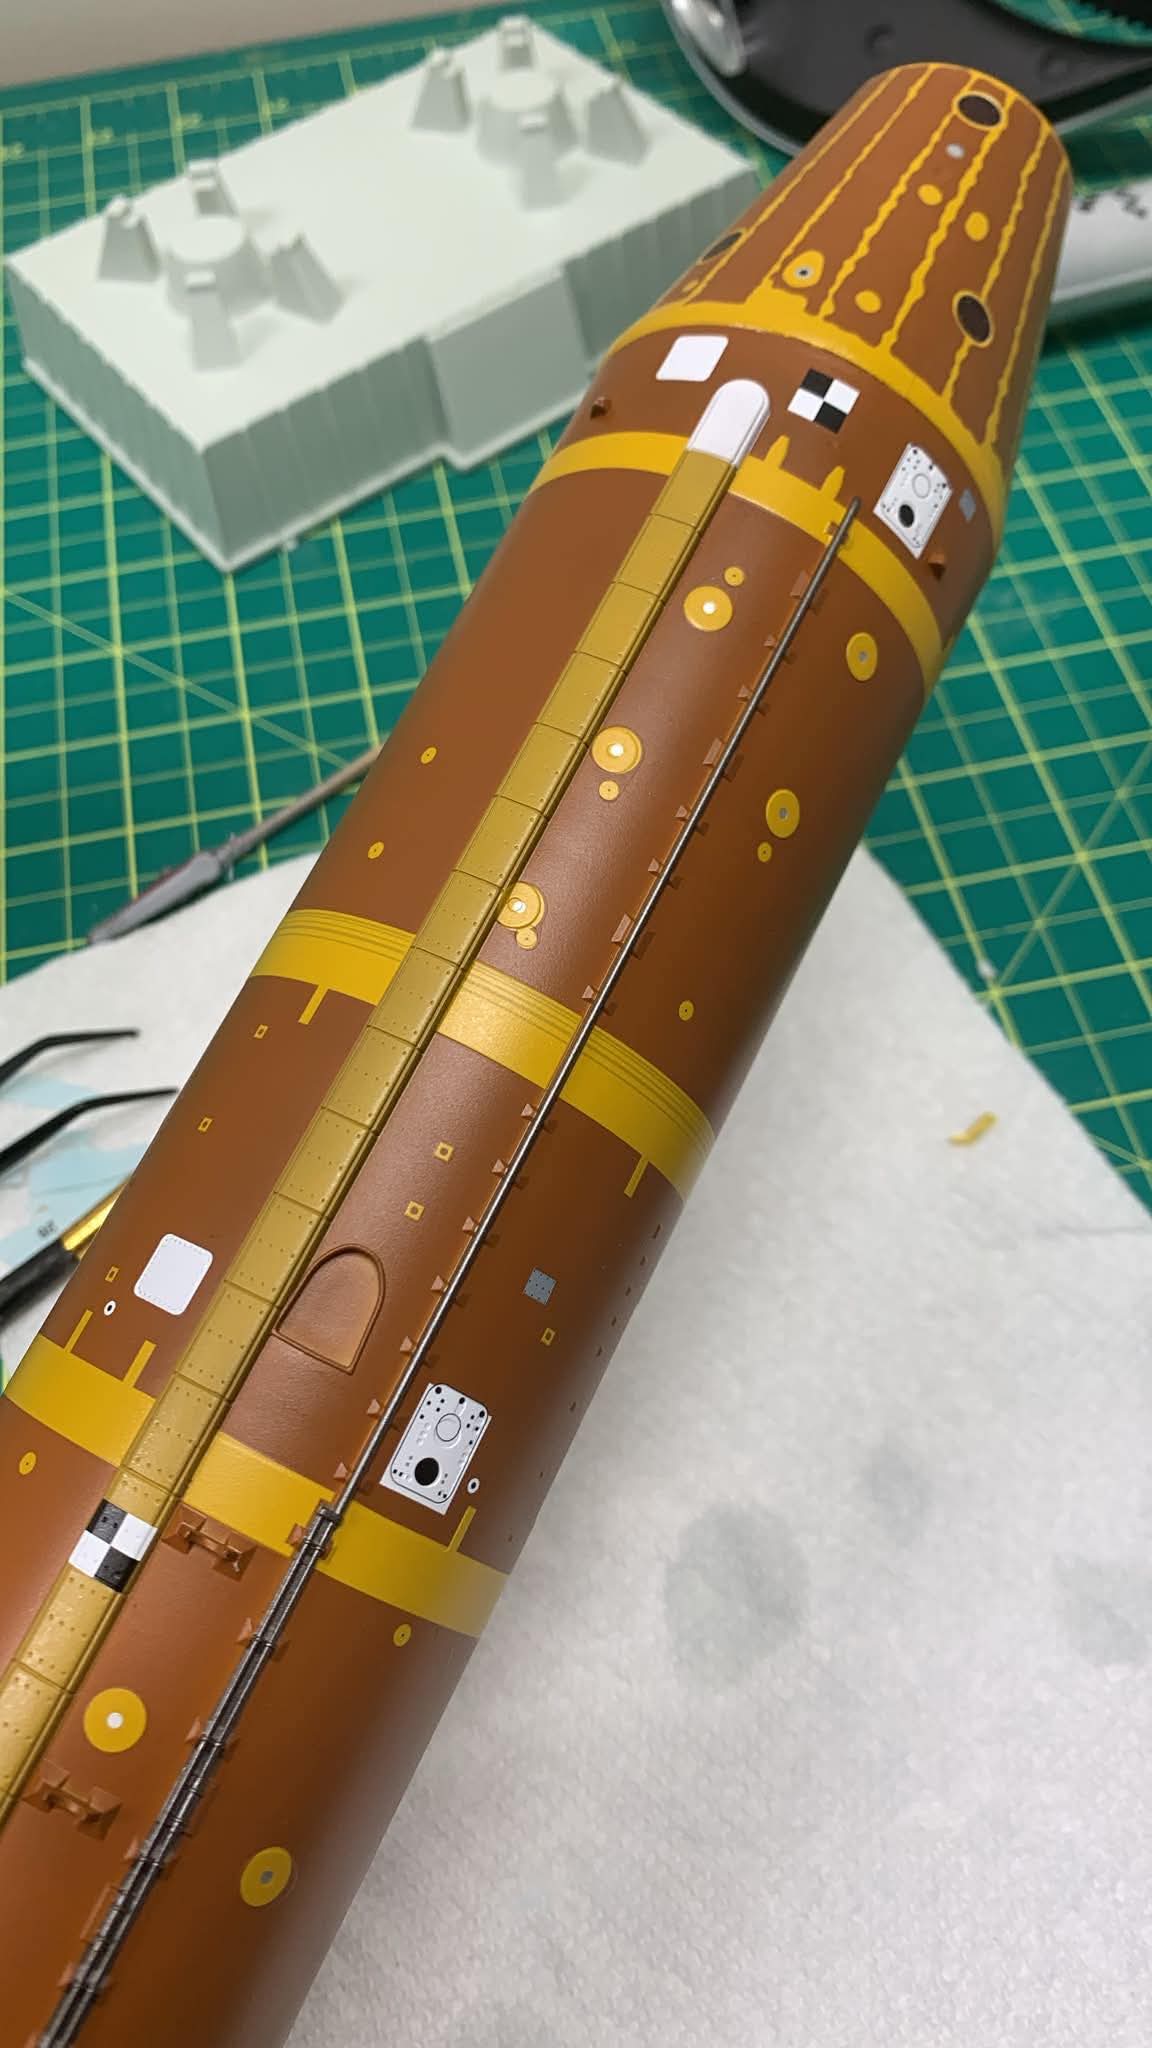
The real challenge is the orange core stage. This color is definitely not available off the shelf. While the manual provides a mix recipe based on Revell acrylics, I prefer using Tamiya paints, meaning I had to invent my own formulas:
- The Main Rocket Orange: I mixed 4 Parts X-6 Tamiya Orange with 1 part XF-9 Hull Red. It required a couple of coats to get perfectly uniform across such a massive surface, but it was very close to the look of the real rocket.
- The Orange-Yellow: To match the lighter, yellowish-orange sections printed on the kit’s decals, I mixed 2 parts X-8 Tamiya Yellow, 1 Part X-6 Orange, and 2 parts XF-55 Deck Tan.
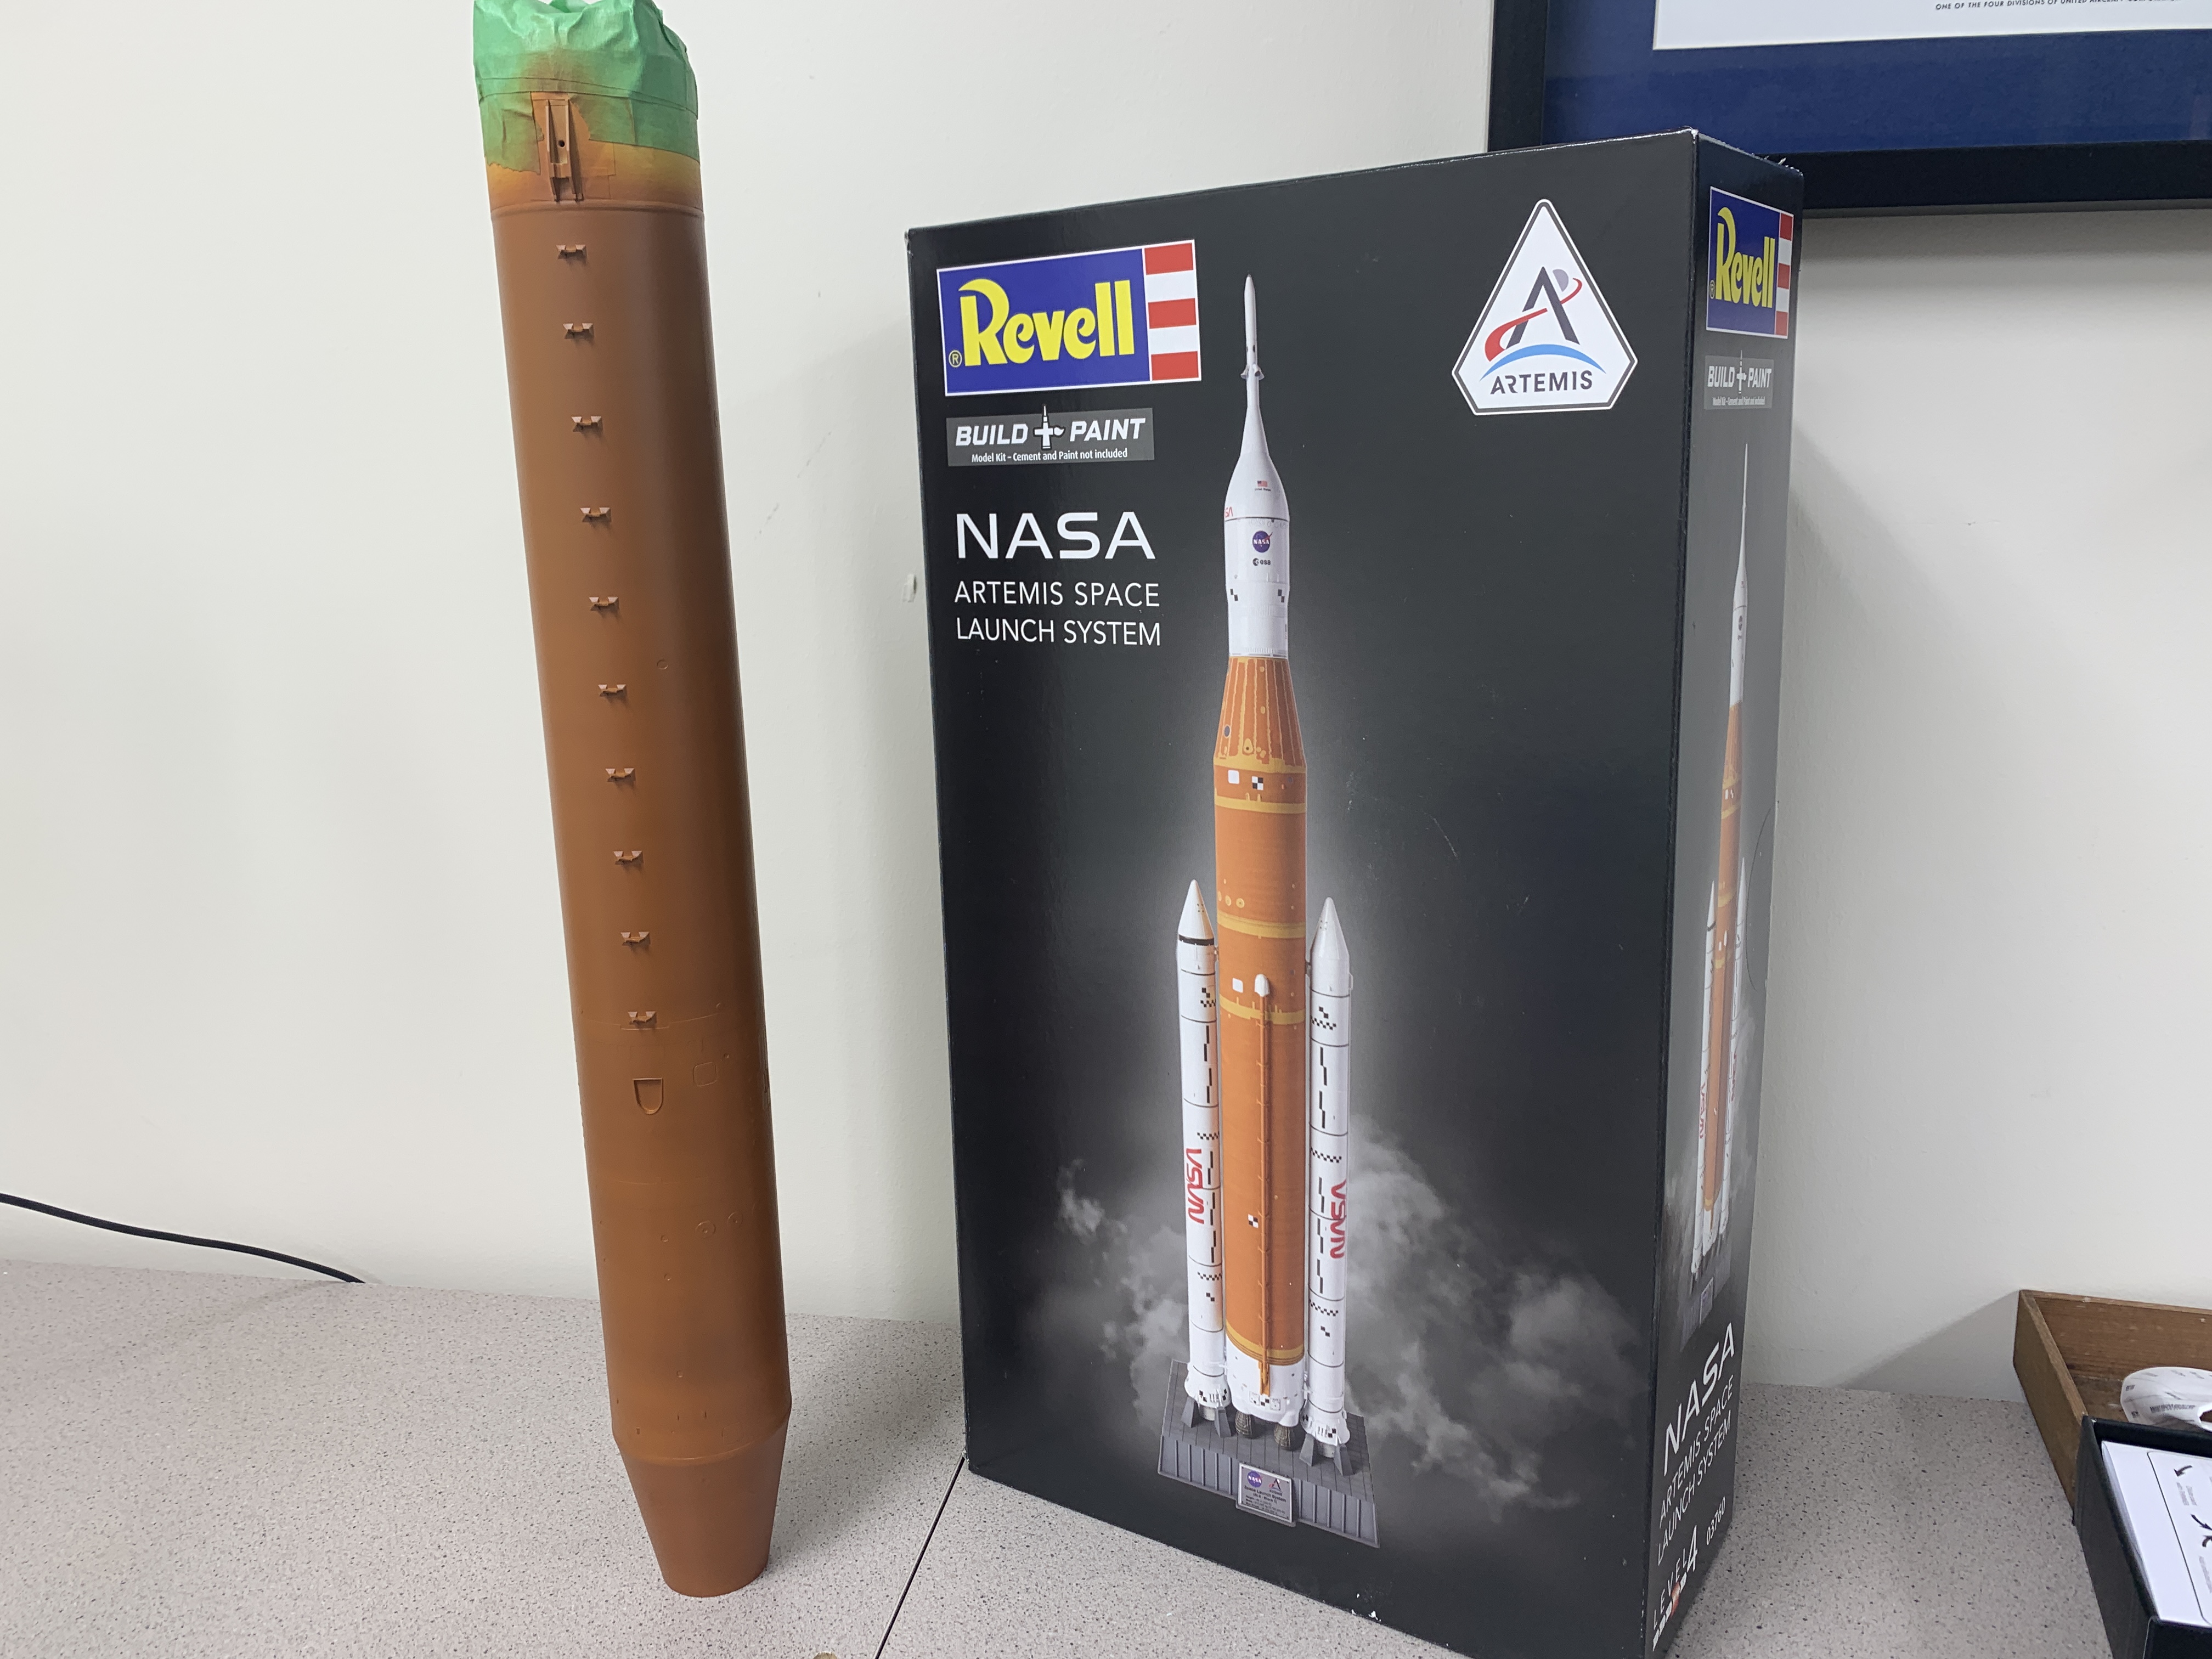

After another heavy masking session—including wrapping the steel-colored external piping molded onto the main tube—I sprayed the final colors. My patience paid off. The lines were flawlessly clean.
Decals: Hoo boy… there are a LOT of Decals!
Revell deserves massive credit for the decals in this kit. There are a lot of them, but they are easily some of the thinnest, toughest, and highest-quality kit decals I have ever worked with. They settled into the details perfectly.
To finish the look, I sealed the white components in a sleek semi-gloss clear coat, while the orange core booster received a dead-flat matte coat to mimic the real insulation foam.
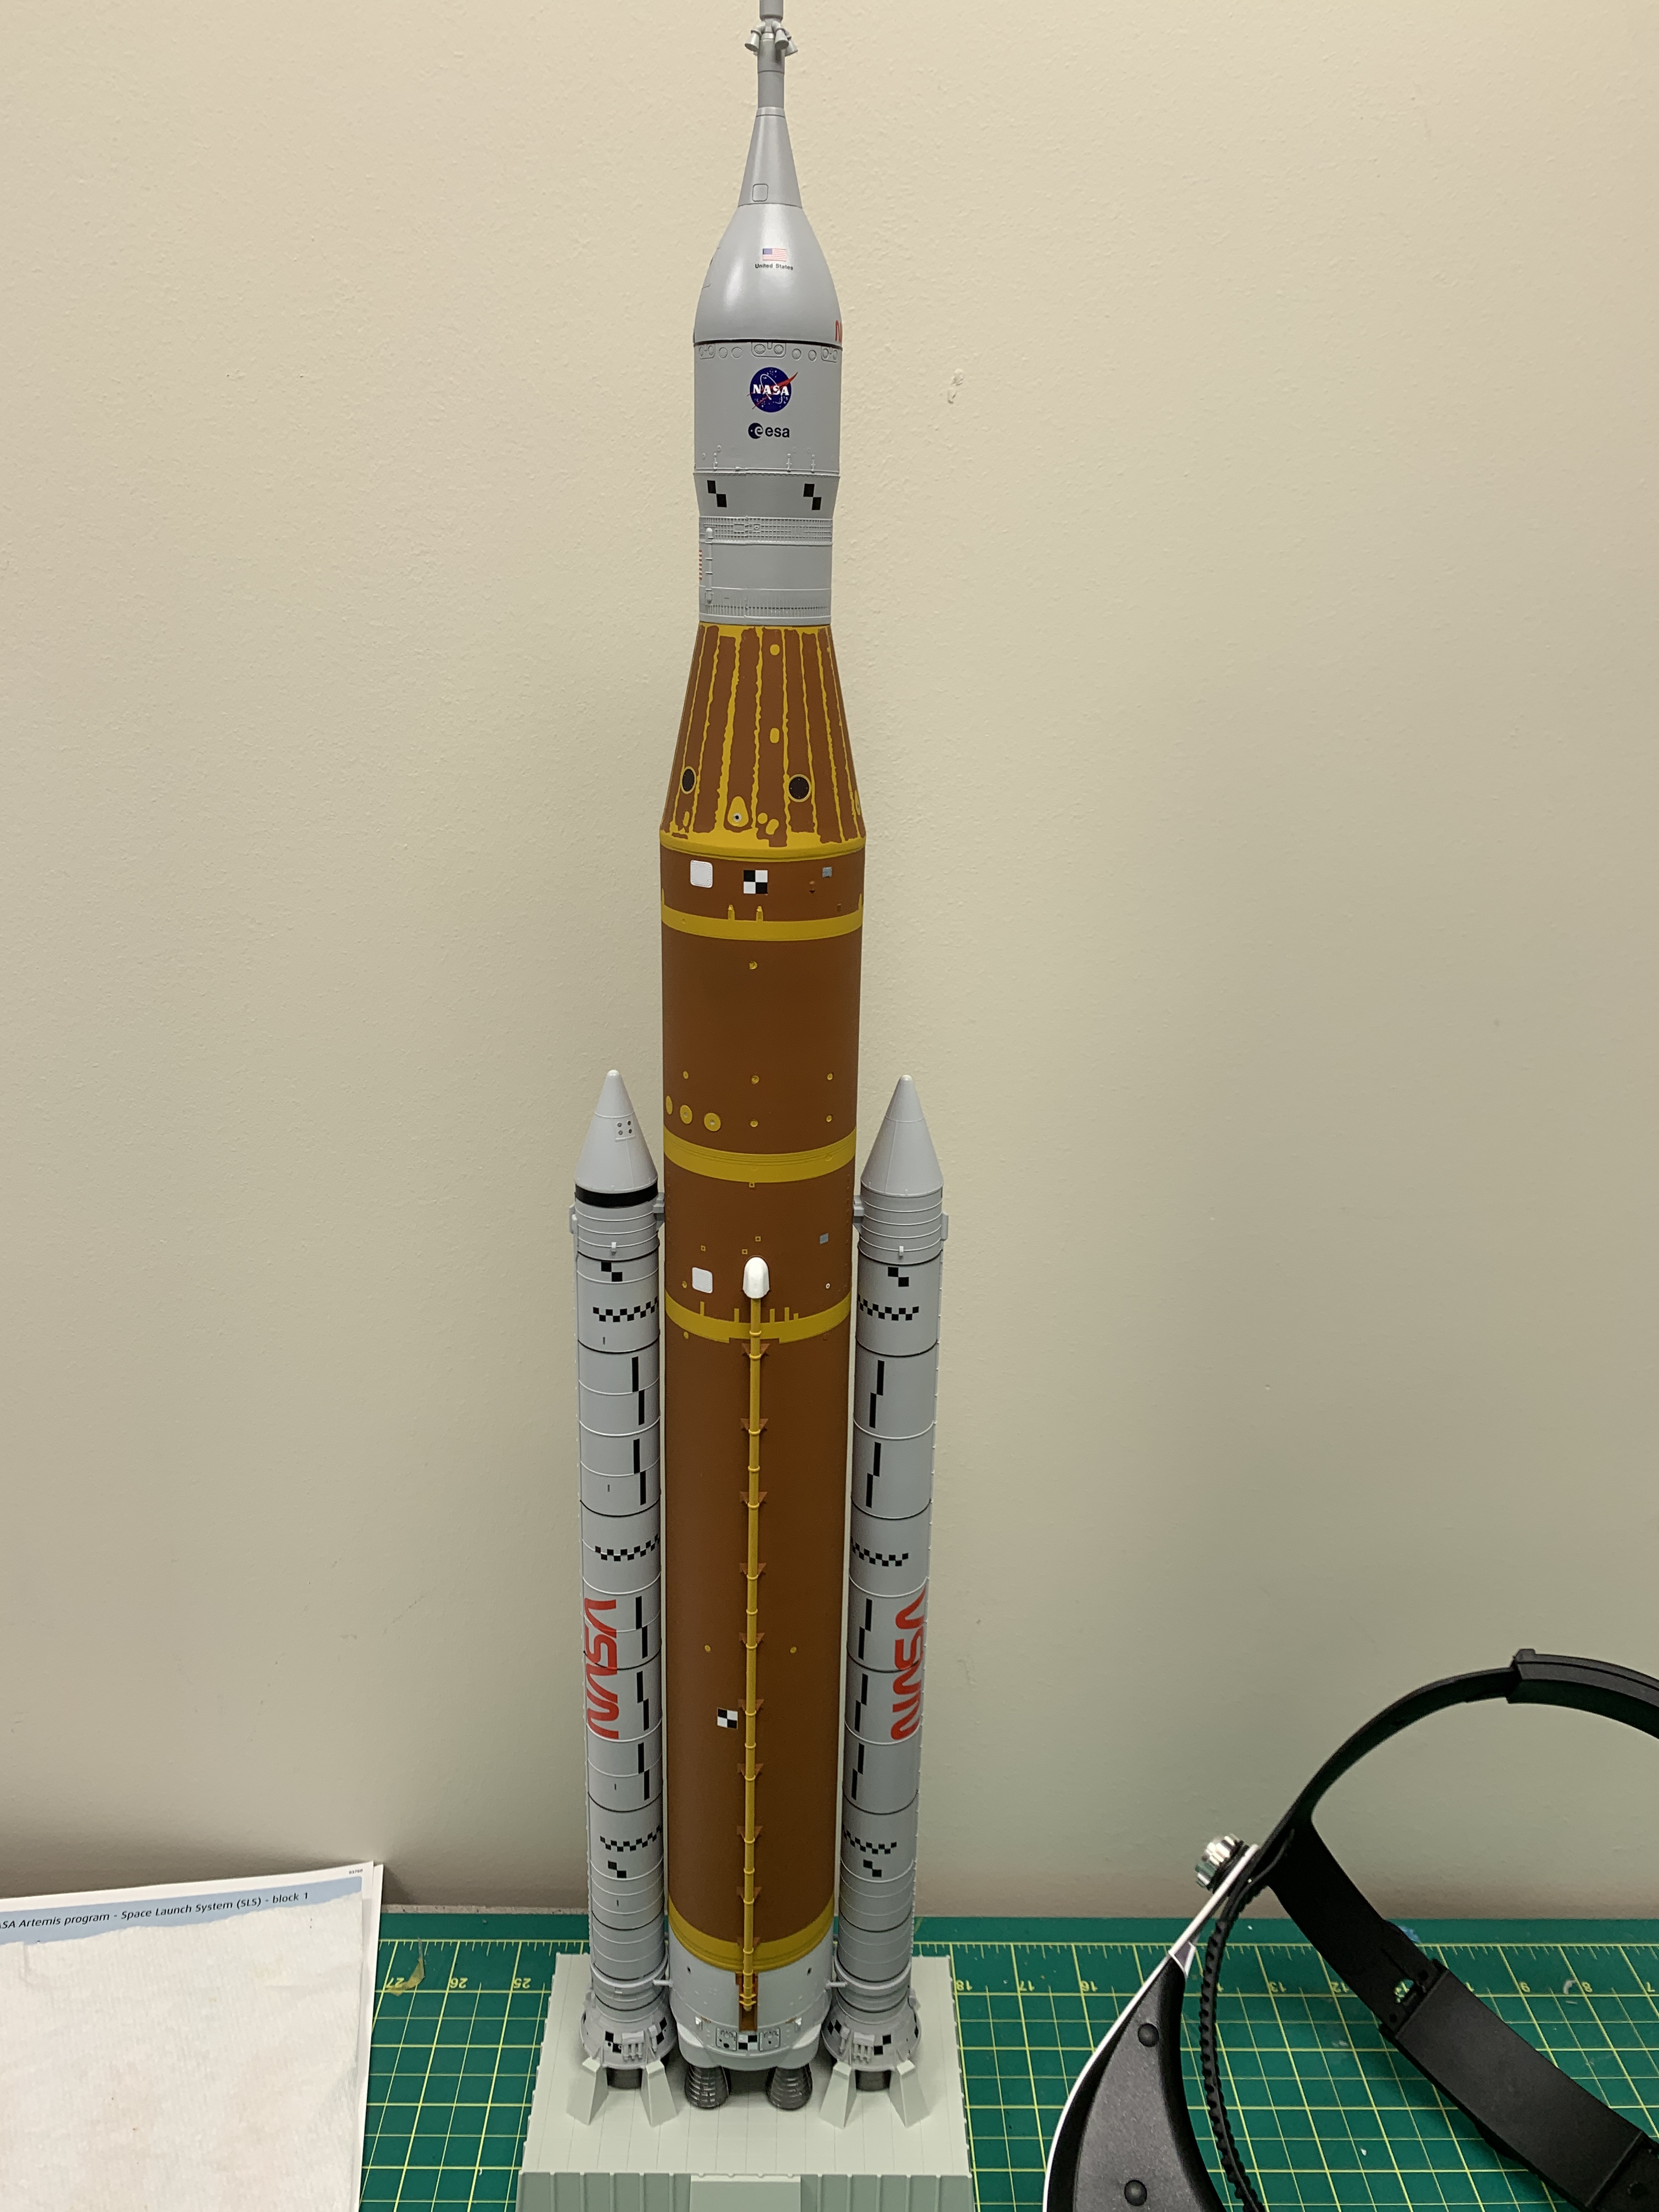

Display: Ditch the Plastic Stand
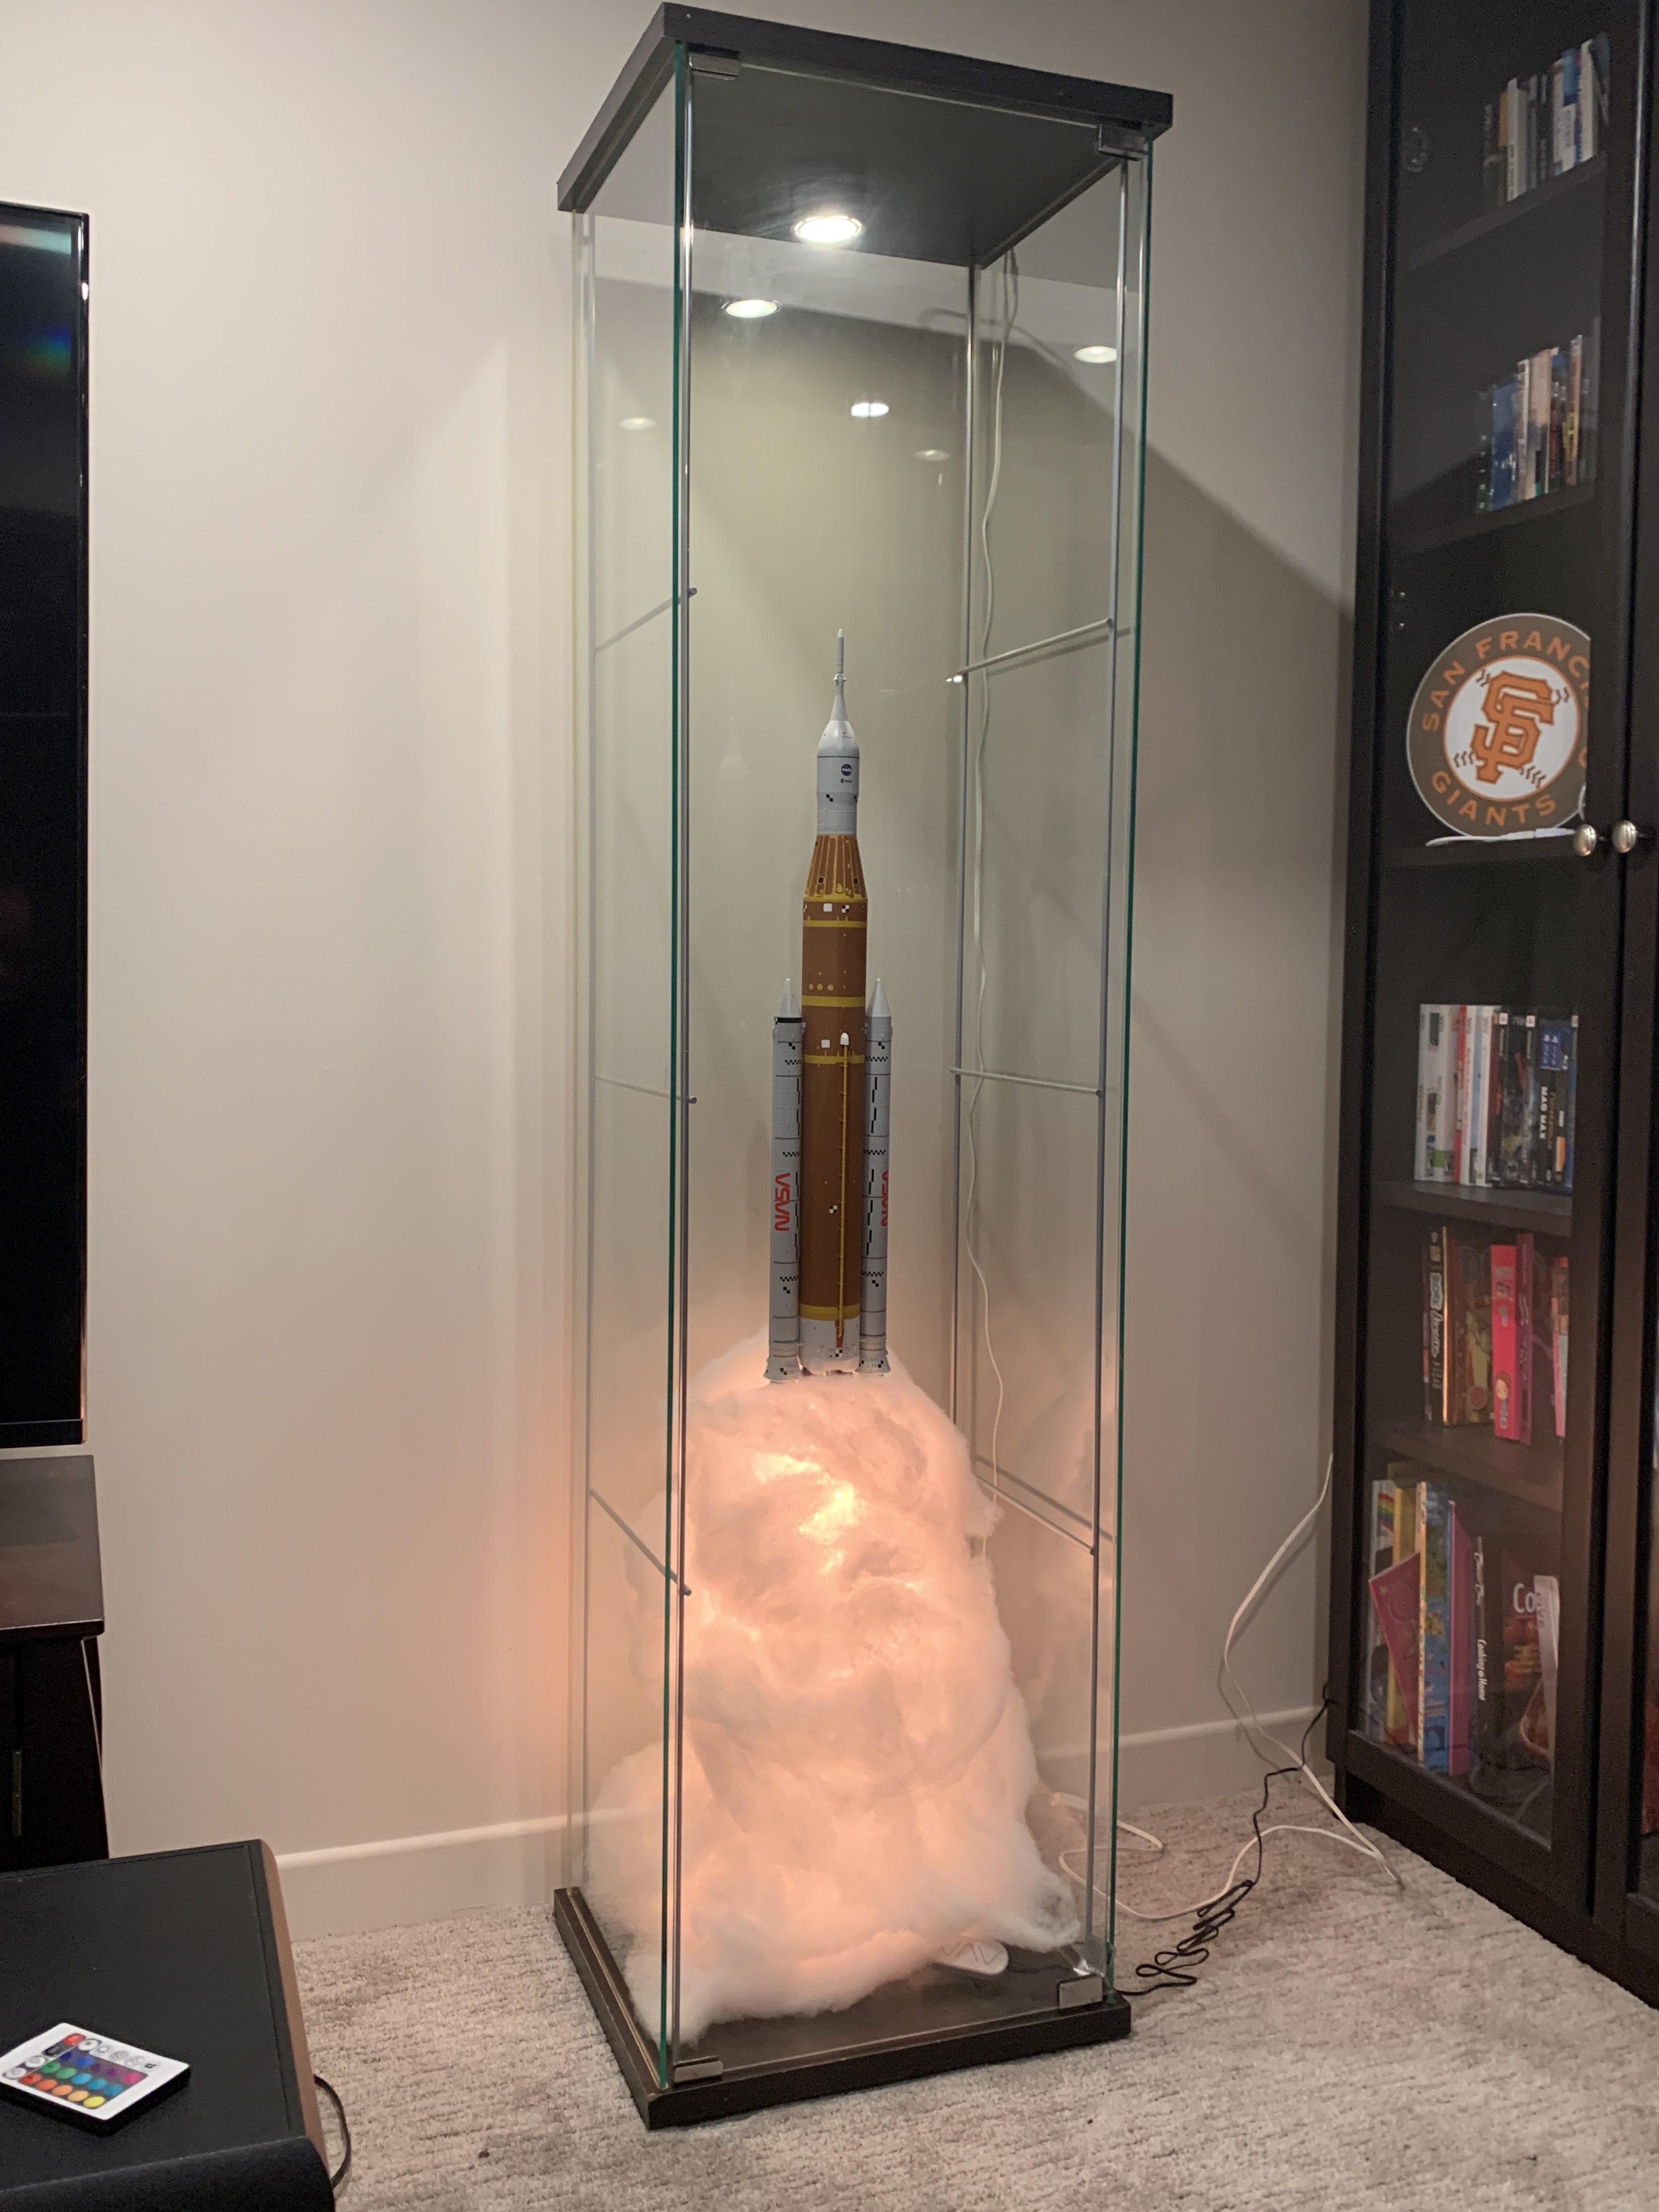
Up on its factory-provided plastic stand, the finished rocket looked competent. But “competent” is boring. A rocket needs drama. I decided to build a custom, glowing exhaust plume to turn the model into a functional ambient light feature for my TV room. The best part? It is incredibly inexpensive to make.
Constructing the Core
I picked up some standard 1/2-inch PVC piping from the local hardware store and an LED strip light kit online.
- Cut the Pipe: I cut three pieces of PVC pipe to 18-inch lengths.
- Assemble the Launch Column: I designated one central pipe for the main booster exhaust and two flanking pipes for the SRBs.
- Secure the Frame: I taped the pipes together, secured them permanently using hot glue, and mounted the central PVC core onto a sturdy piece of scrap 2×4 lumber.
Wrapping the LEDs
The beauty of modern LED strip kits is that they come with everything you need right out of the box.
You simply start at the bottom of the PVC framework and wrap the strip upward. To get a dense concentration of light, you have to wrap it tight. I completely lost track of how many rotations it took, but you want to cover the columns from base to top. I used two full reels of LEDs to cover all three columns.


Modifying the Mount
To get the model to sit securely on top of an LED-studded post, I had to heavily modify the top of the original plastic kit stand. After a bit of aggressive trimming, I glued the rocket holder directly to the top of the PVC core. As a safety feature, I drilled a 1/8-inch hole through the mount and inserted a rigid 1/8-inch metal rod to act as a pin, ensuring the heavy model could never slide off its new perch.
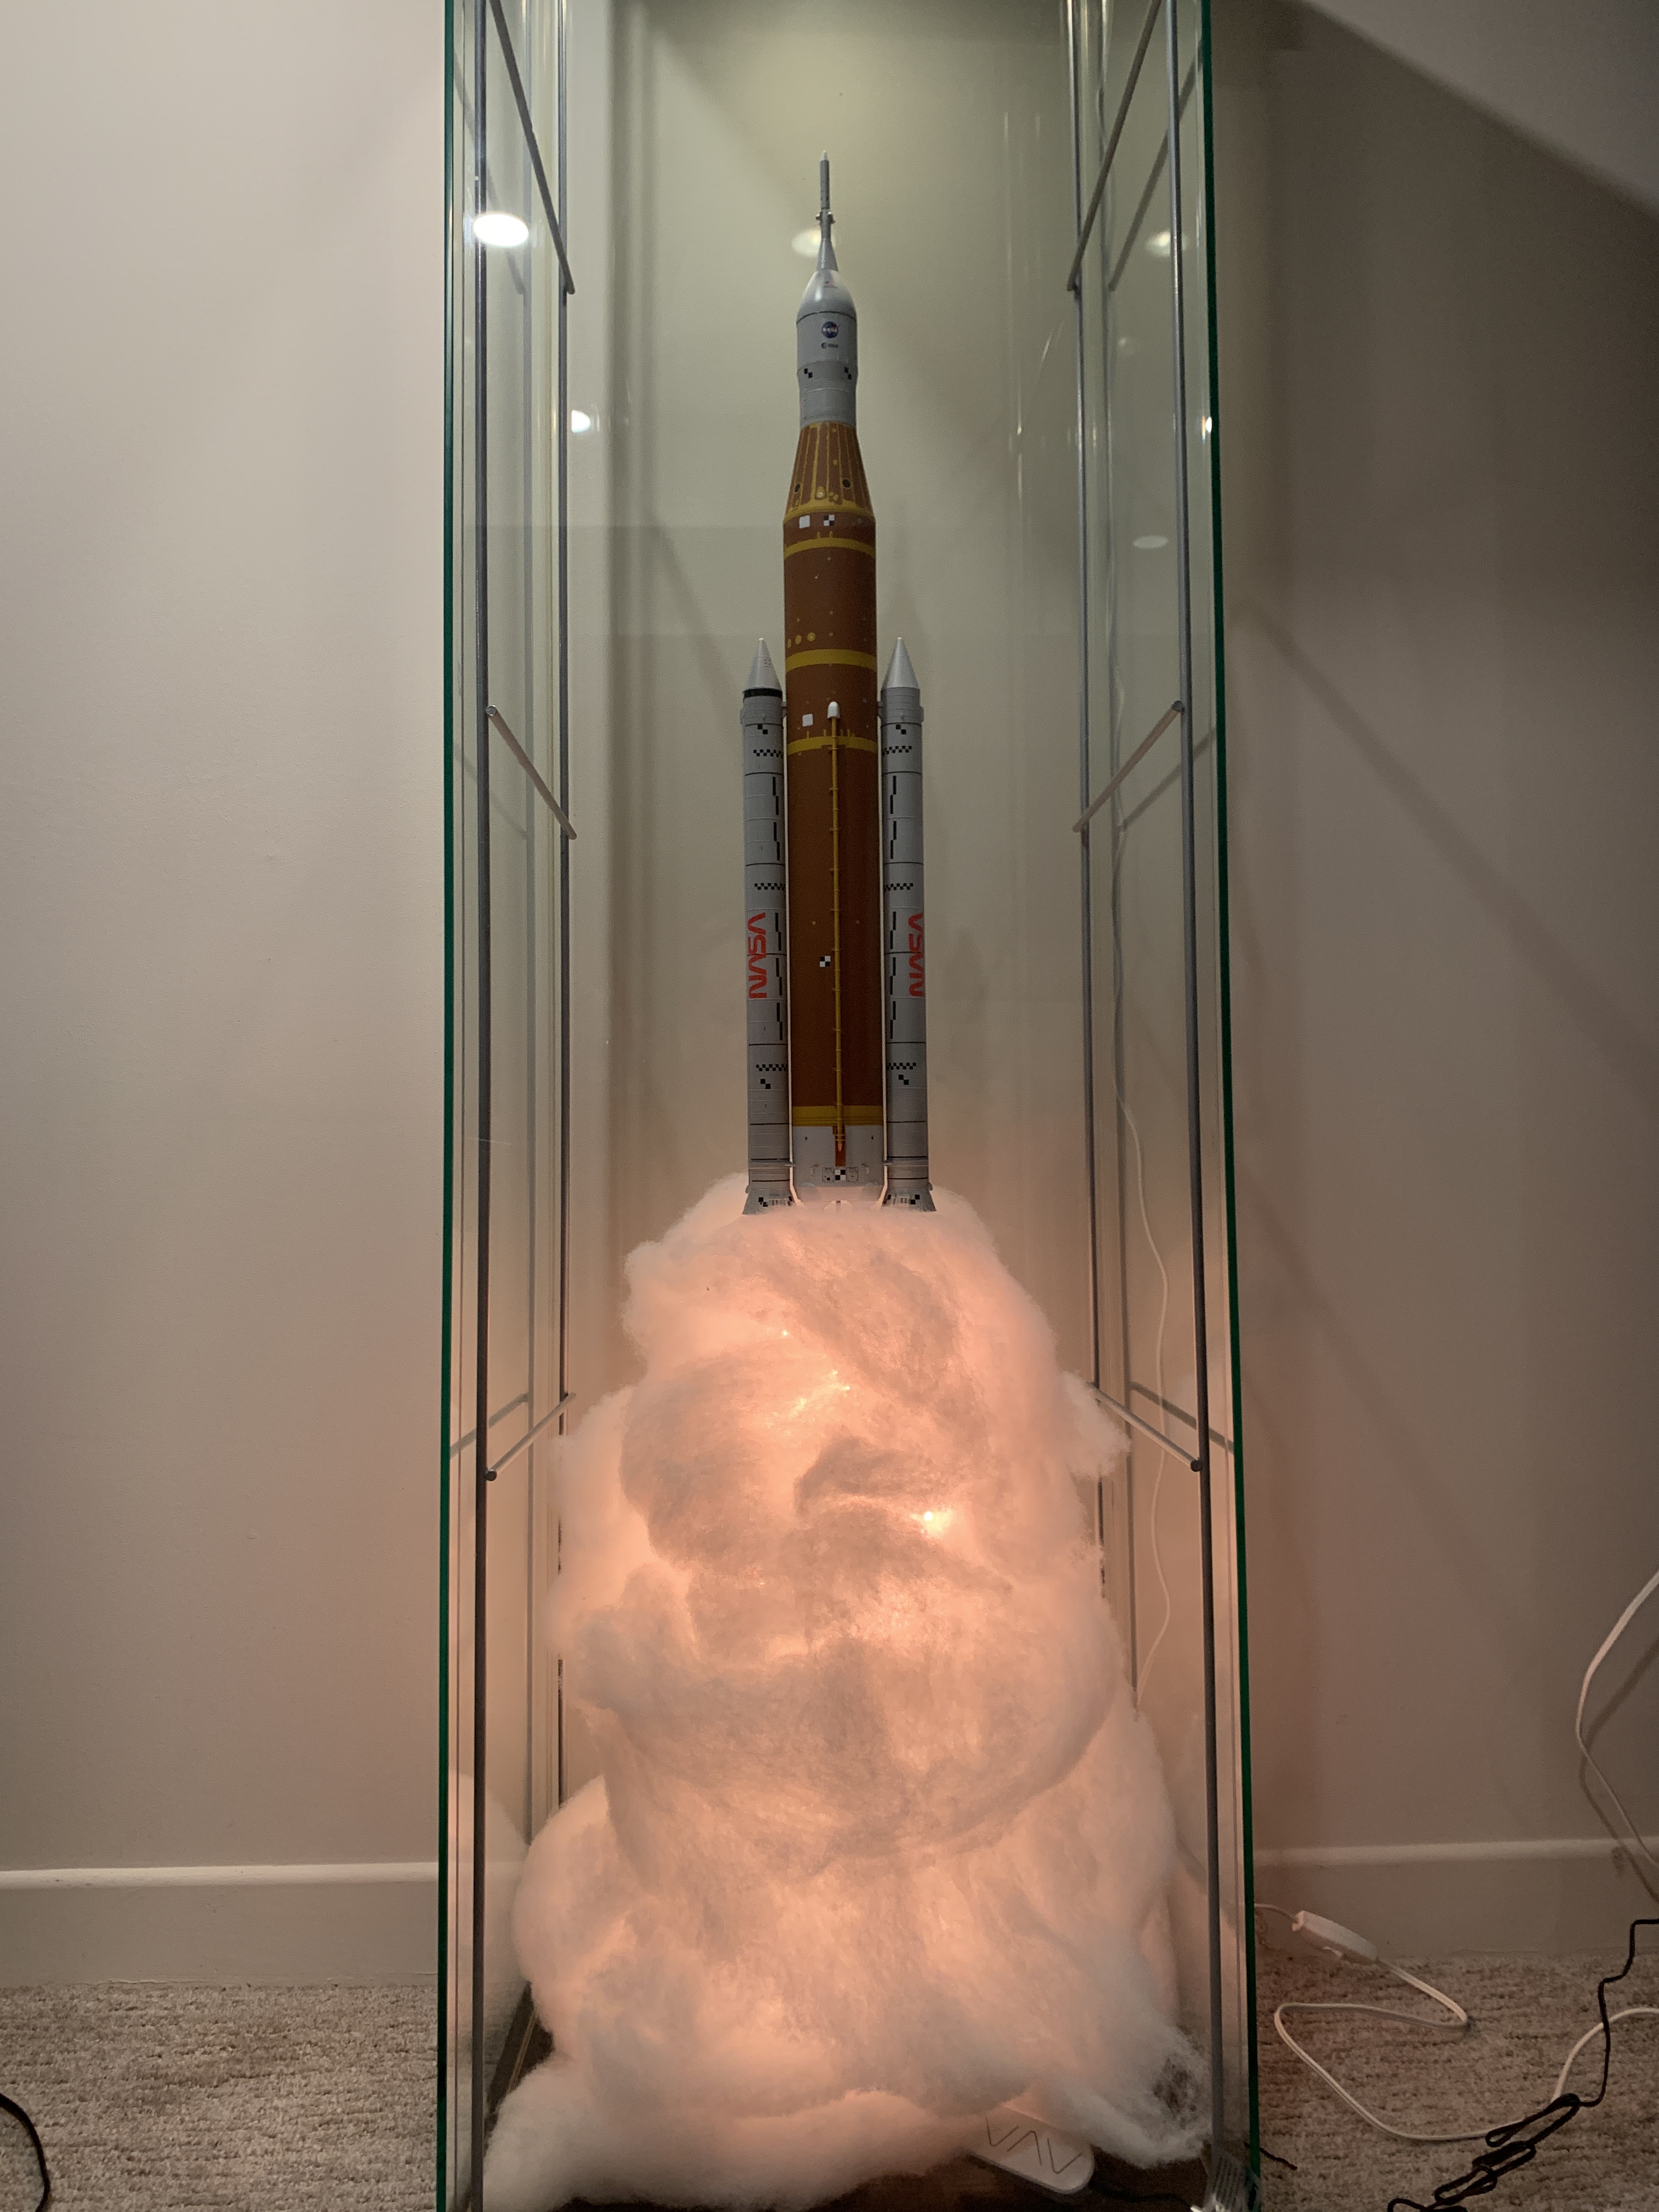
Crafting the Smoke
For the final display, I placed the wooden base inside an IKEA Detolf glass cabinet (though any display cabinet or deep shelf works perfectly). To transform harsh LED points into a soft, rolling cloud of fire, I bought a cheap pillow from the dollar store, ripped it open, and wrapped the synthetic polyester stuffing completely around the light columns. There is no exact science to this step—you simply shape and fluff the batting until it diffuses the light and takes on the chaotic shape of a real rocket exhaust plume.
Wanna See A Video?!?!
Yeah… you do:
Last Thing
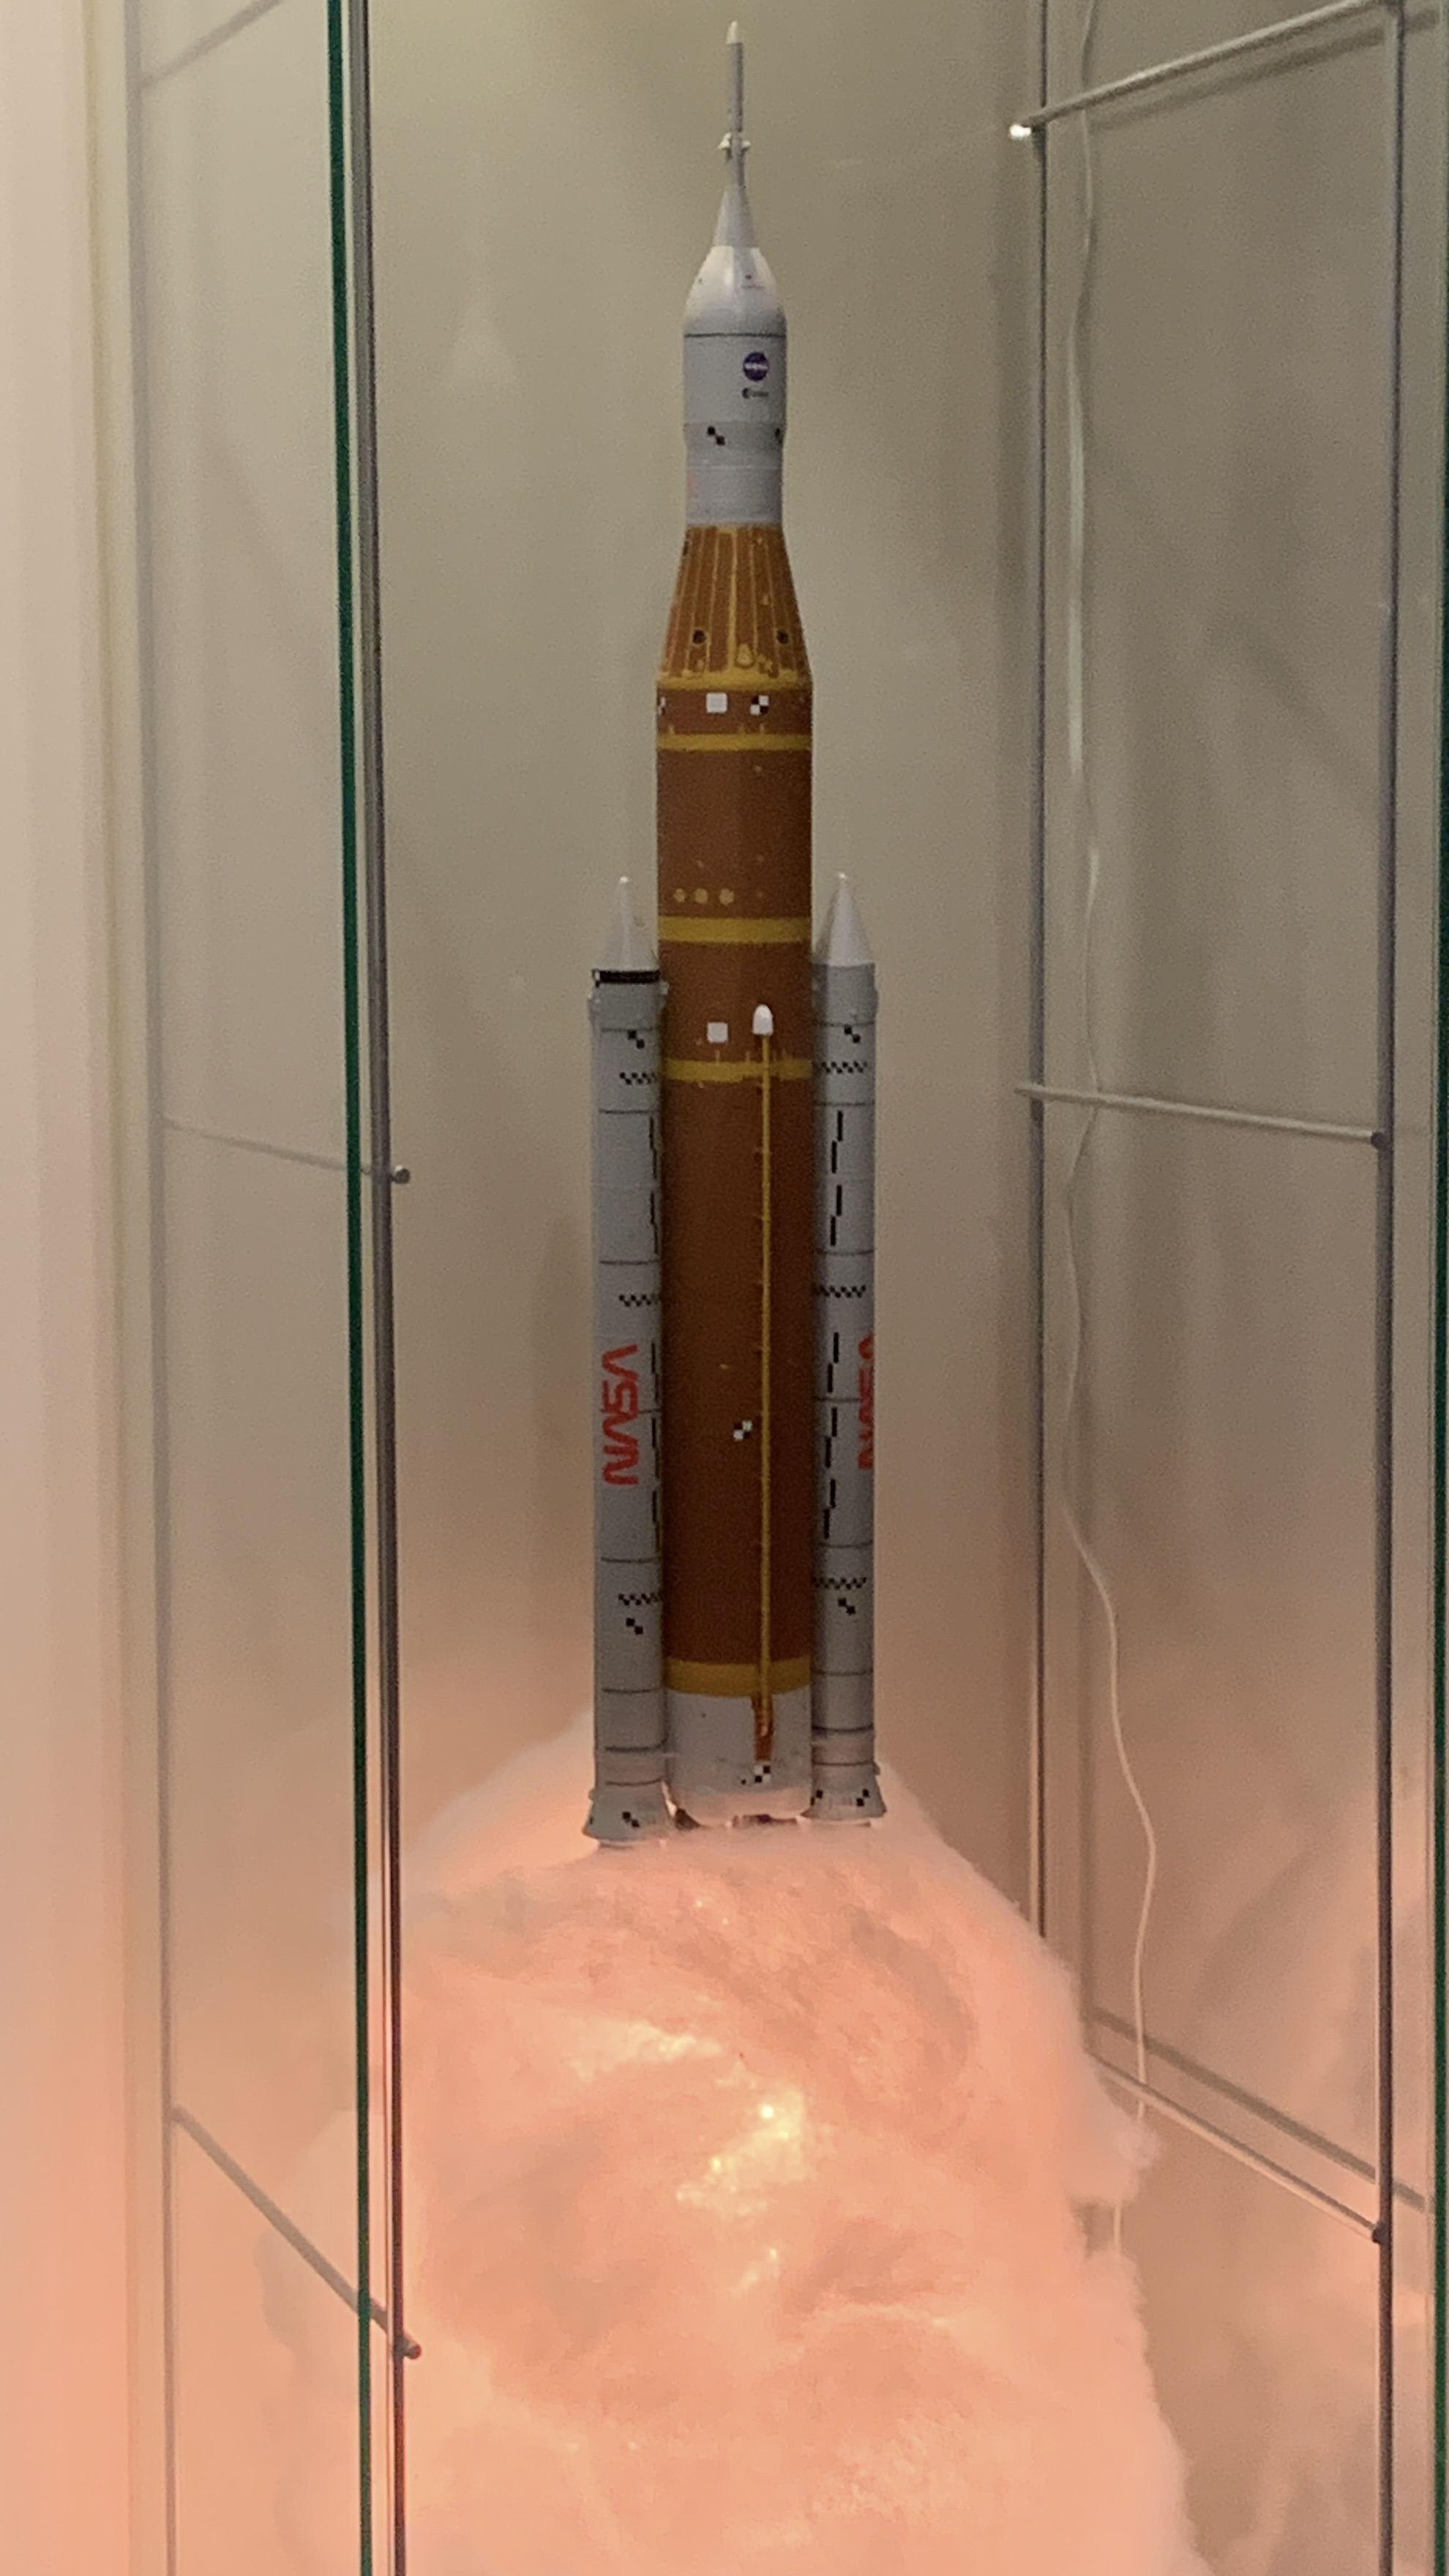
When I placed the completed Artemis rocket onto the mount and flipped the power switch, the result was stunning.
The white stuffing perfectly diffuses the LEDs. It looks infinitely better than any standard plastic display stand ever could. Now, whenever I sit down to watch a movie, the rocket light stays on—casting a beautiful, glow across the entire room.
Hopefully, this inspires you to look past the instruction manual on your next build and think outside the box for your displays.

The title grabbed me, and then the article completely enthralled me! Every model has the potential to be a glowing work of art, I thought, and then…an actual work of art, which happened to feature a glow. Bravo!
Also, a topic that’s not ‘the usual’ (Corsair, Tomcat, Tiger, Zero, Scooter, Stug…), which is most welcome.
LikeLike