TL;DR: A challenging build but it paints up well and I had fun weathering it; build video link
When it comes to popular model subjects for airplanes, you have the Spitfires, the Mustangs, the Zeroes and the 109s. On the other end of the spectrum you’ll find things like, oh I don’t know, Cessna 150s, Fairey Battles, and whatever a ‘Caudron’ was. And then, well off in the distance, you might find the P-39 Airacobra.
All this to say: don’t expect the next Border or Kotare release to be a P-39.
I never paid much attention to the Airacobra. Whether it was those weird looking car doors, the mid-engine layout or that gangly stork like front landing gear, it didn’t matter. First impressions tend to last and boy, that P-39 was no looker. It fell out of the ugly airplane tree and hit every branch on the way down. Even the British, as desperate as they were for any fighter, turned their noses up at it. Only the Soviets wanted them. But they were twenty times as desperate as the British. I’m pretty sure they wanted whatever the Caudron was, if there were any available.
So, much like those Brits, I simply dismissed the Airacobra.
But I was wrong.
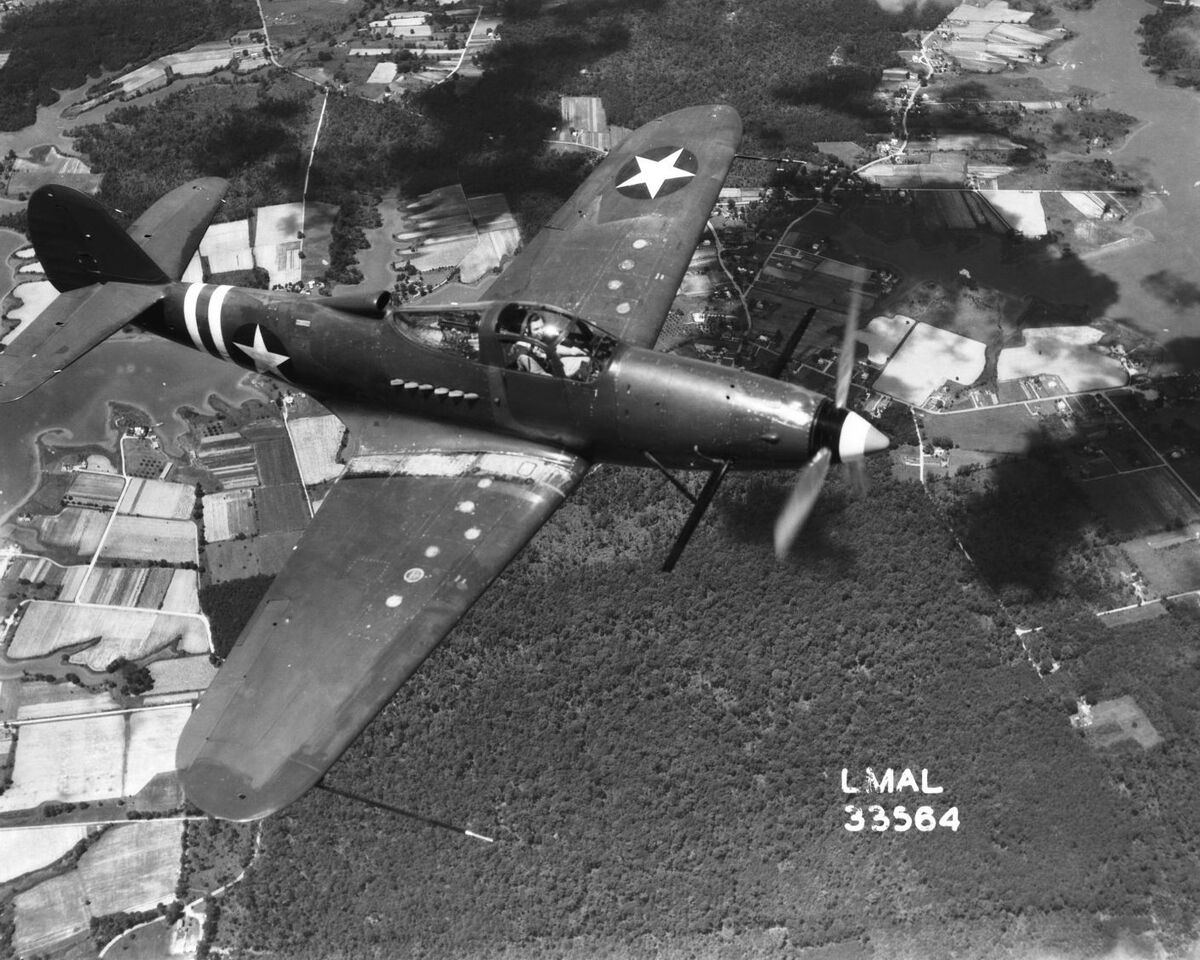
It may be that the Airacobra was a failed fighter design. Or, maybe it was surpassed by later designs and left looking for a new job. But whoever made the decision to ship these unwanted airplanes to those dusty coral airstrips in the Pacific was a genius. Sure, they couldn’t go toe to toe with a Zero. Not many airplanes could. But they became some of the best ground support airplanes in the war.
To be honest with you, I am still playing catch up when it comes to the Airacobra, and there is lots I don’t know. But I went down a reading rabbit hole and I emerged with a new-found appreciation of the P-39.
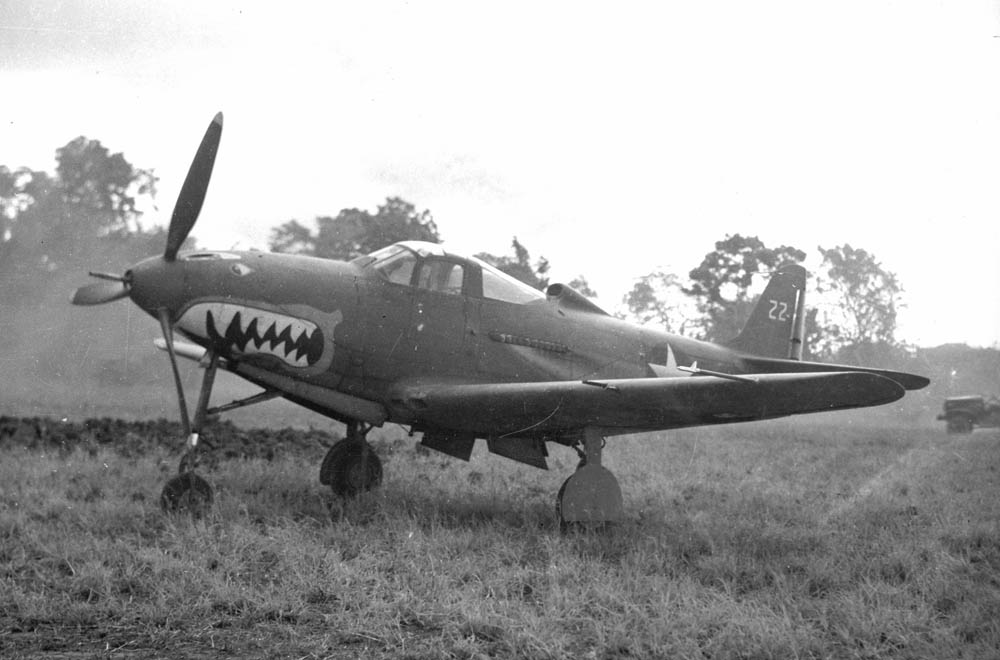
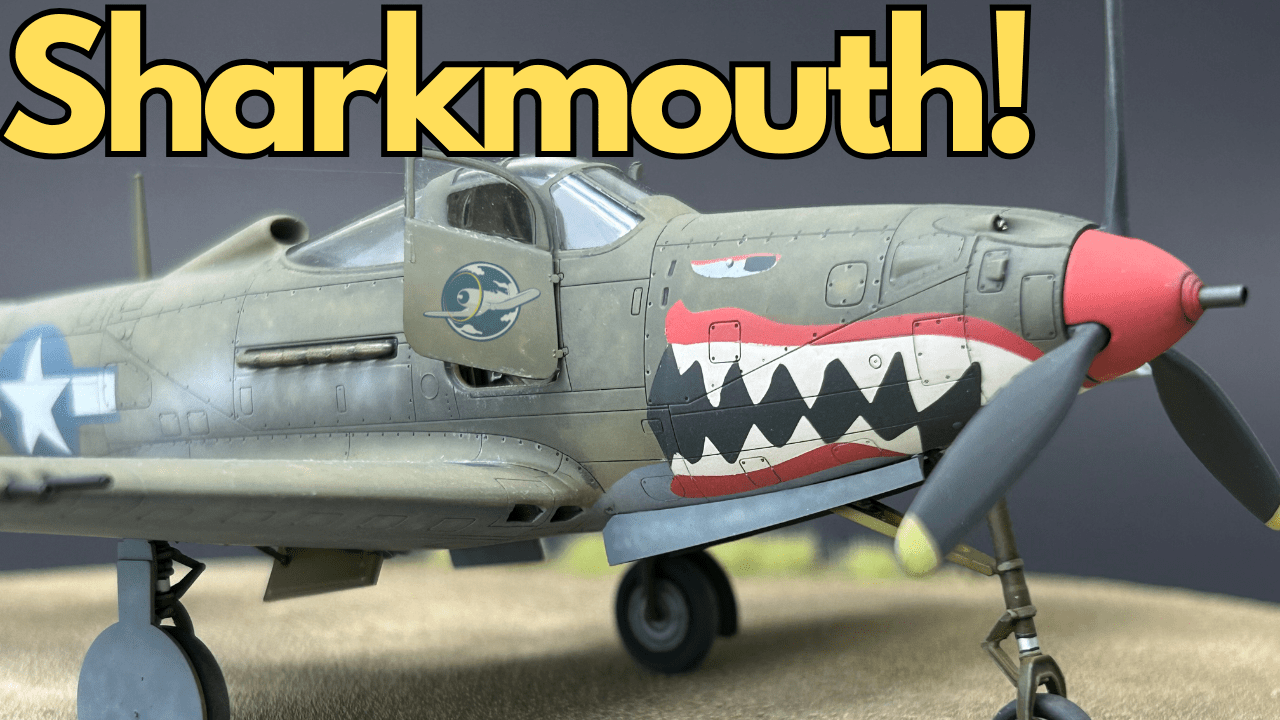
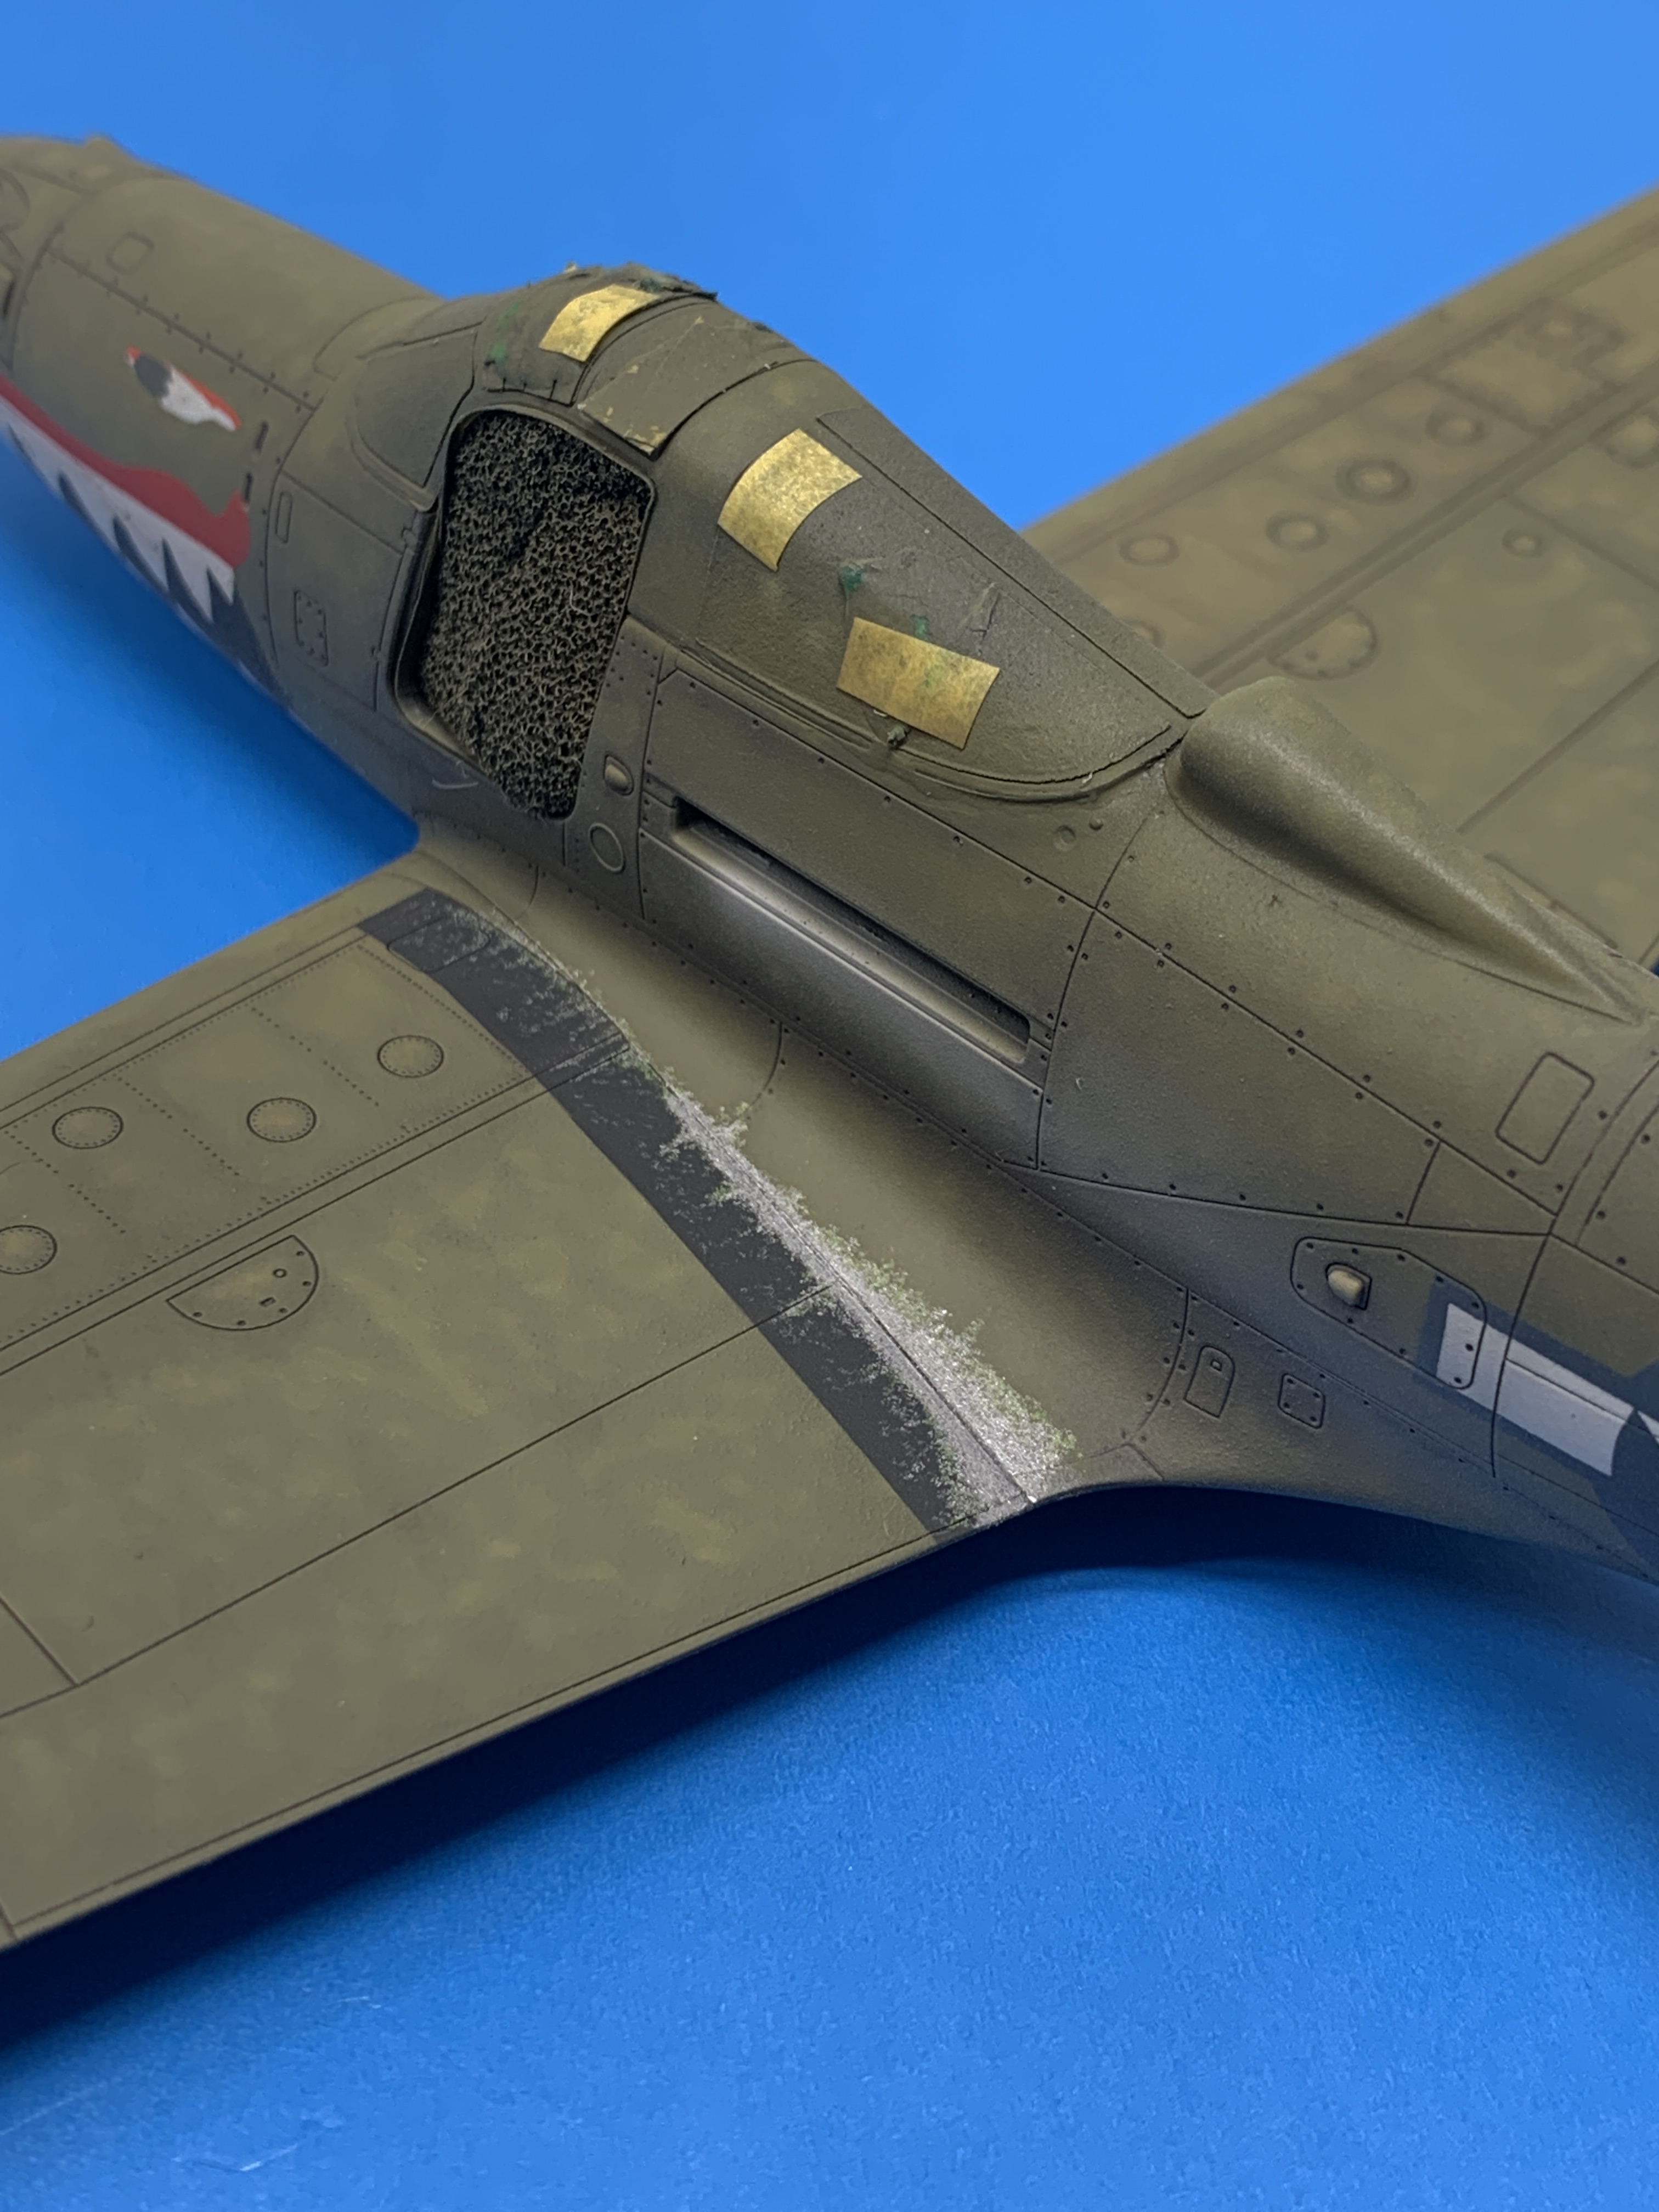
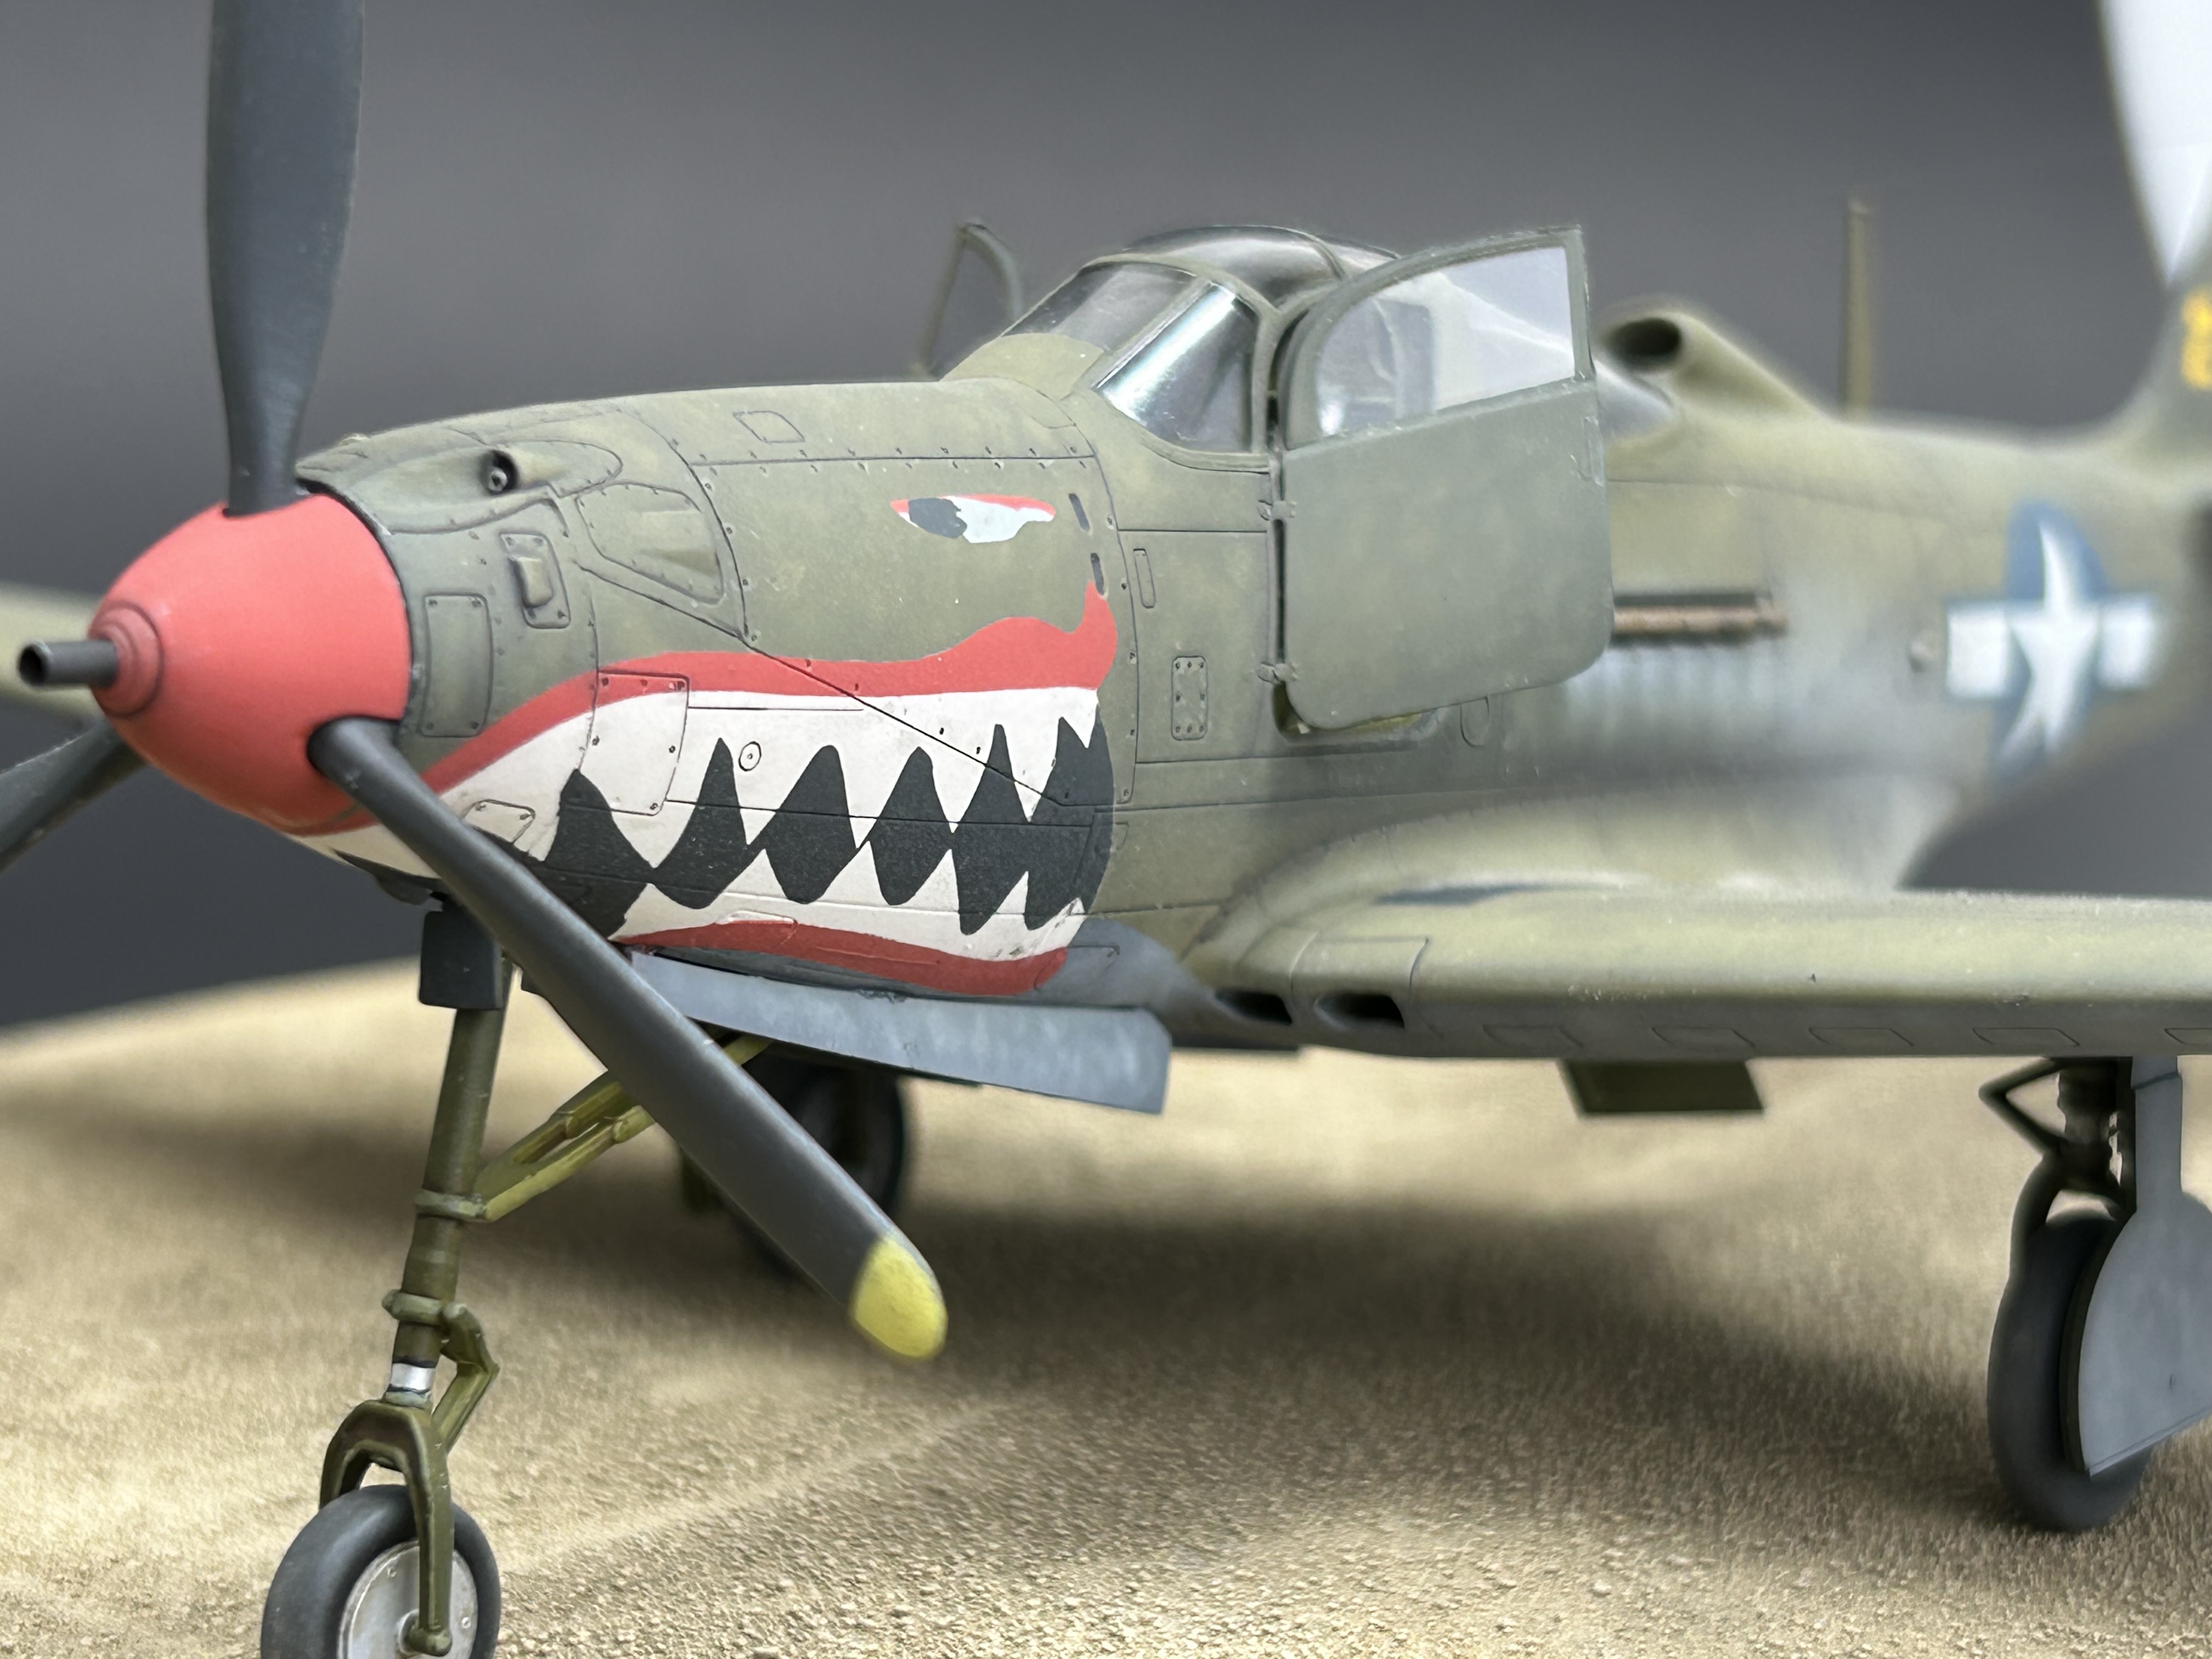
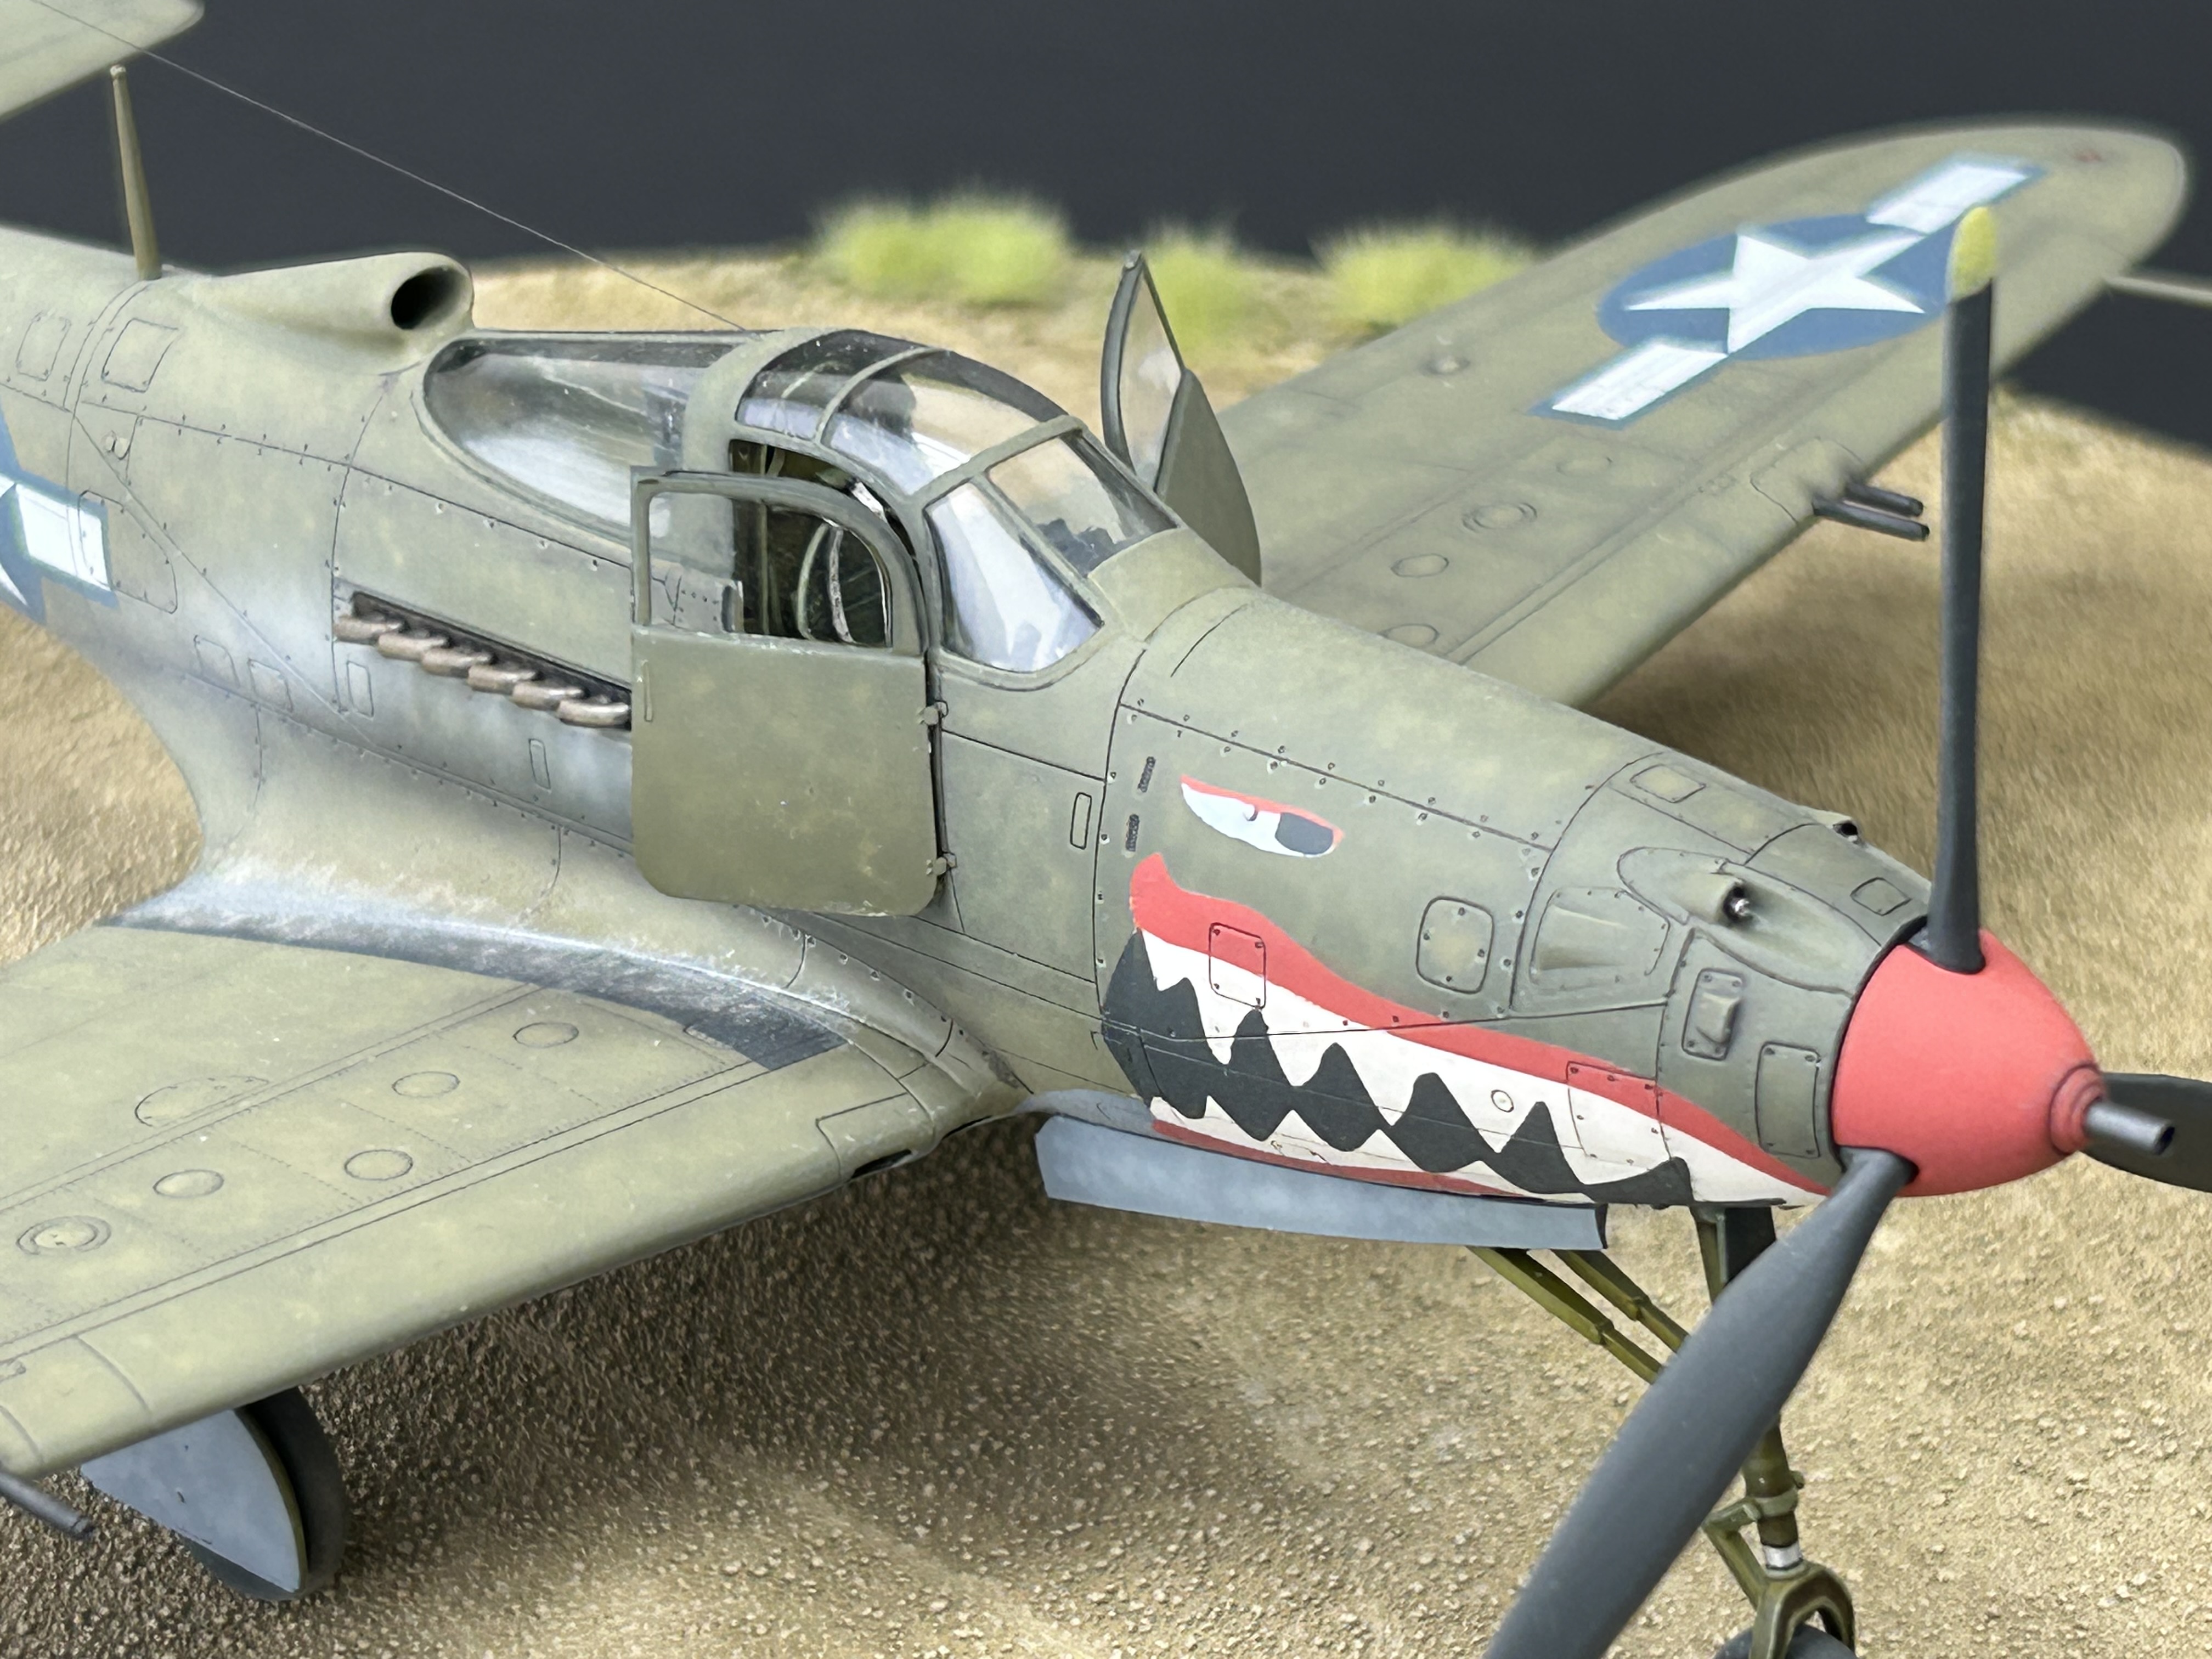
Especially P-39s with those shark mouths…
So, armed with this newfound enthusiasm for a plane that I knew next to nothing about, I ran out to my Local Hobby Shop to get me the latest and greatest kit of the P-39. It was the 48th scale Arma kit and I happily plunked down the dollars for it. After all, I had a fantastic time building their Wildcat a few years ago.
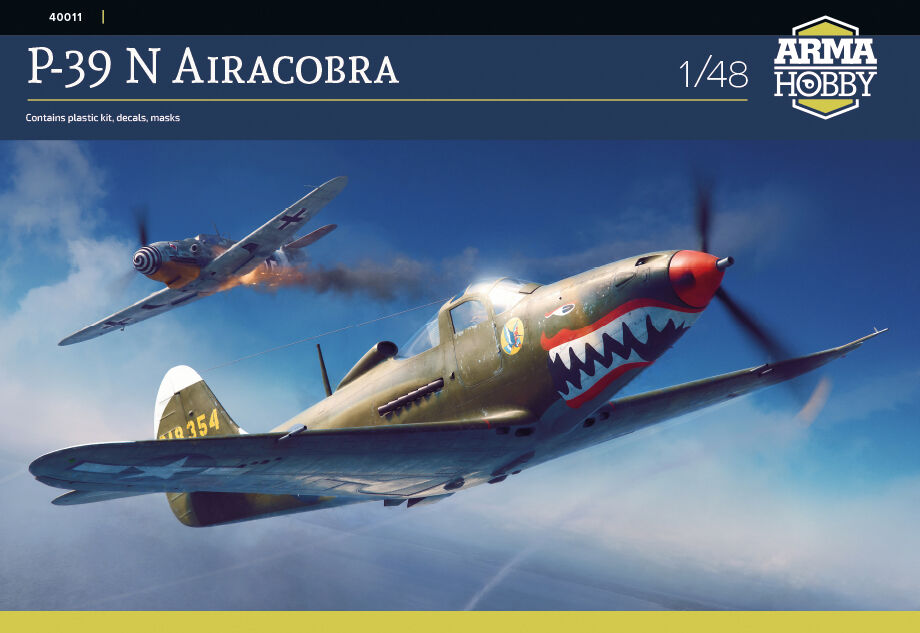
But as soon as I opened it, I knew I bought the wrong kit! I got the later Q variant. And there were no shark mouths to be found in the box. I couldn’t find any pictures of a shark mouthed Q on the internet either. It seems those were for earlier variants. I really should have gotten the N.
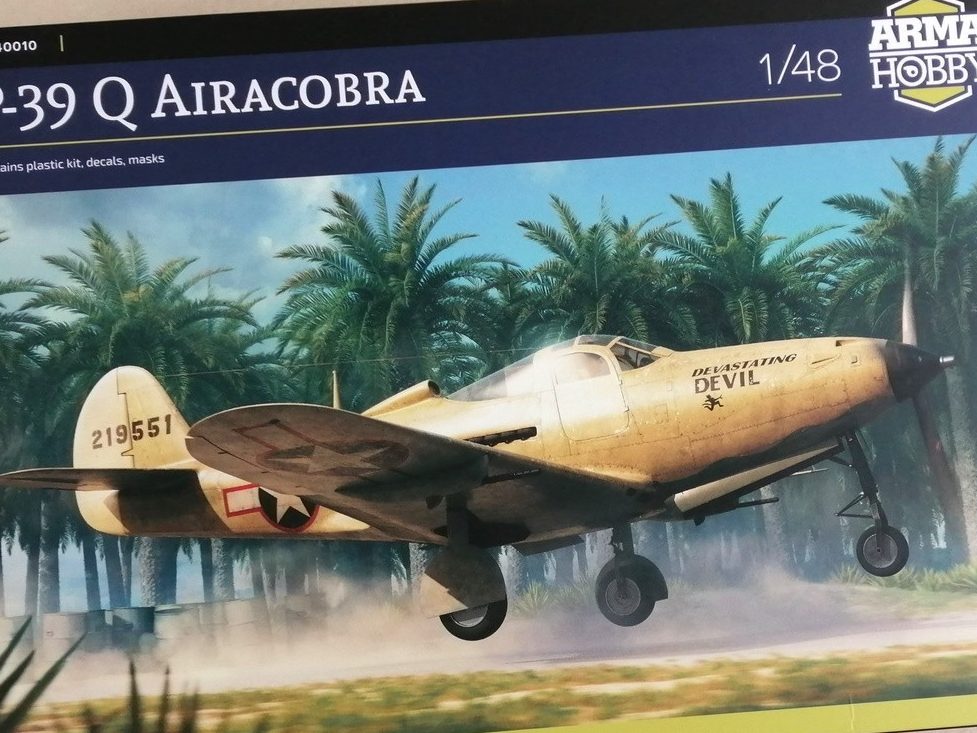
Crap.
But then I took a long look at the parts in the box and I quickly came to the realization that Arma included all the P-39N parts on these sprues! And yes, there were plenty of N Airacobras with all sorts of shark mouths!
Sweet!
So, I decided to build my kit and paint my own shark mouth!
Where does construction always start?
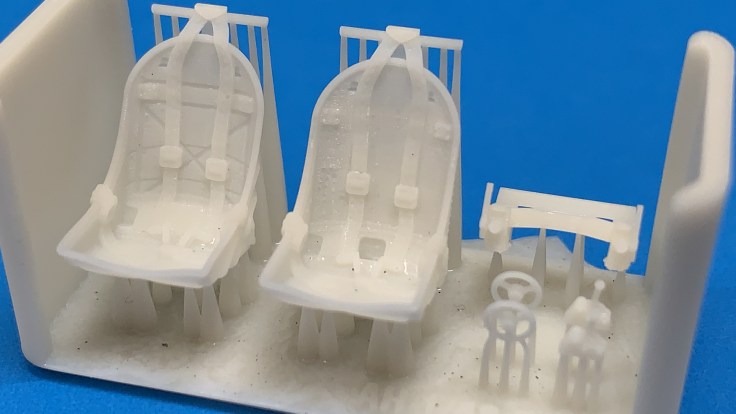
I started hunting for and snipping out the cockpit parts. Then I noticed this small “errata” card that came with the instructions. It had a QR code for a free download of Airacobra cockpit parts! This freebie is in addition to the kit pieces.
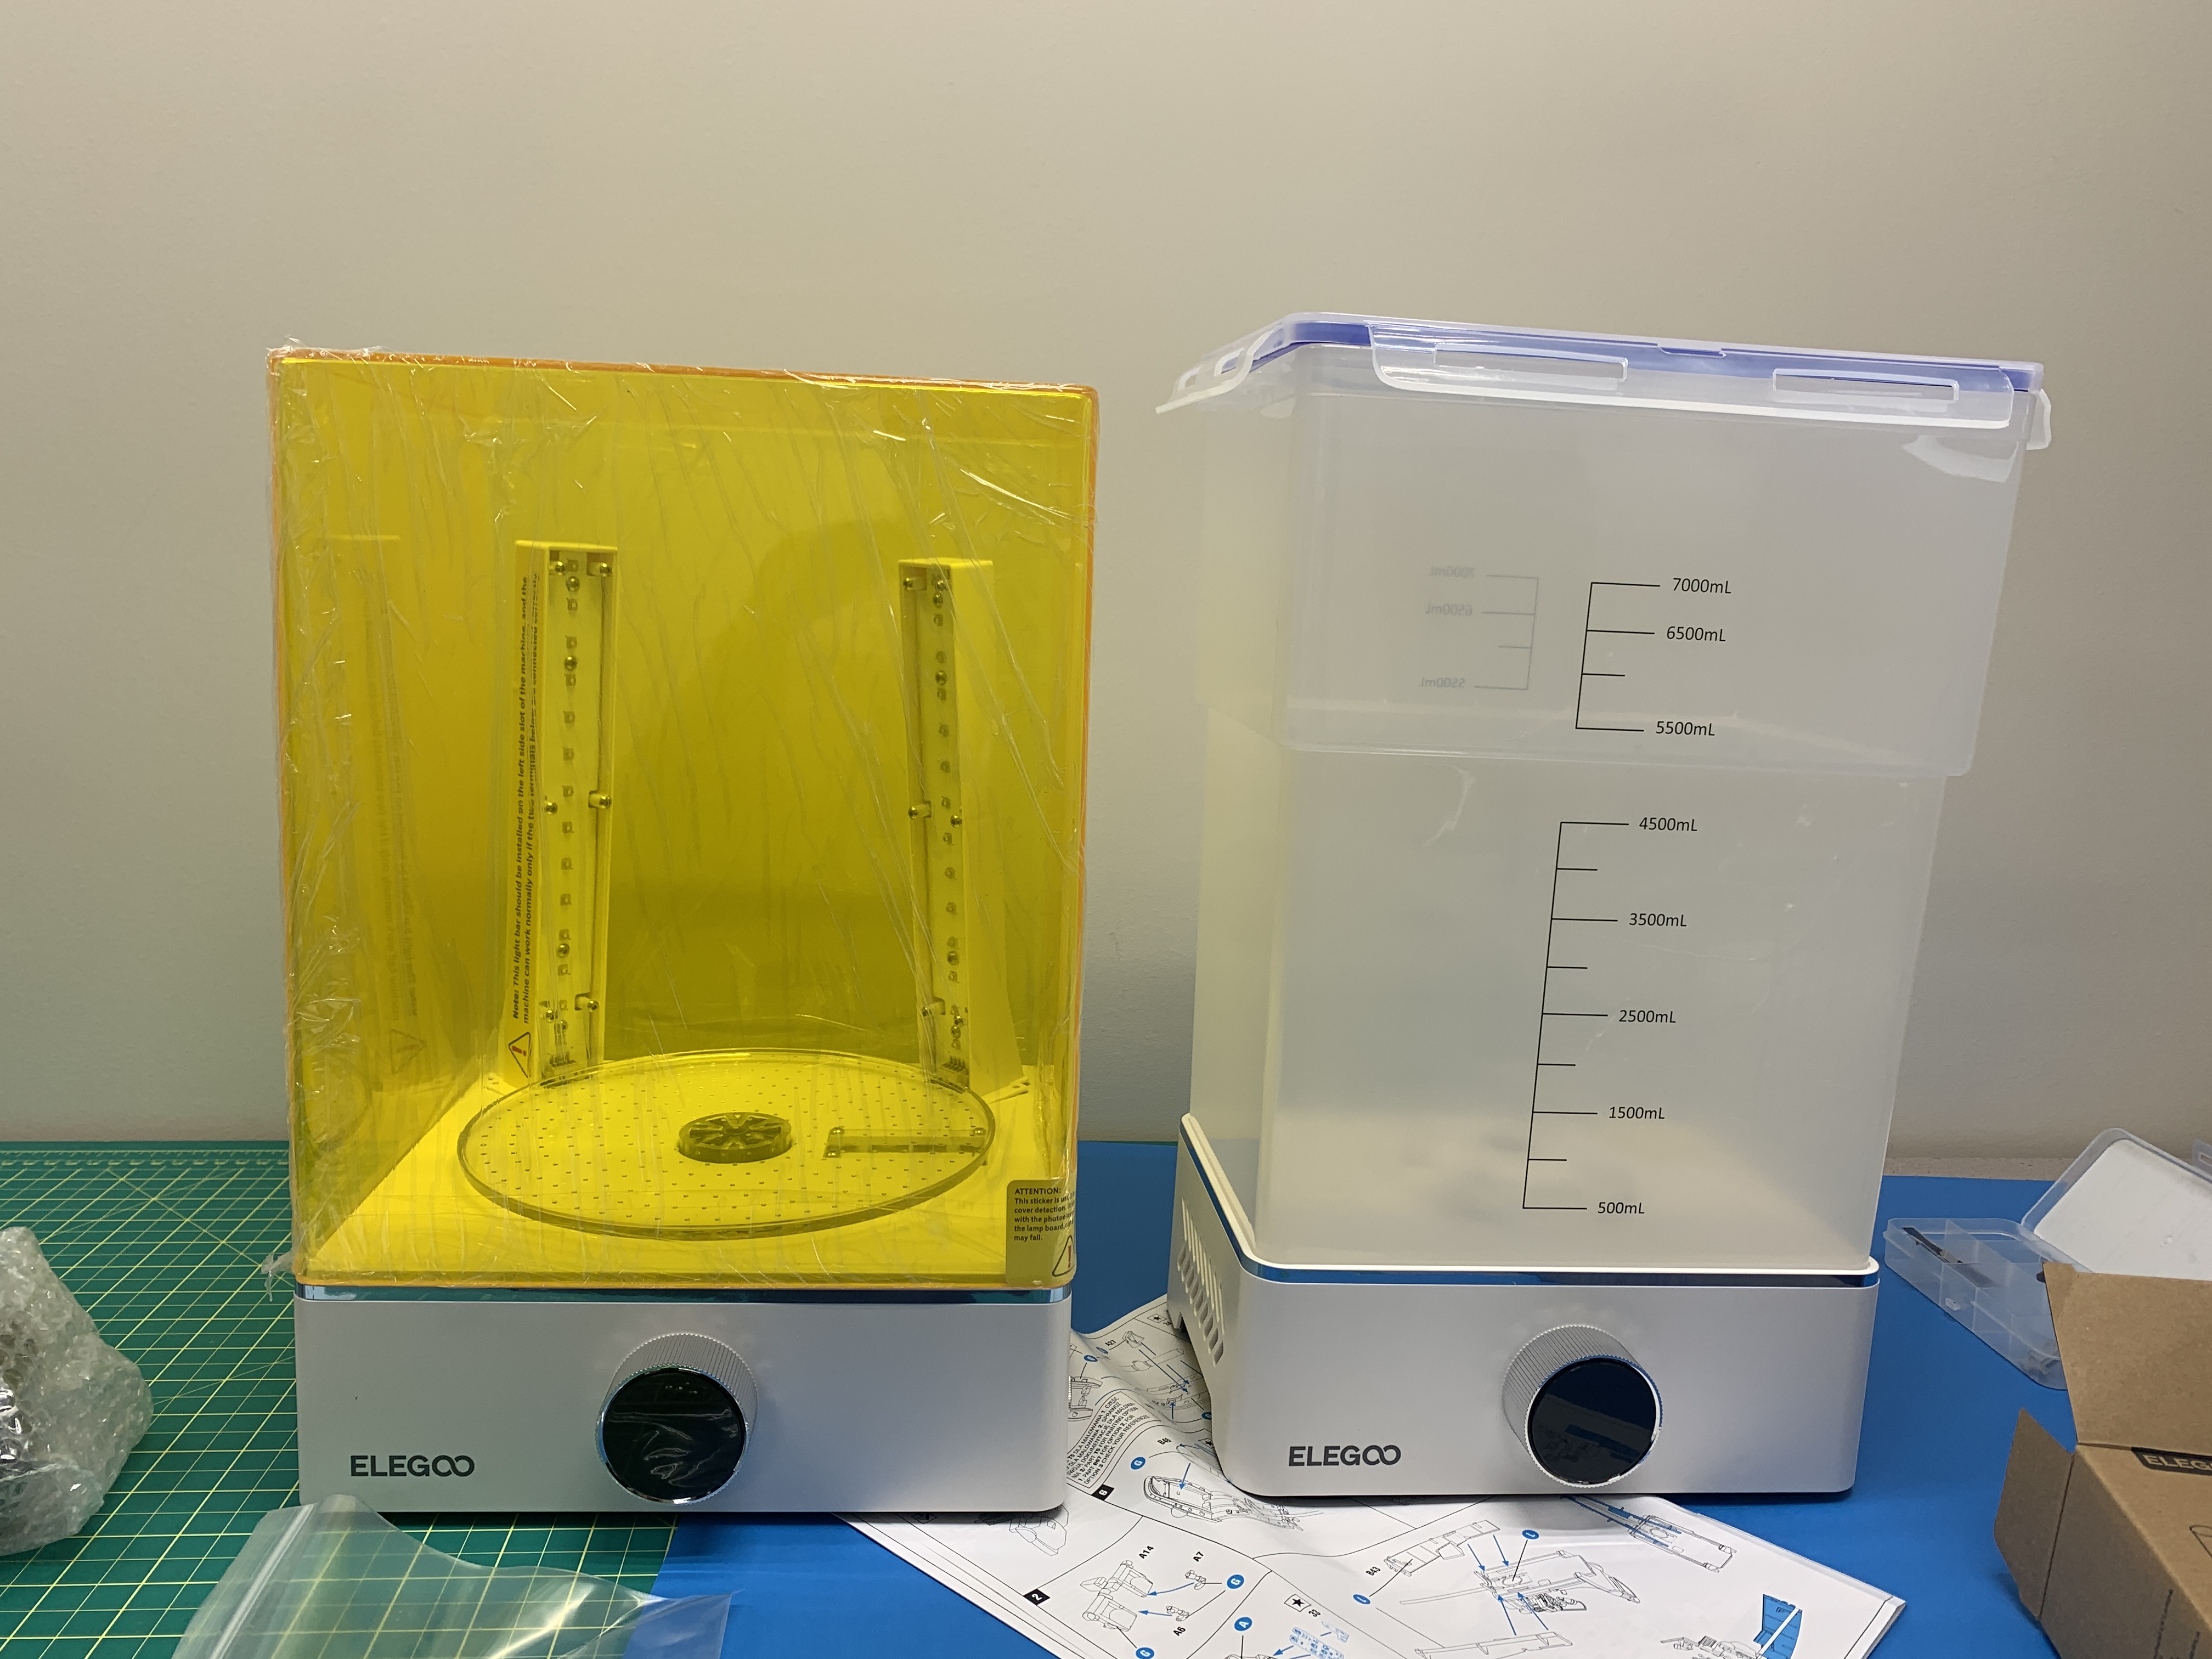
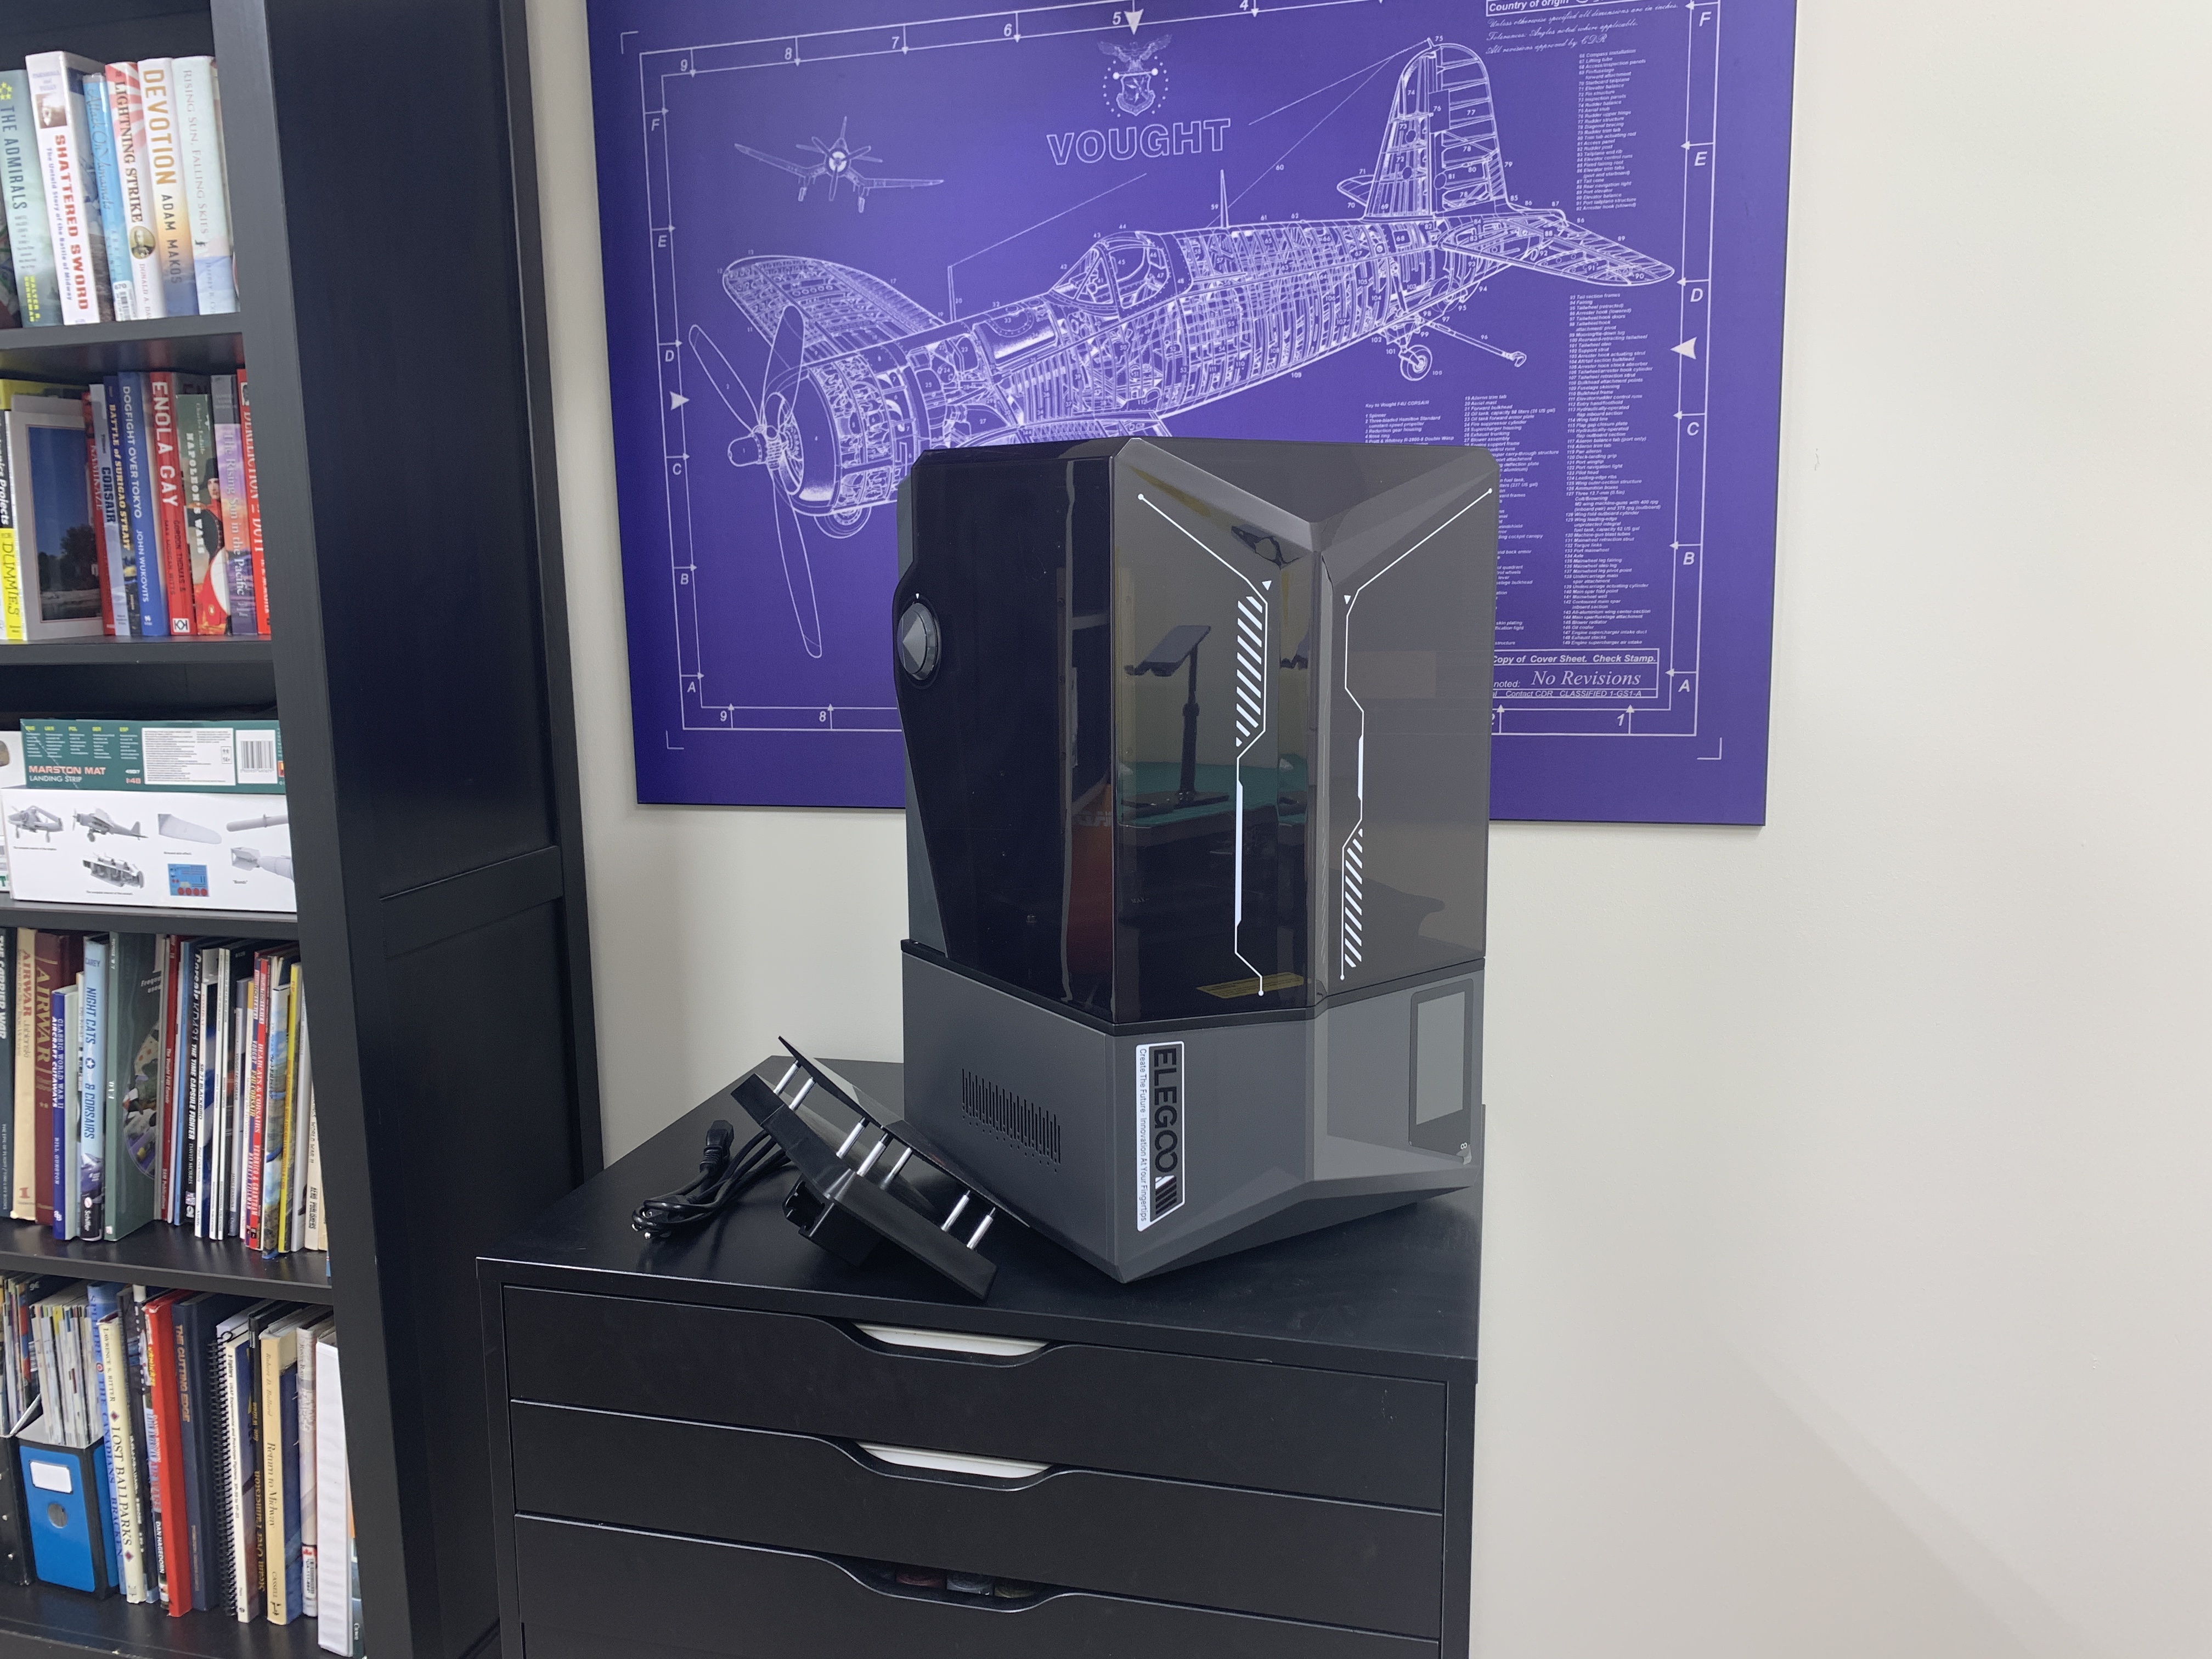
I downloaded the 3d print files and I set up my Saturn 4 Ultra 3d printer that Elegoo was so kind to send me. Now, I am a complete newcomer to any form of making 3d prints but after watching a couple videos on how to manage the process, I was ready to make a print. The software is actually intuitive and before I knew it, I was sending the file to the printer, filling up the resin tray and turning the machine loose!
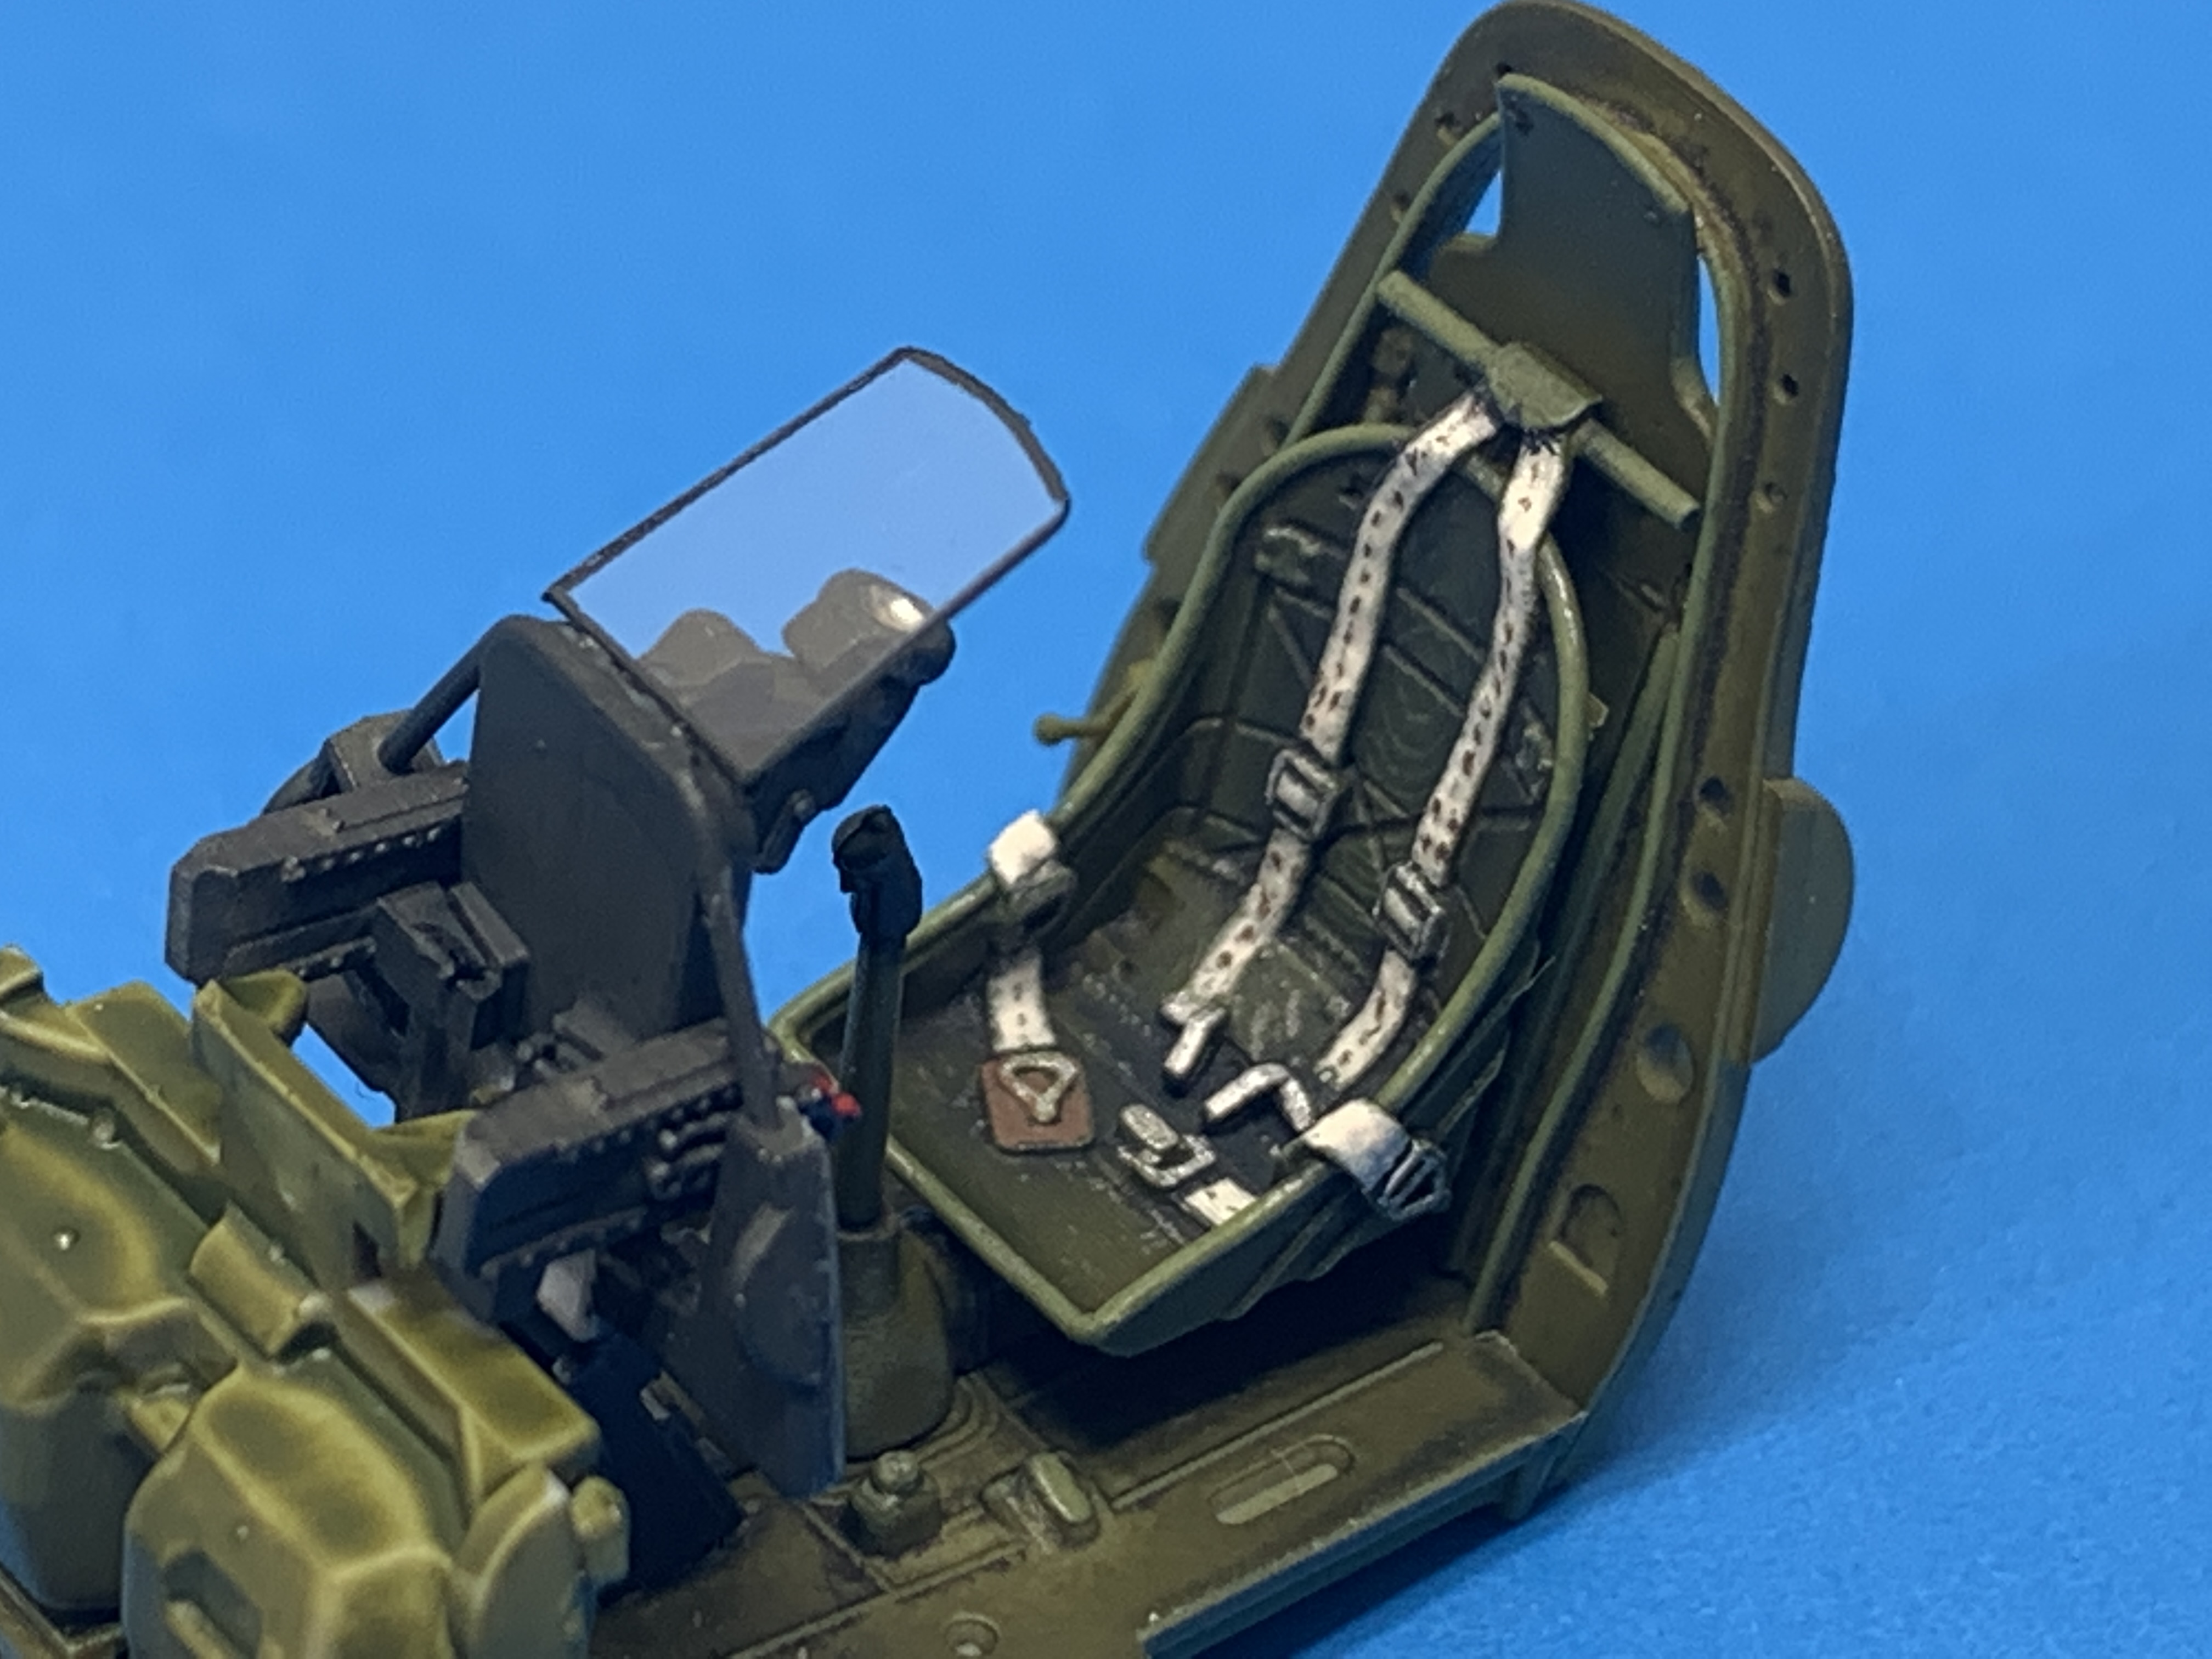
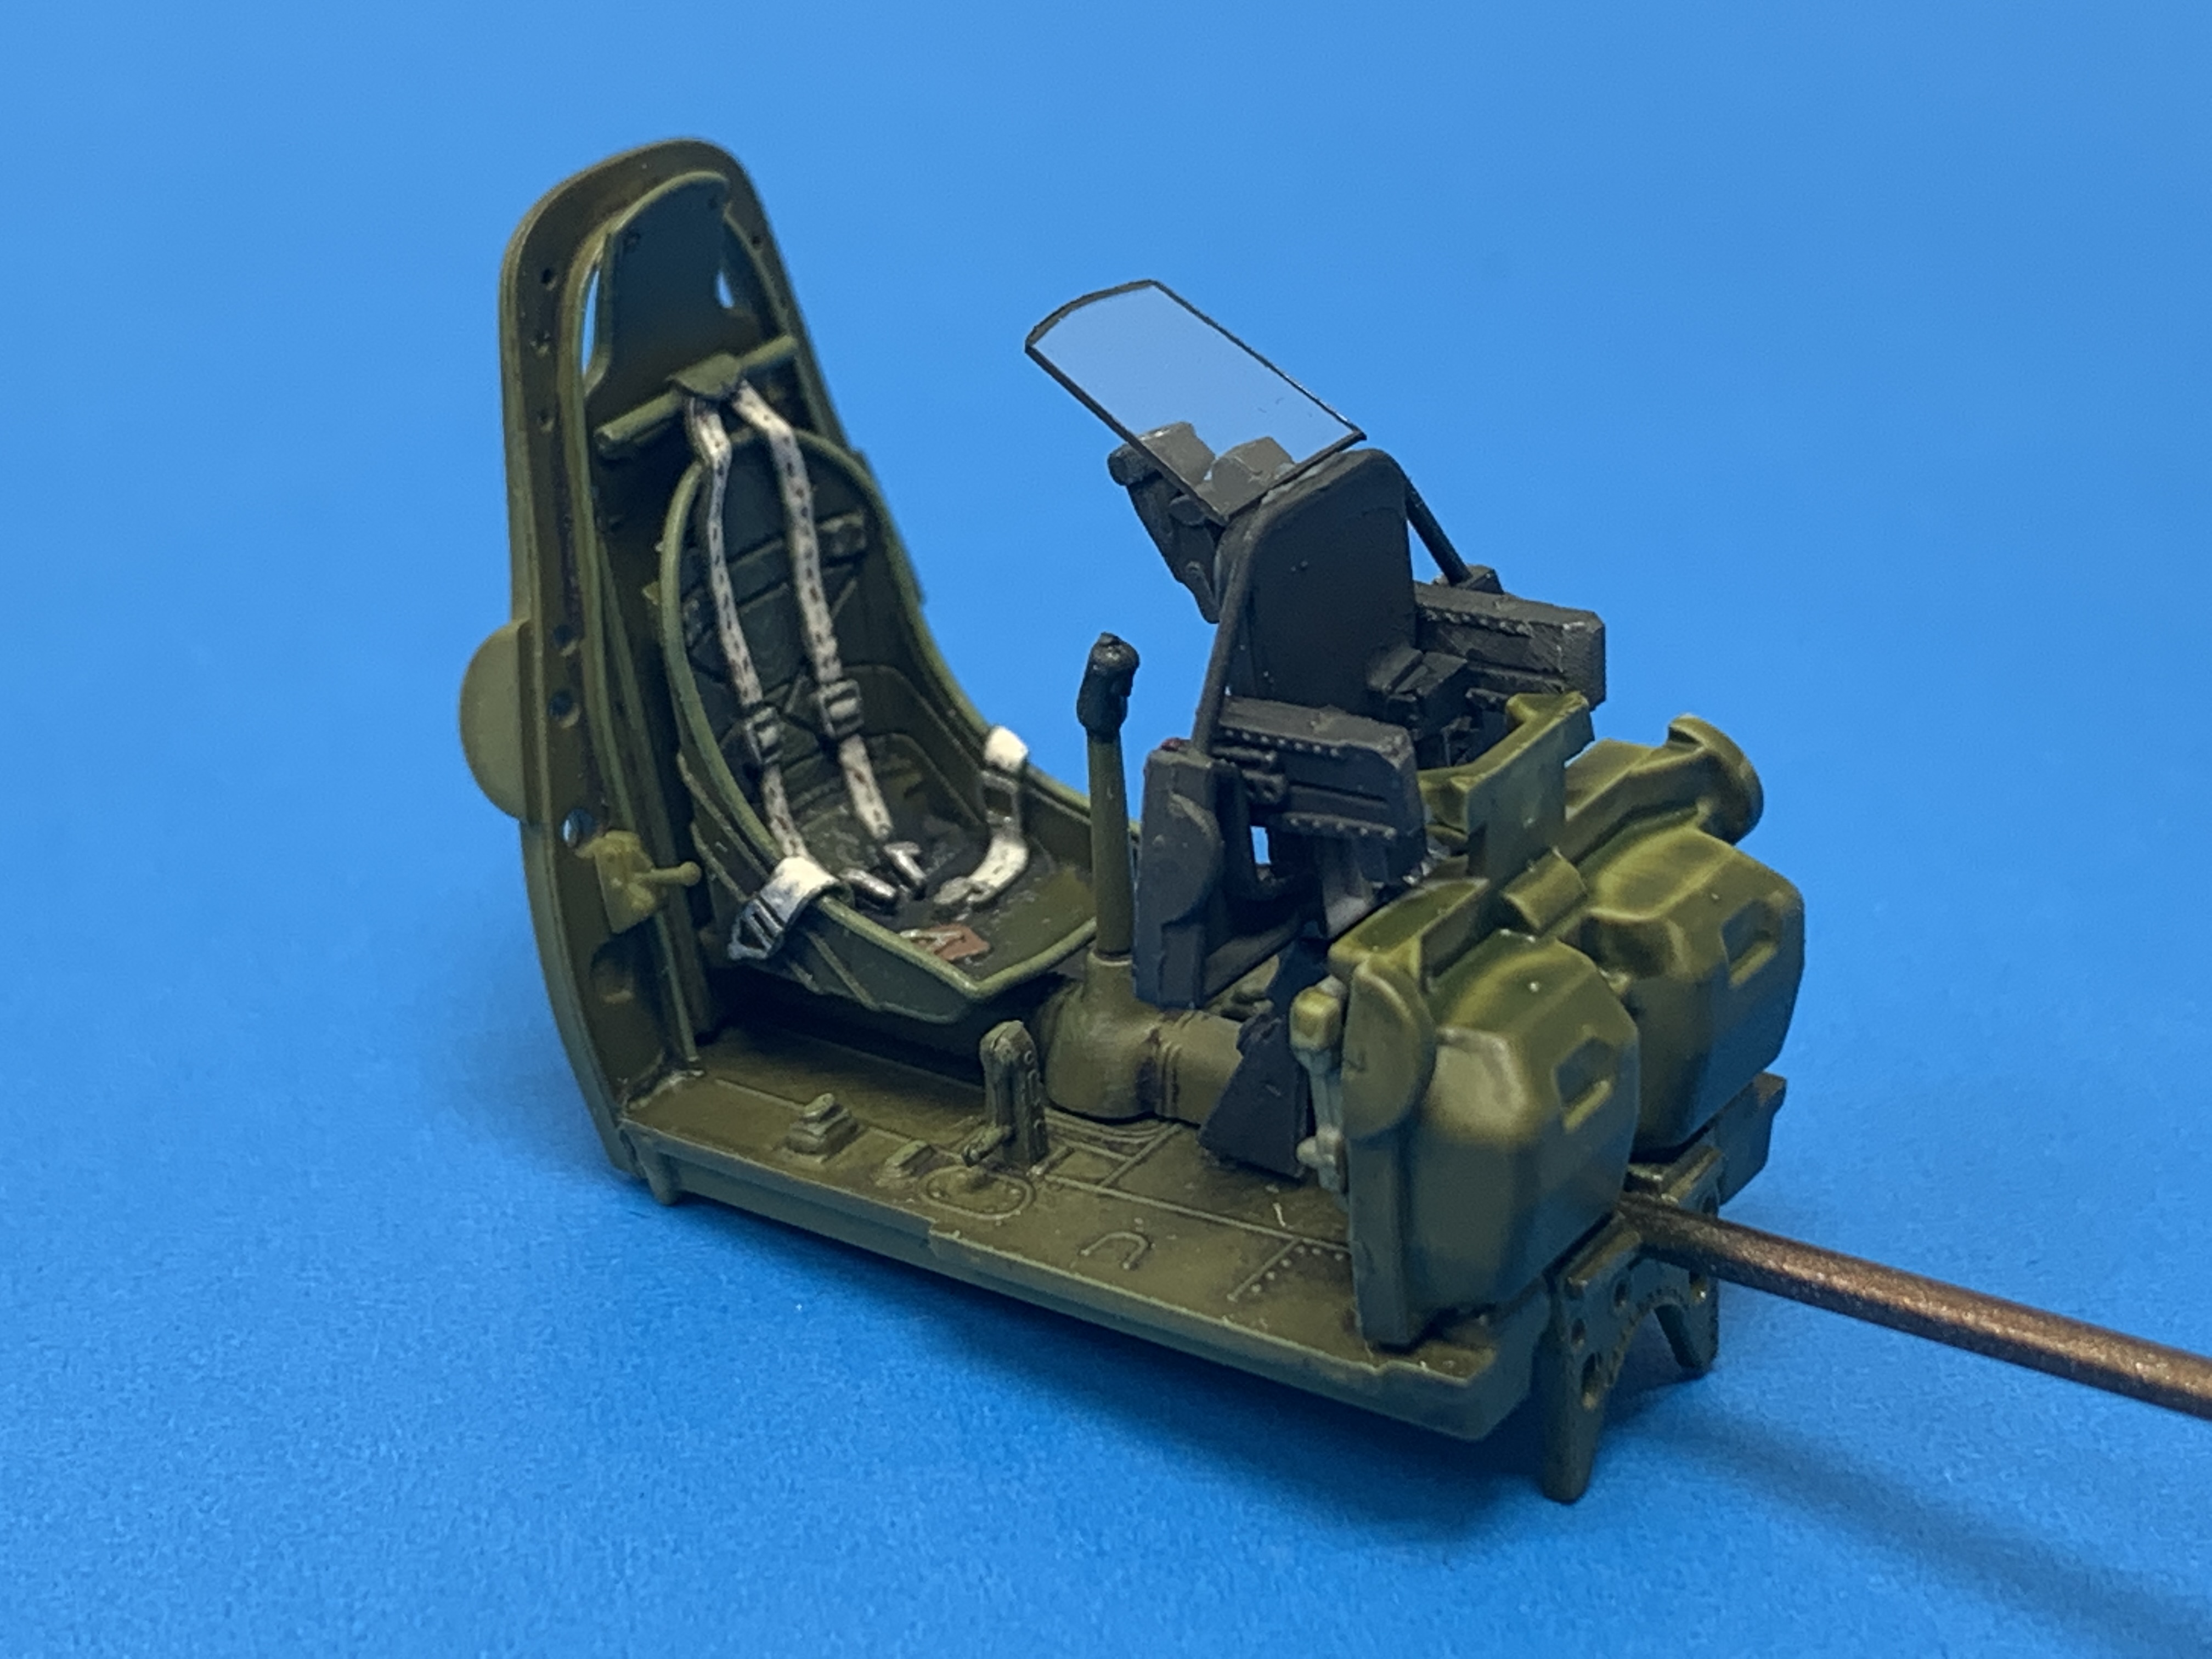
I was more than happy with the print! I was snipping it out right away and getting the parts painted and then installed with the rest of the cockpit parts. I have to say, Arma did an excellent job with the cockpit, it all fit perfectly and was a pleasure to build. Of course, I had to do something stupid with this build and this time it was cracking and ruining the reflective glass but actually, I am glad I did it – the replacement looked even better.

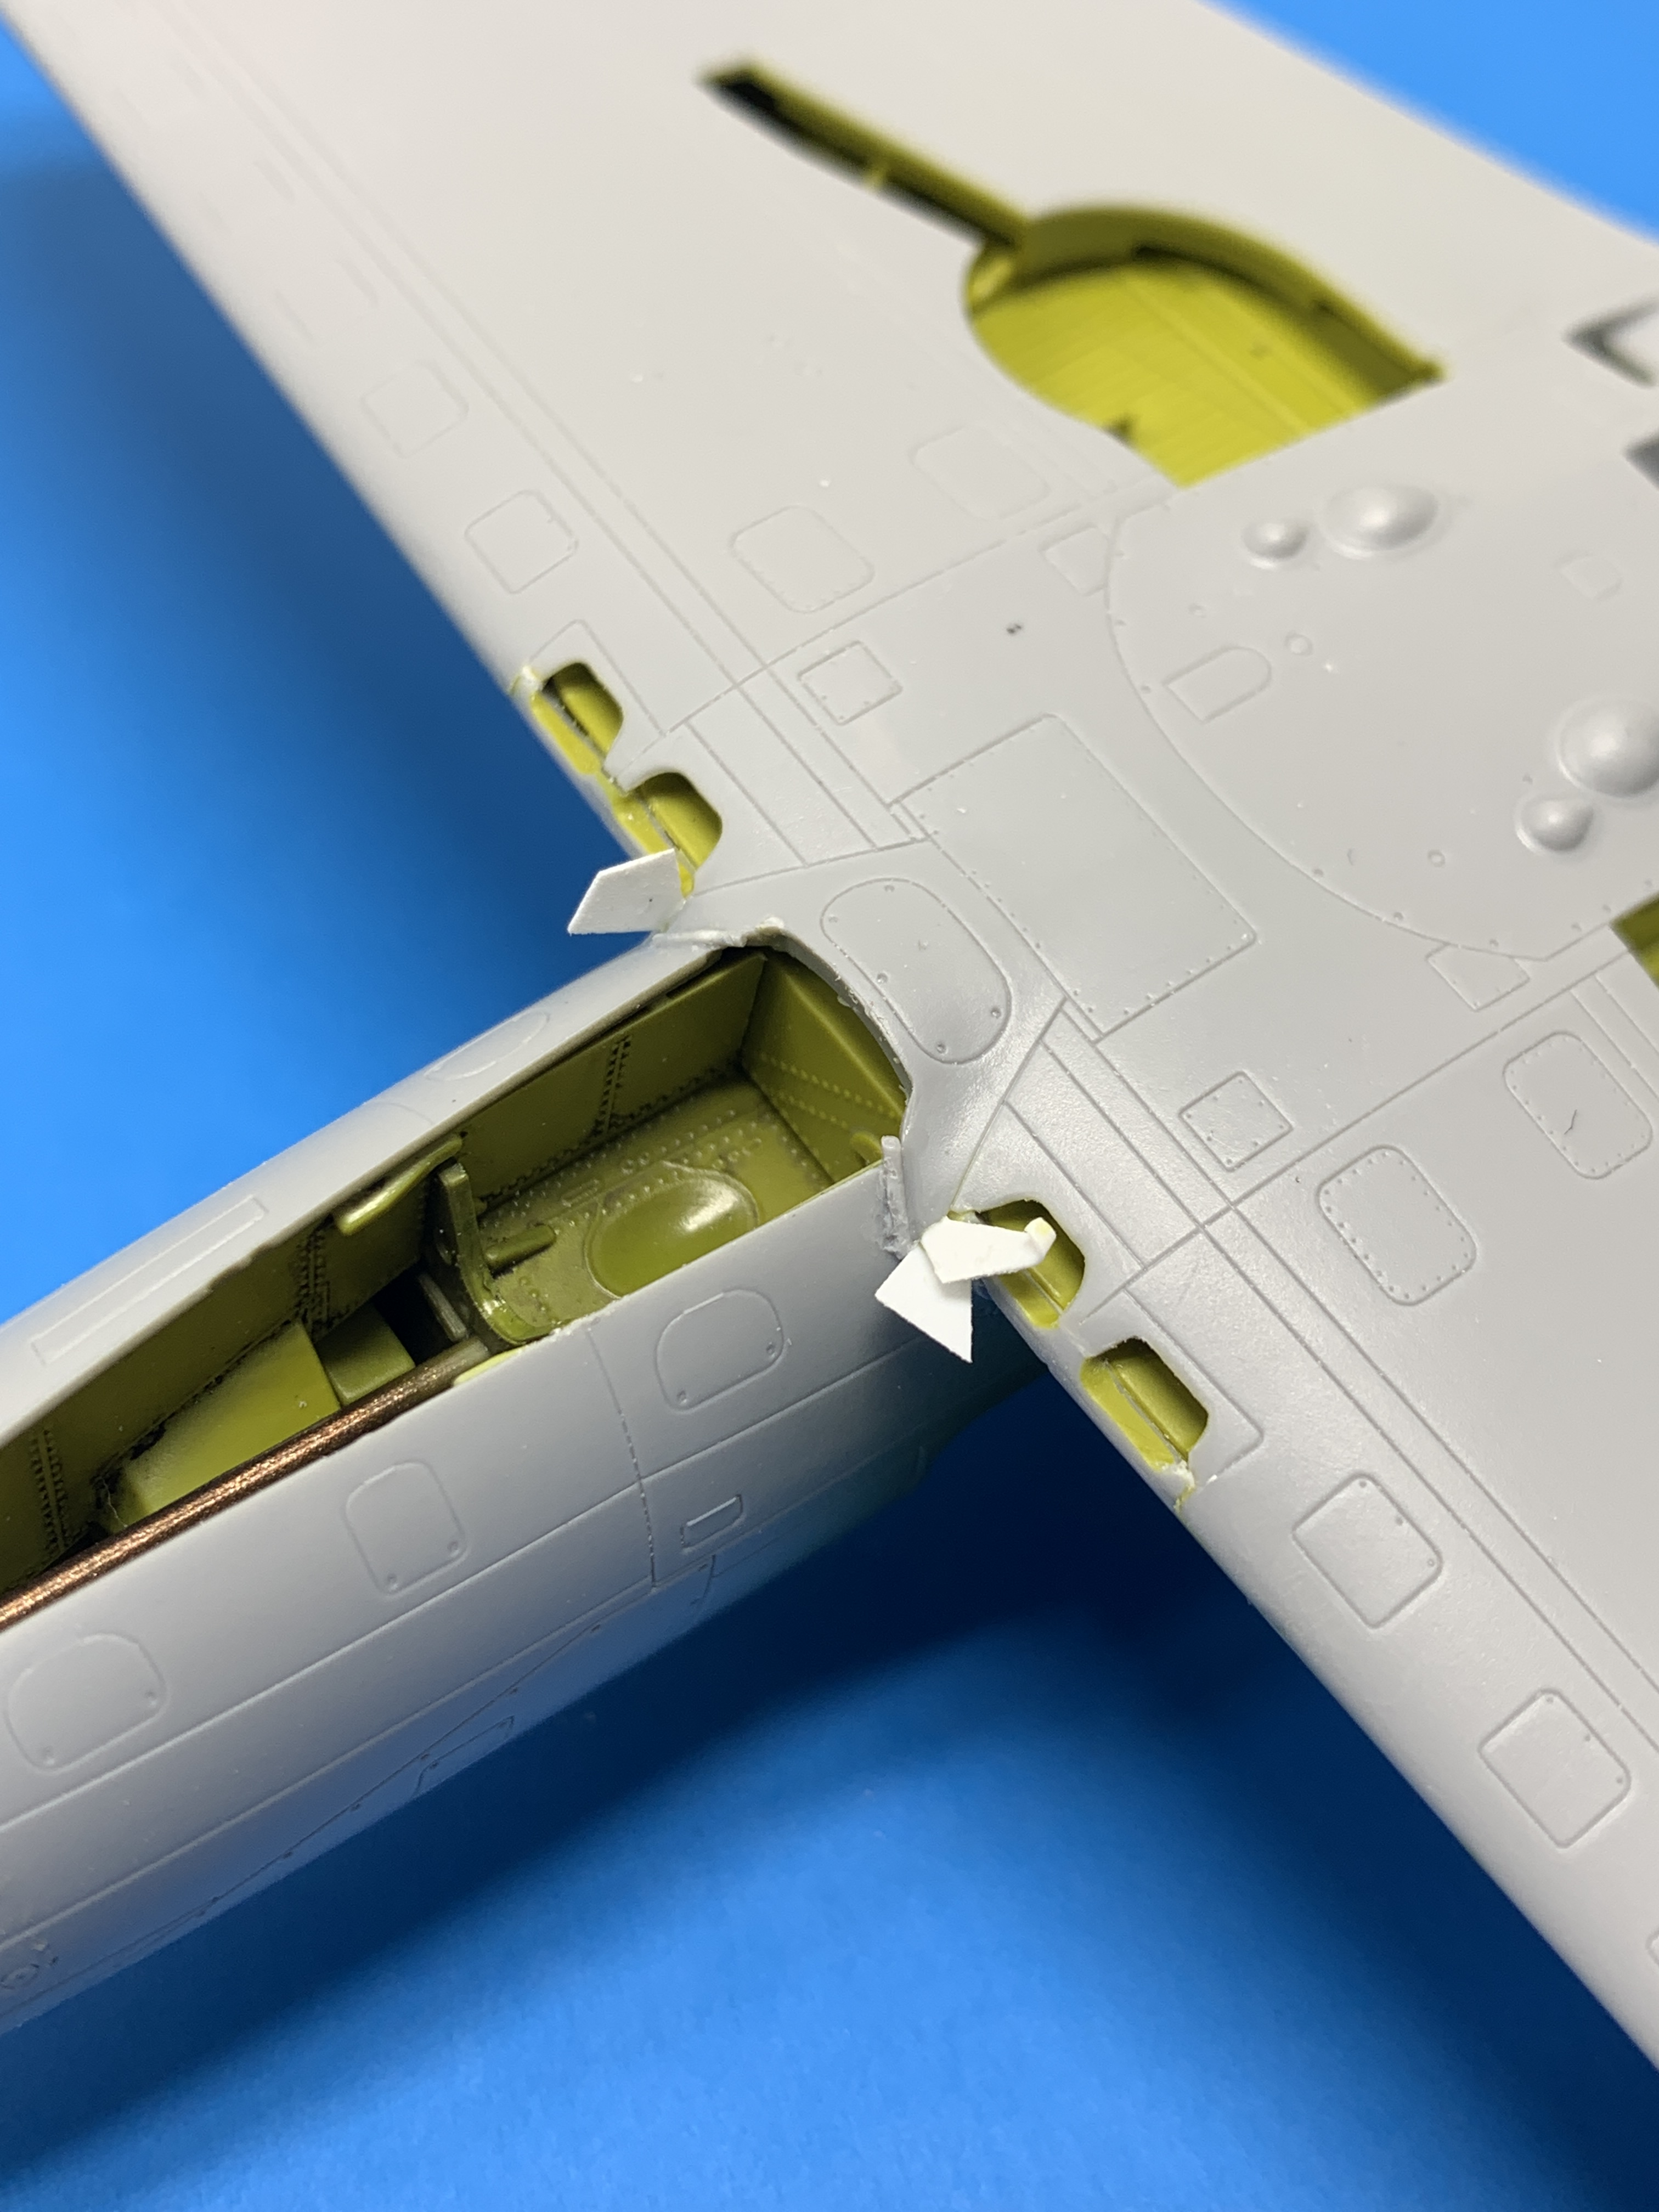
Fitting the cockpit into the model, getting the fuselage closed up and getting the wings on was a bit of a challenge. Despite multiple attempts at dry fitting these parts, I ended up with gaps on the fuselage. And I could not get the wings on properly without removing a lot of plastic from the wing structure. But once that plastic surgery was complete, the few gaps that remained were closed with some styrene followed by super glue.
None of the issues made the kit unbuildable – it was just a disappointment to have to spend so much time fixing these issues when I would rather be building the kit and painting it. This was definitely not like the build experience I had with Arma’s Widcat.
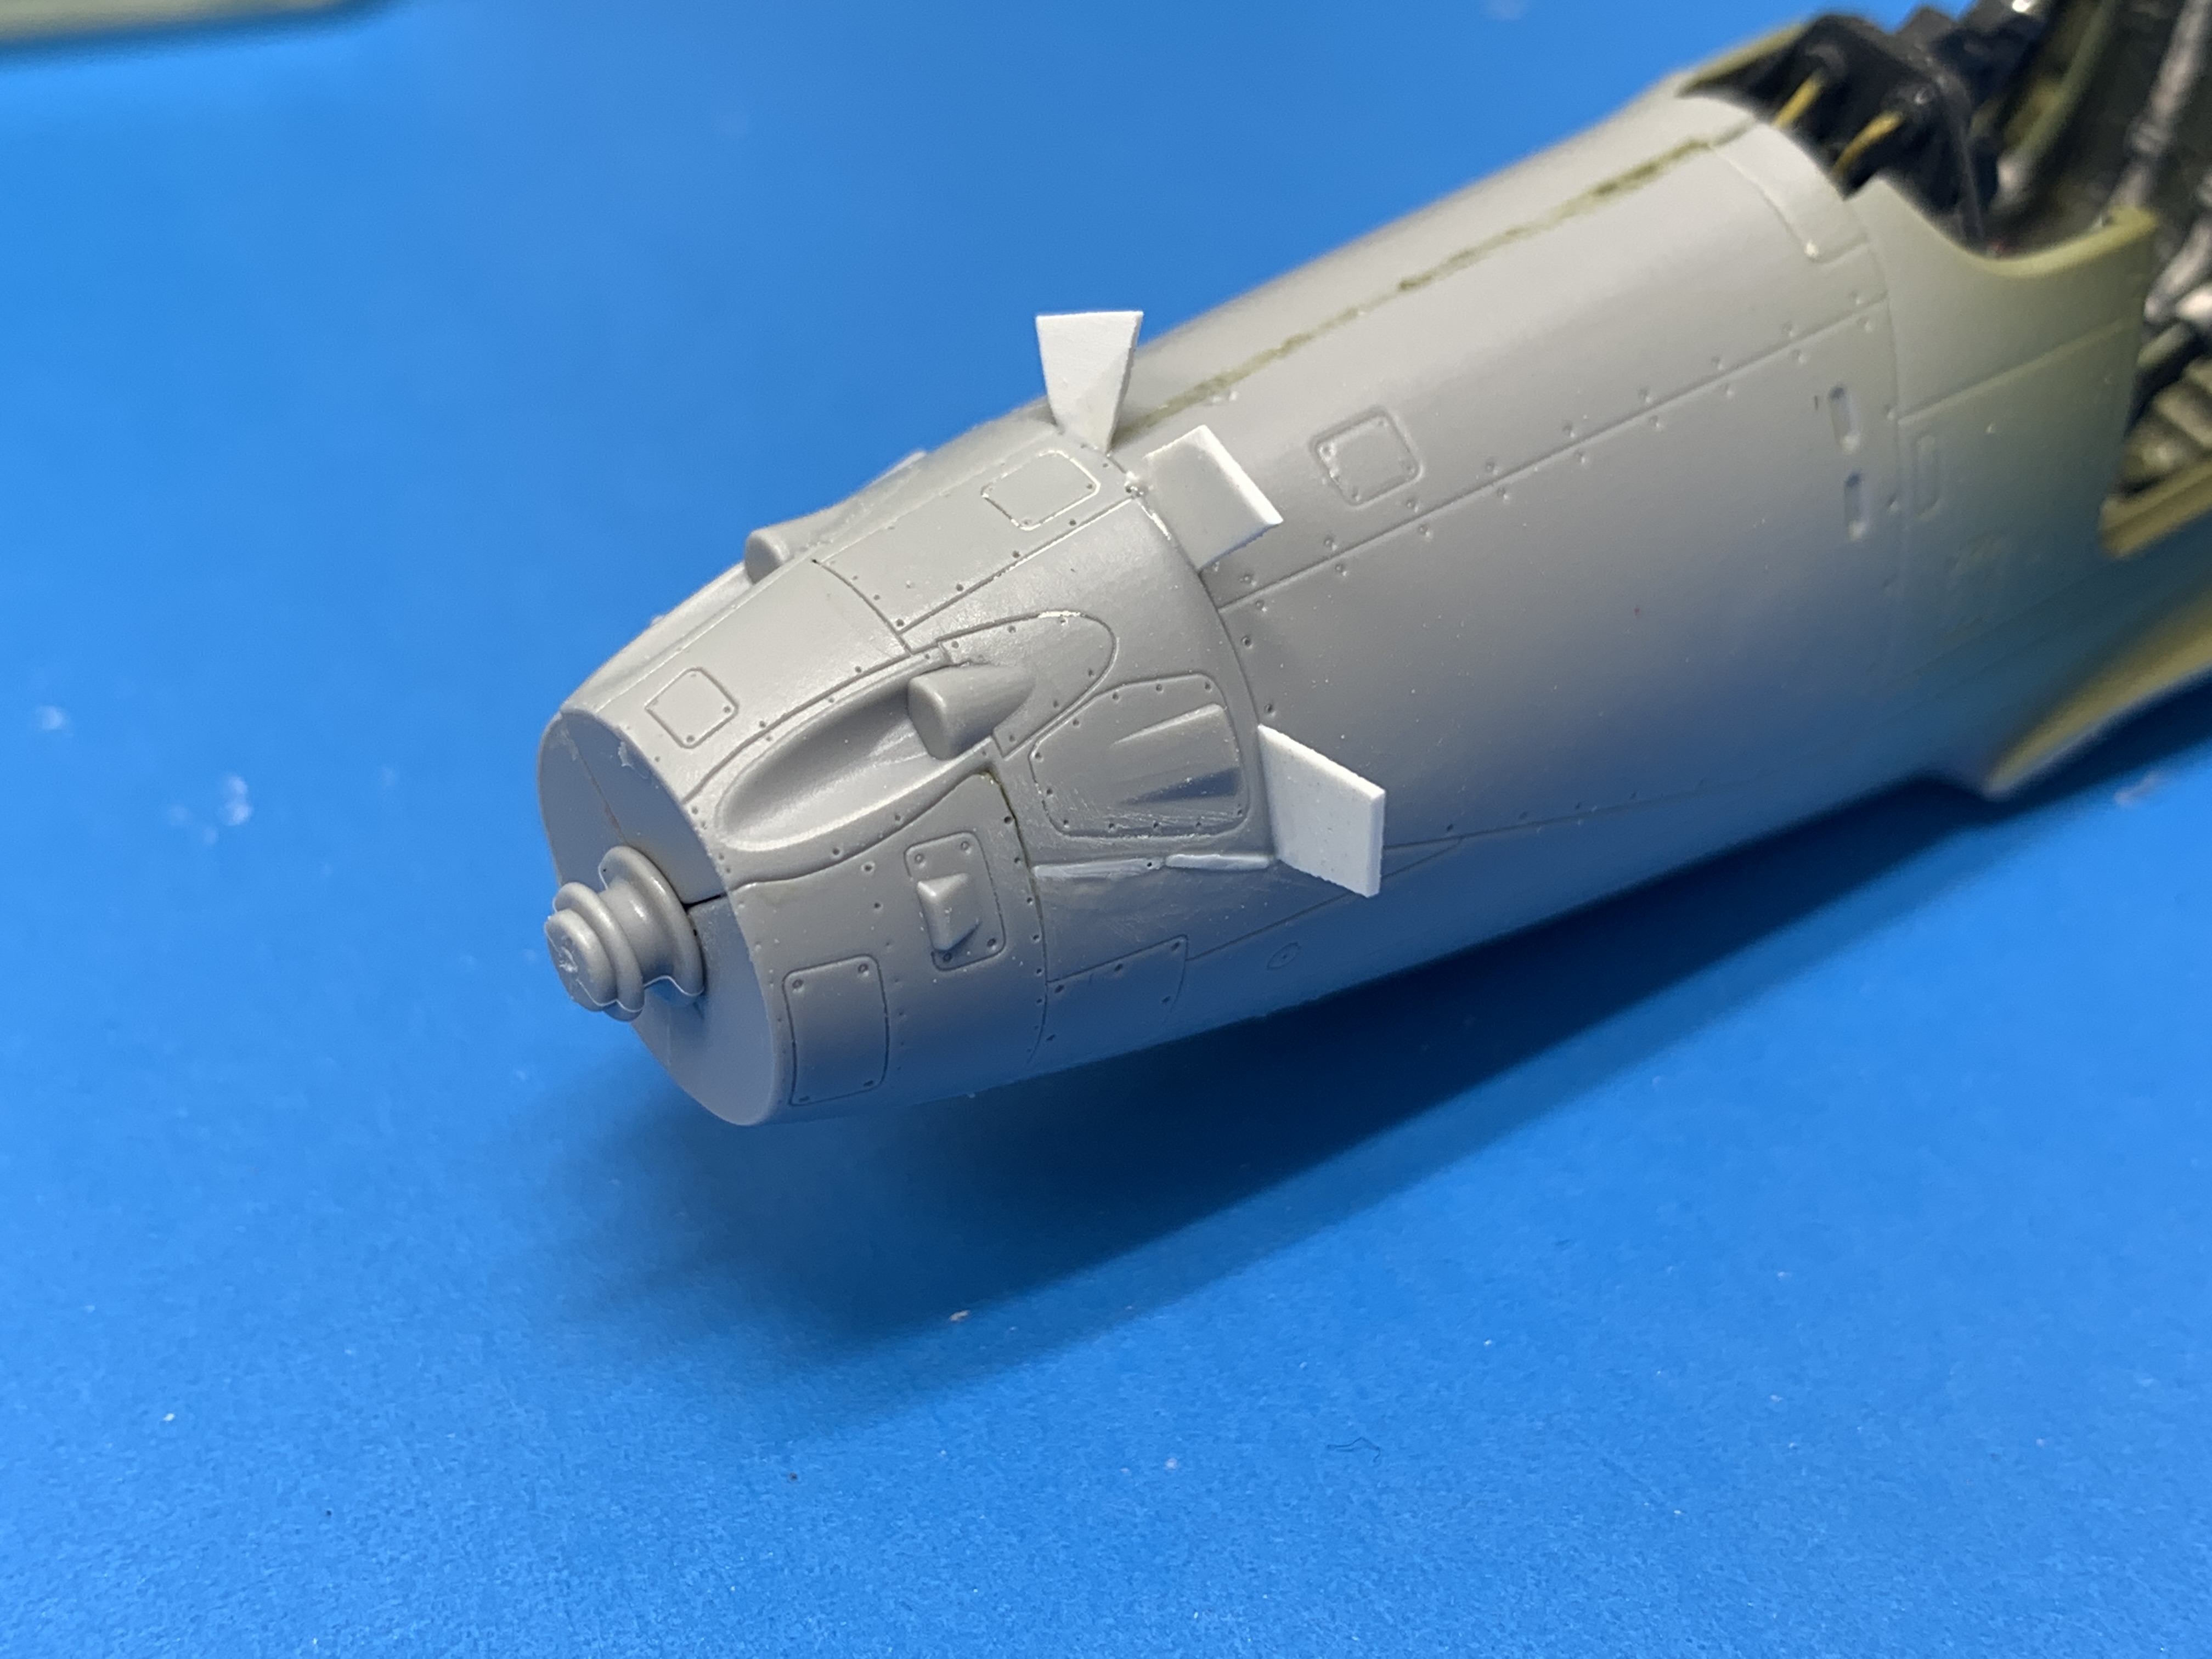
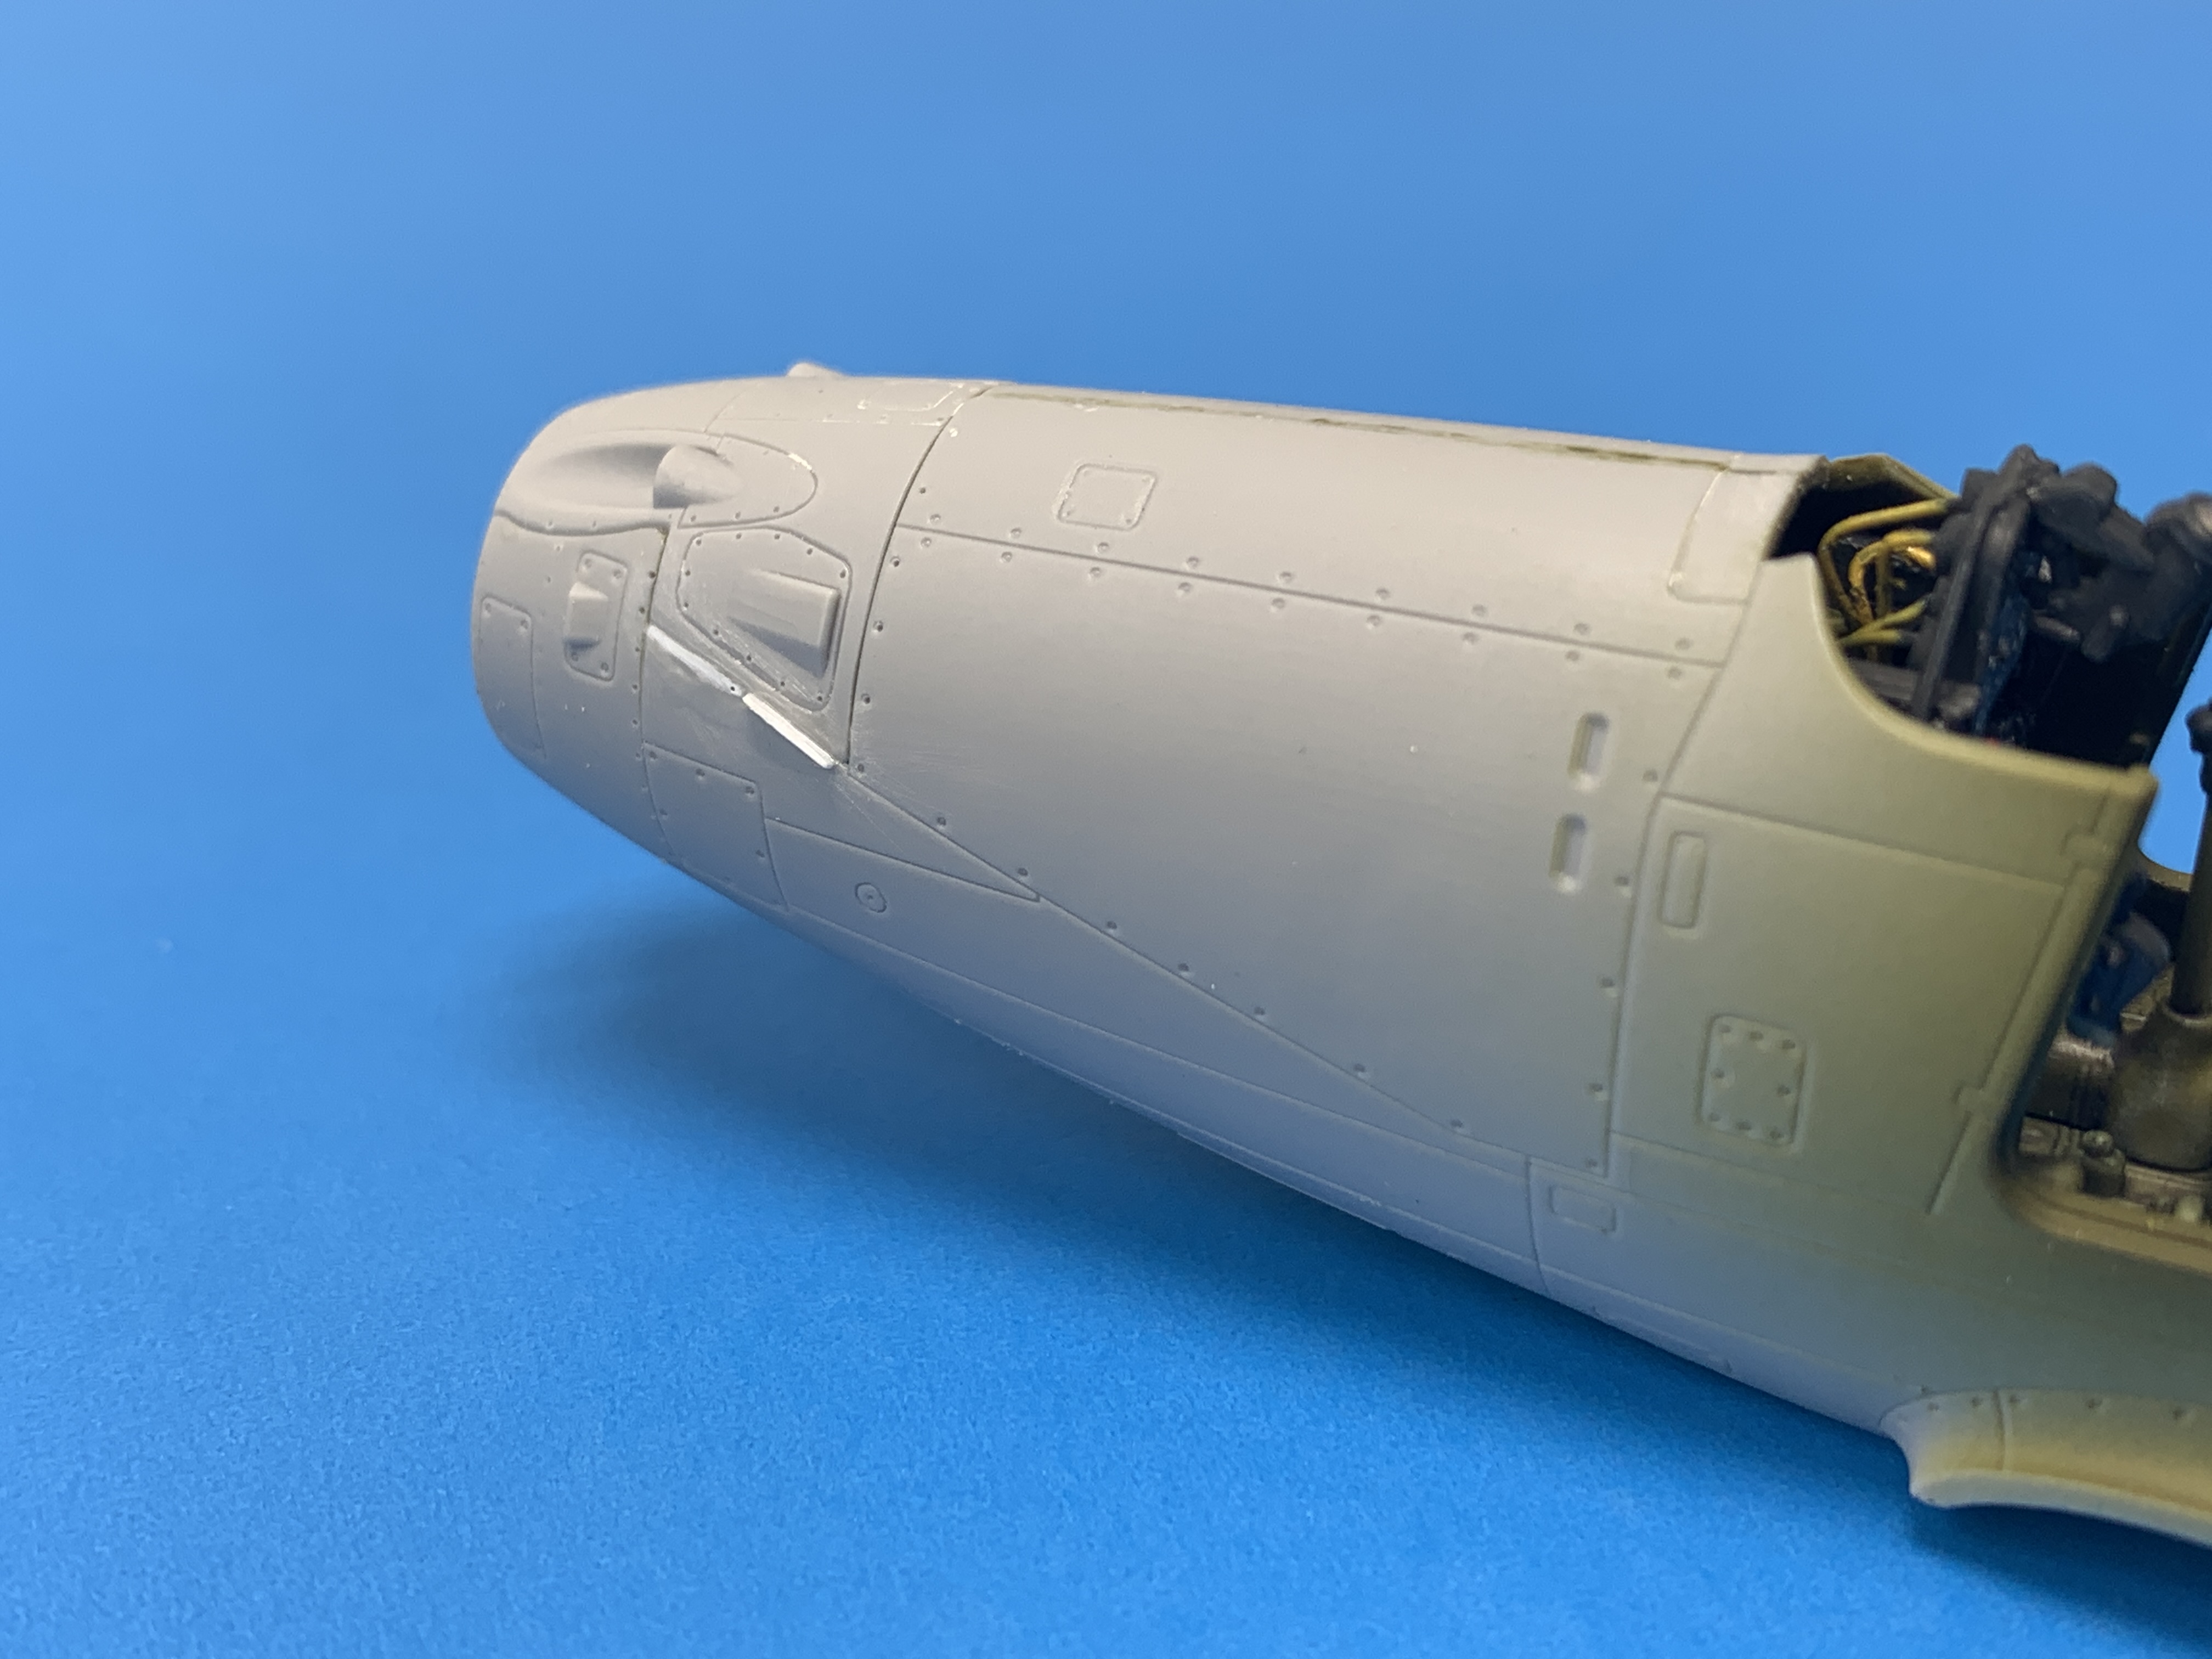
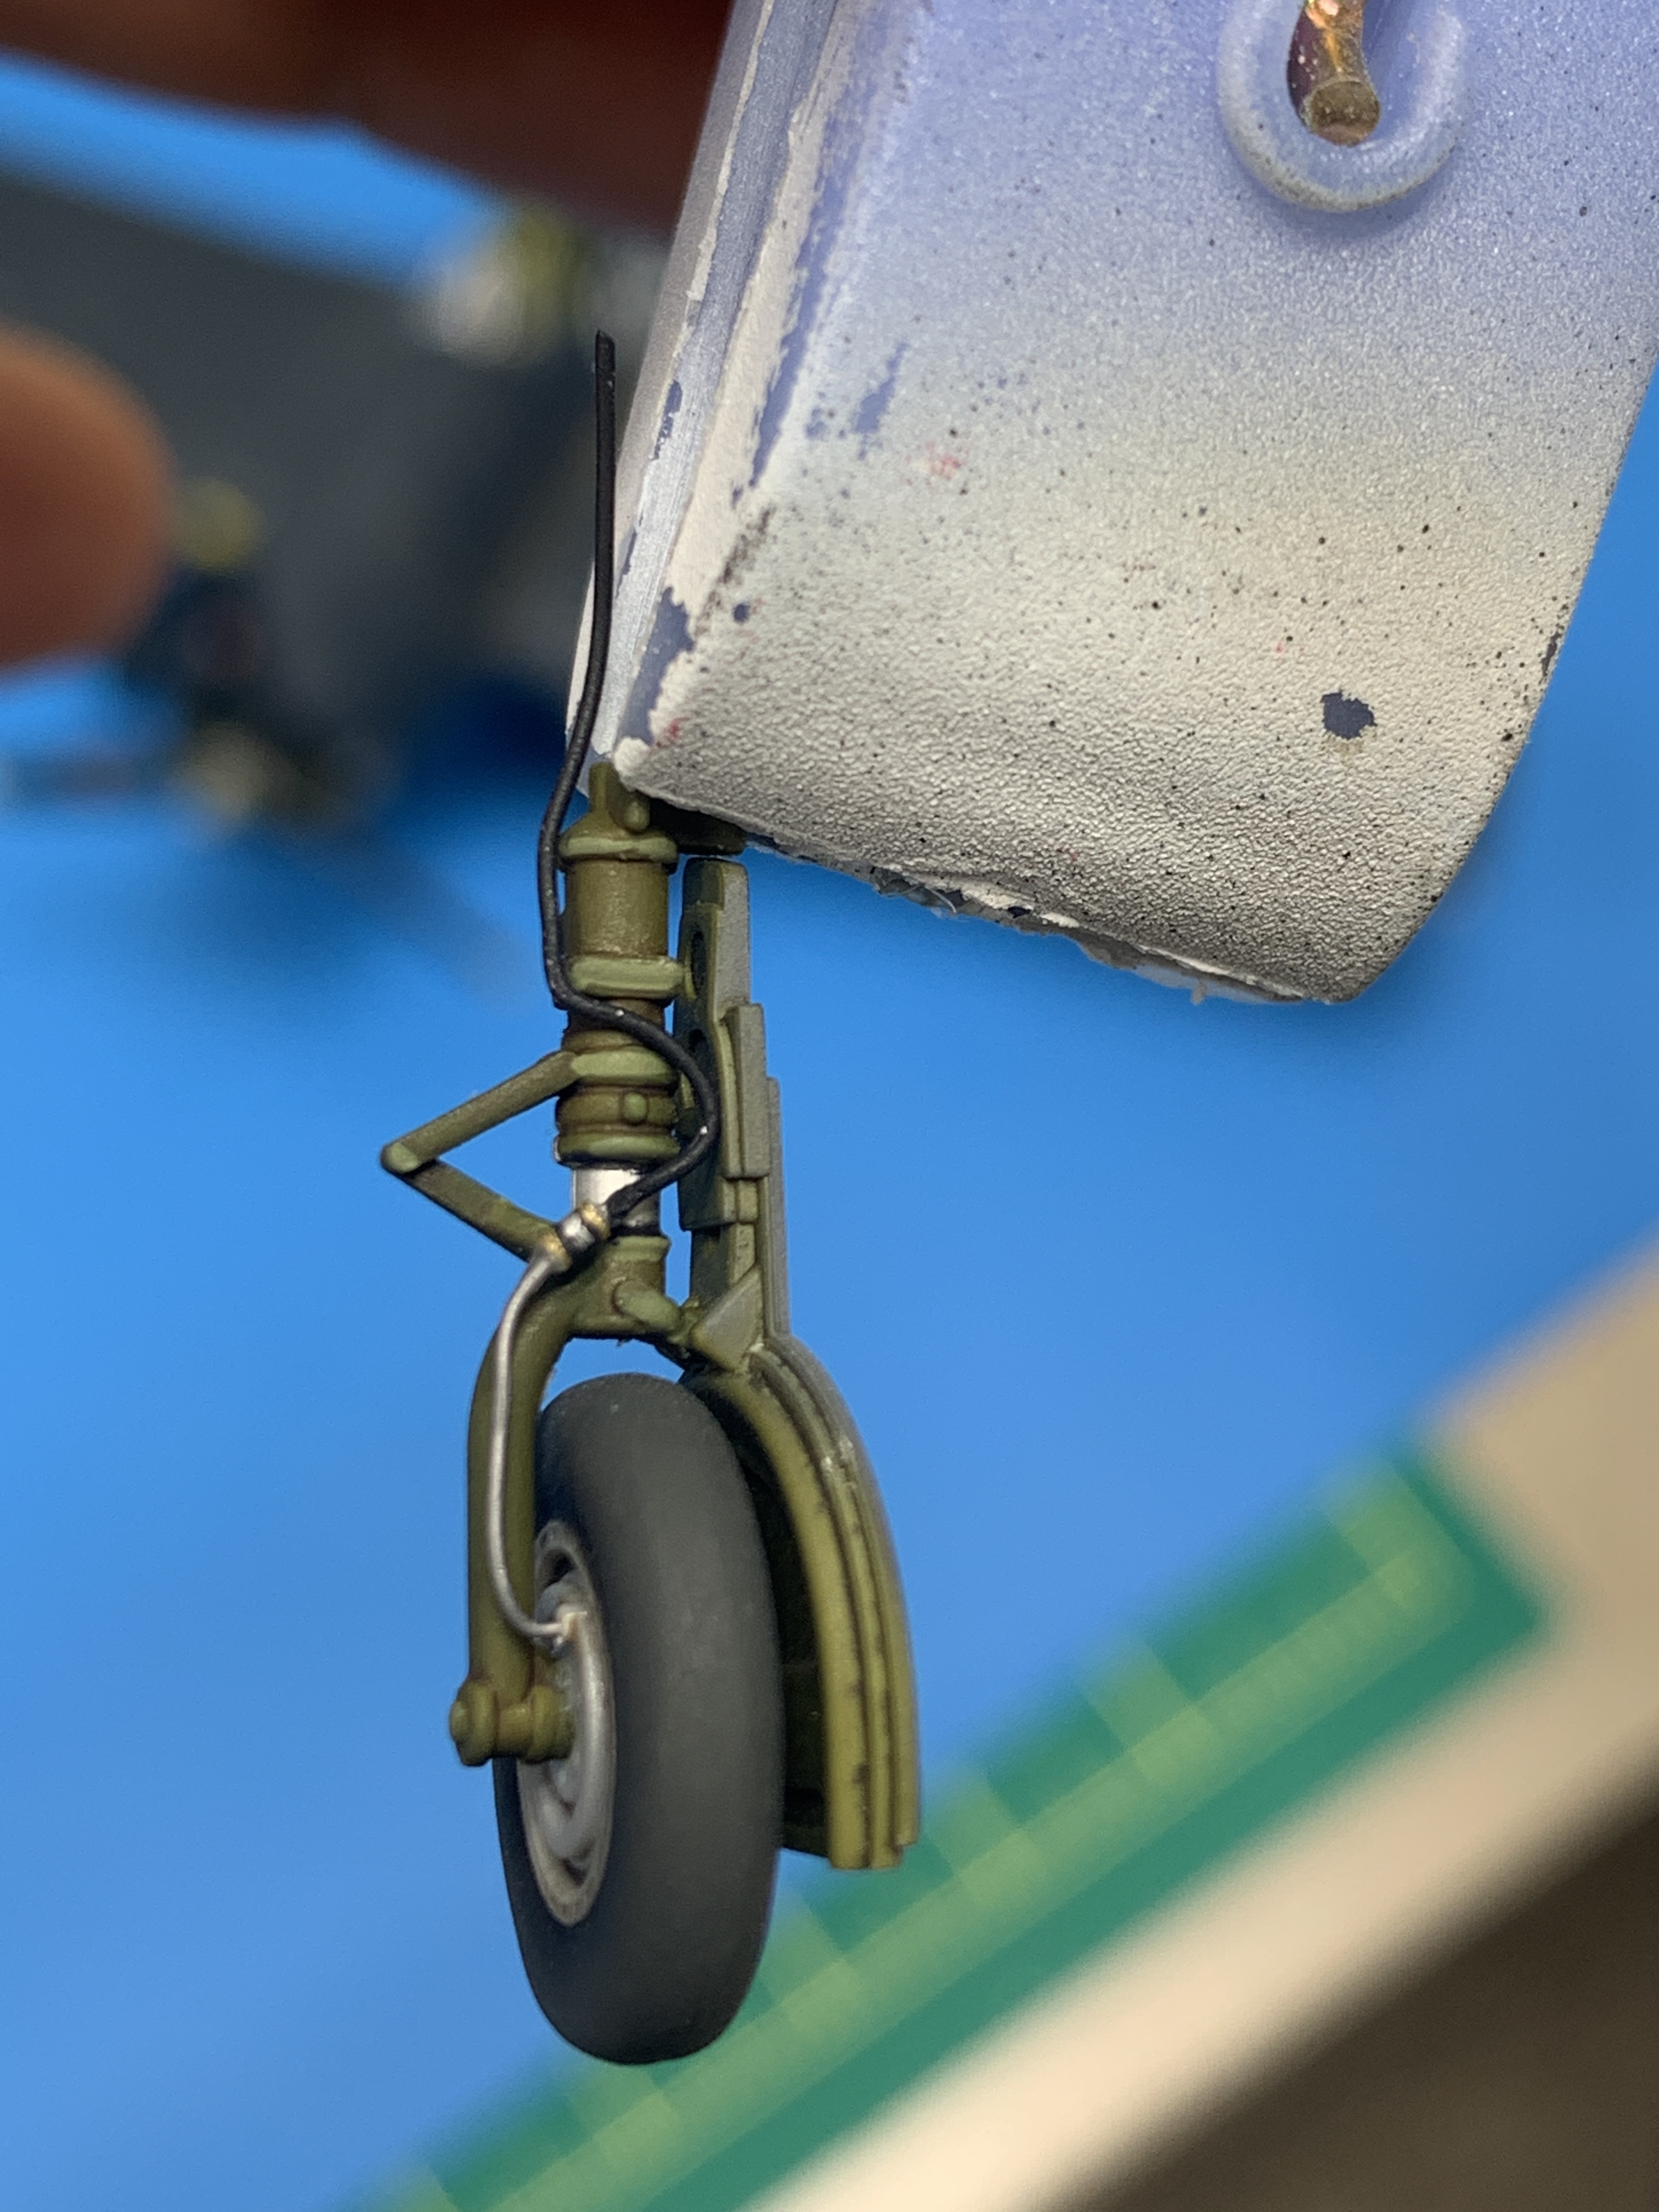
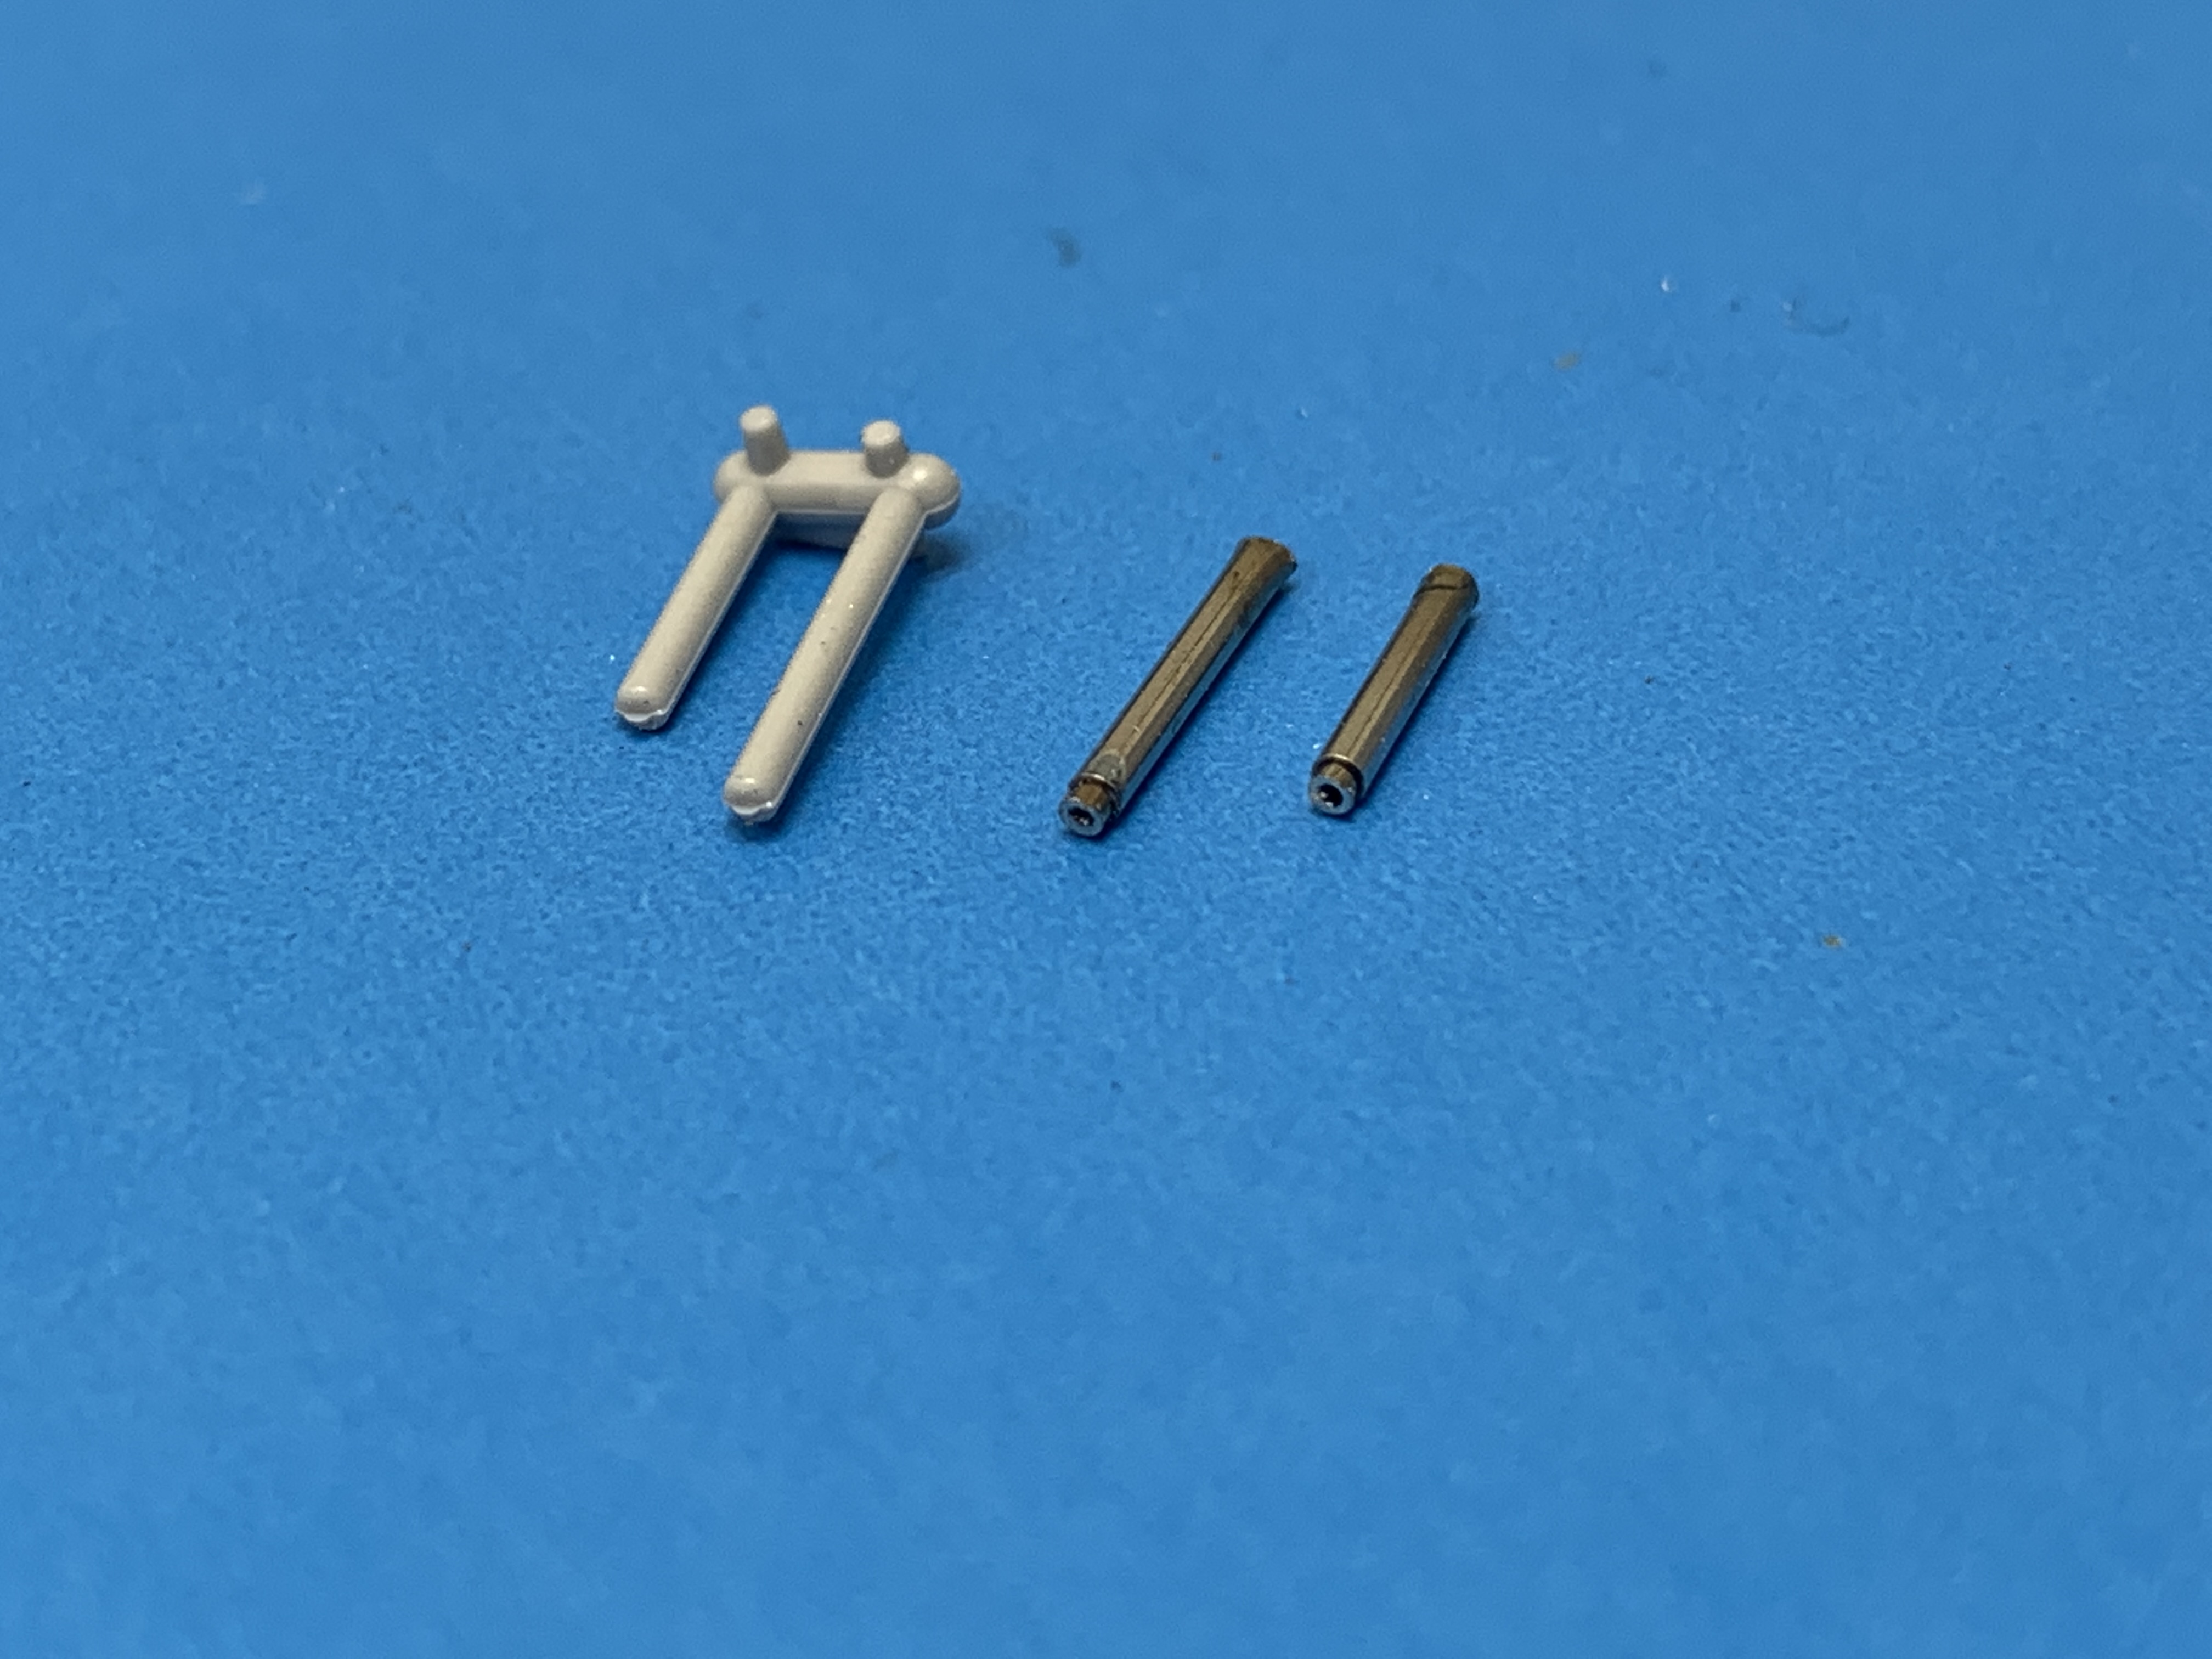
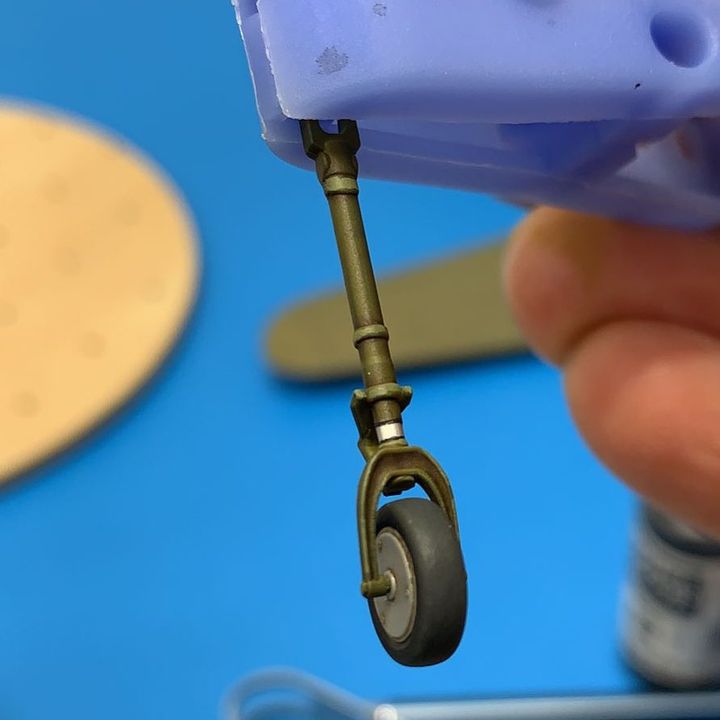
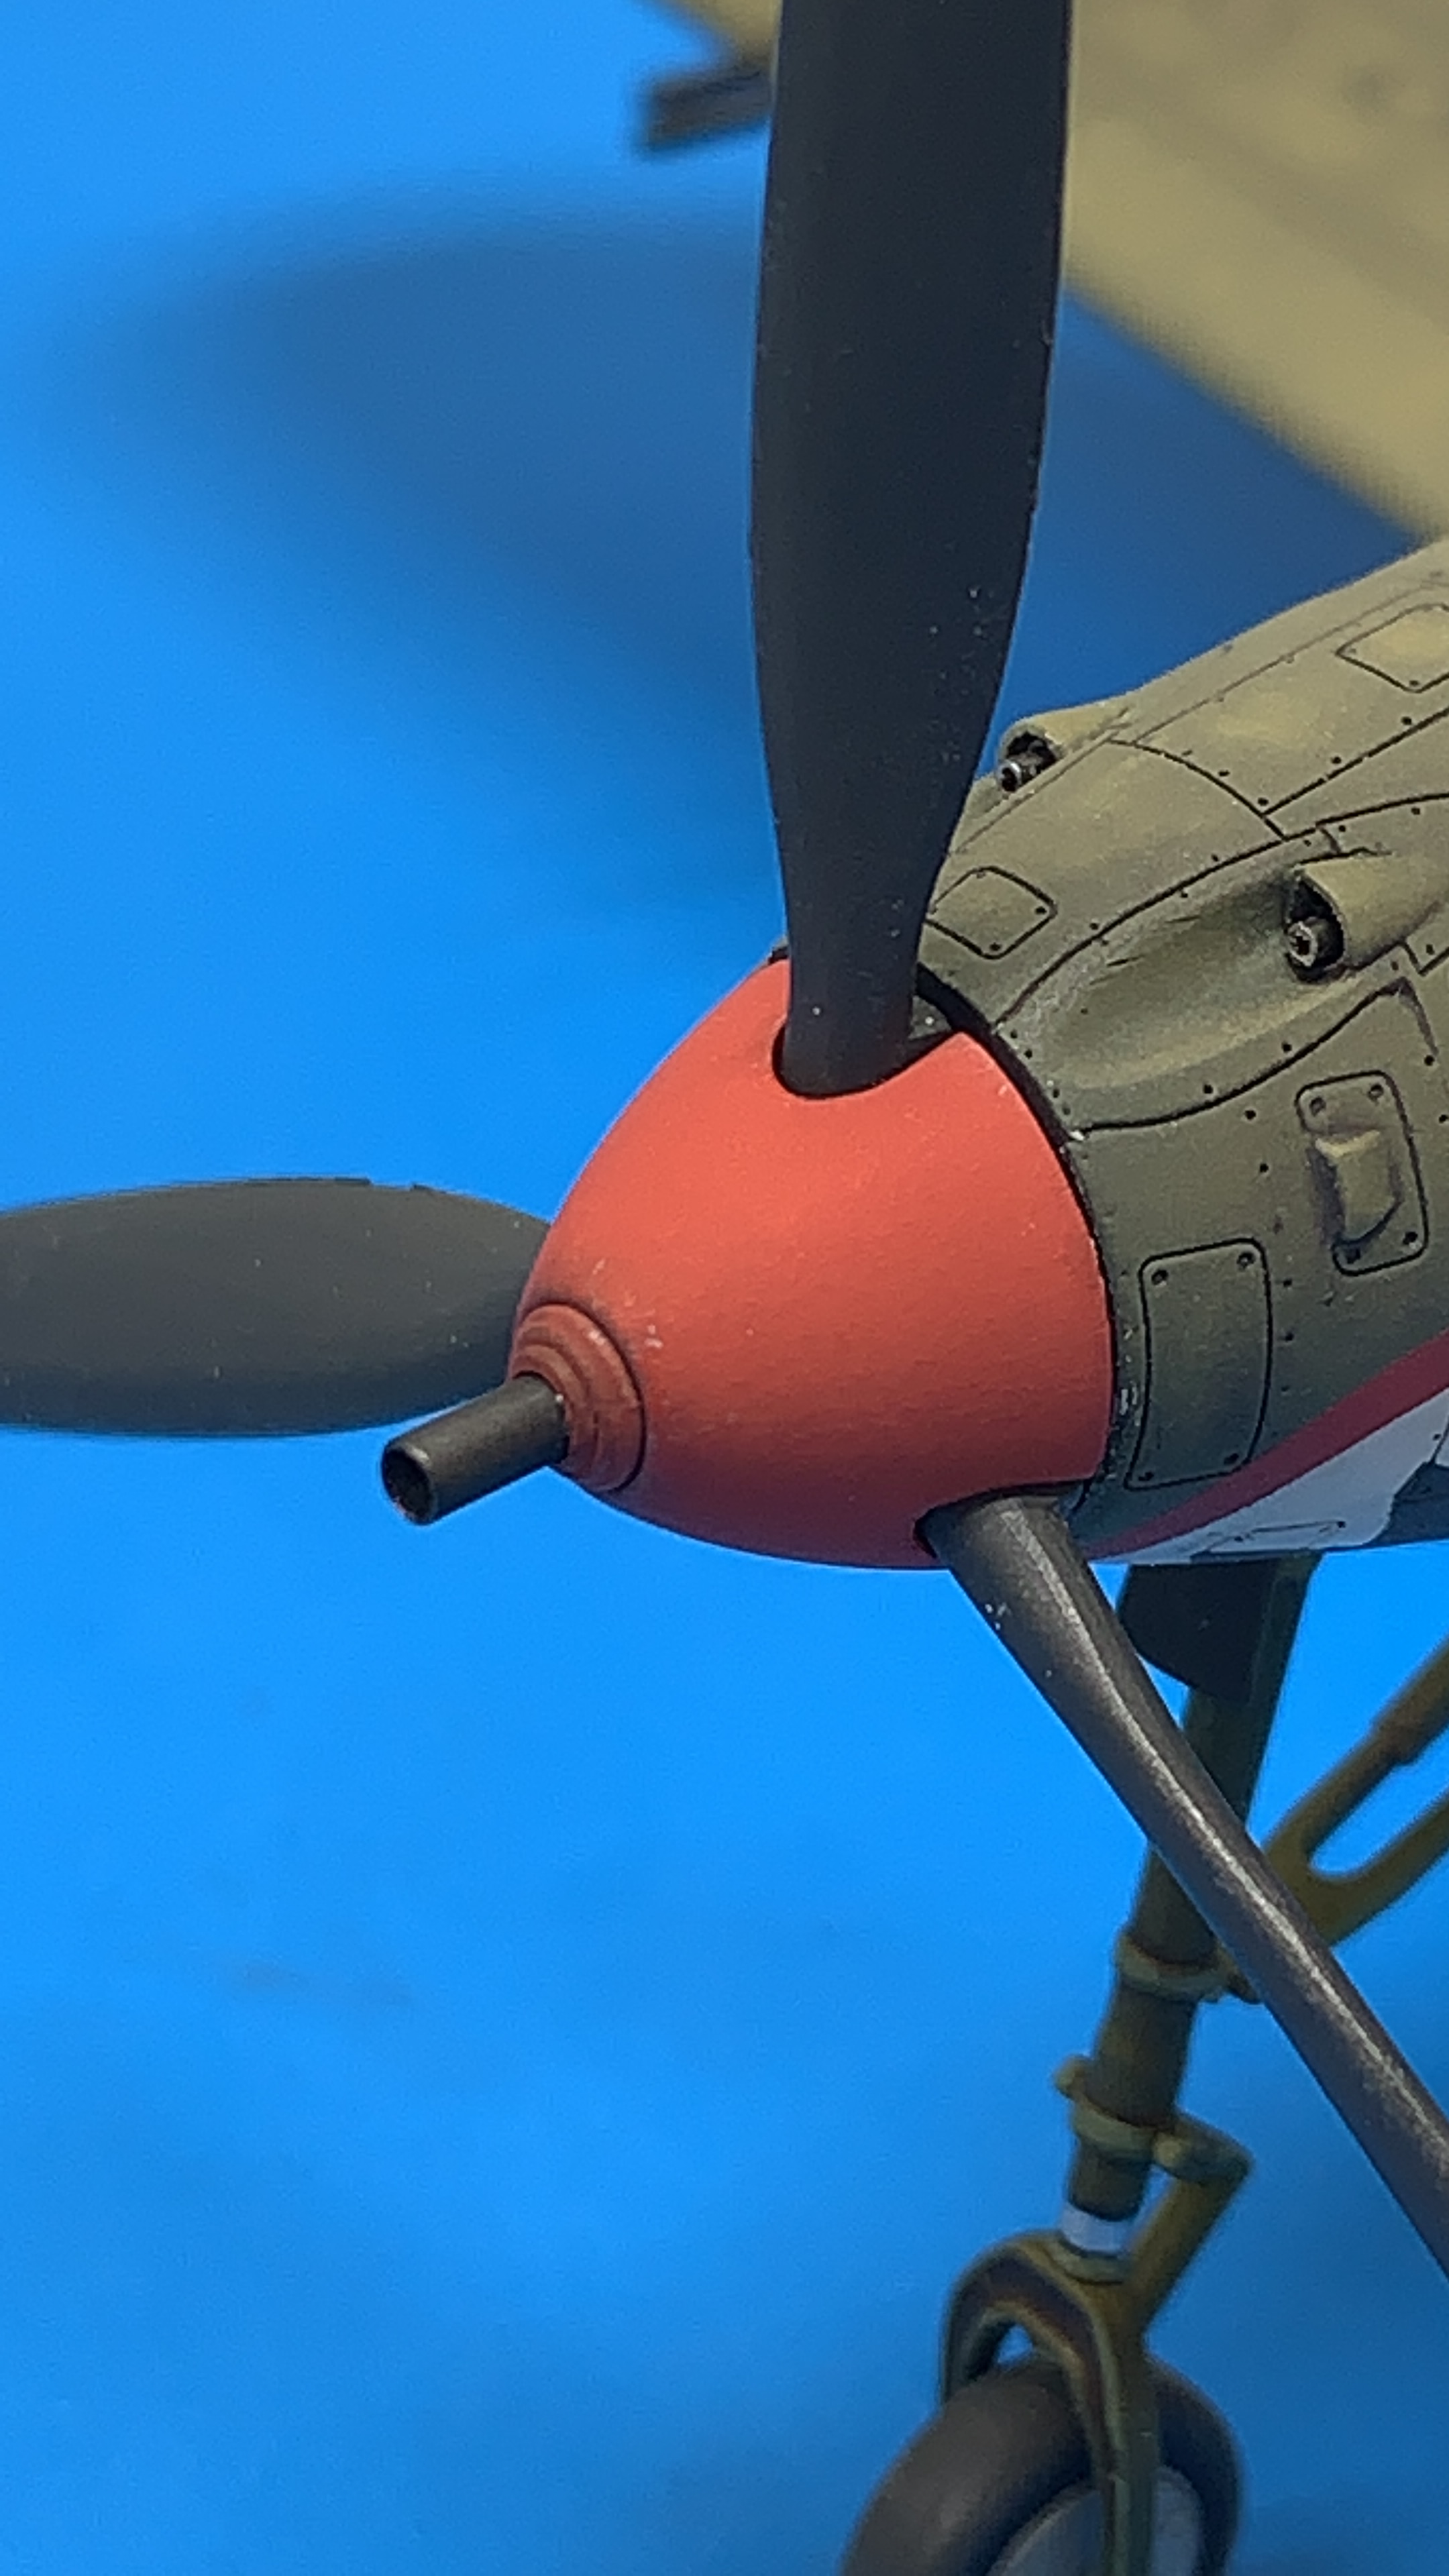
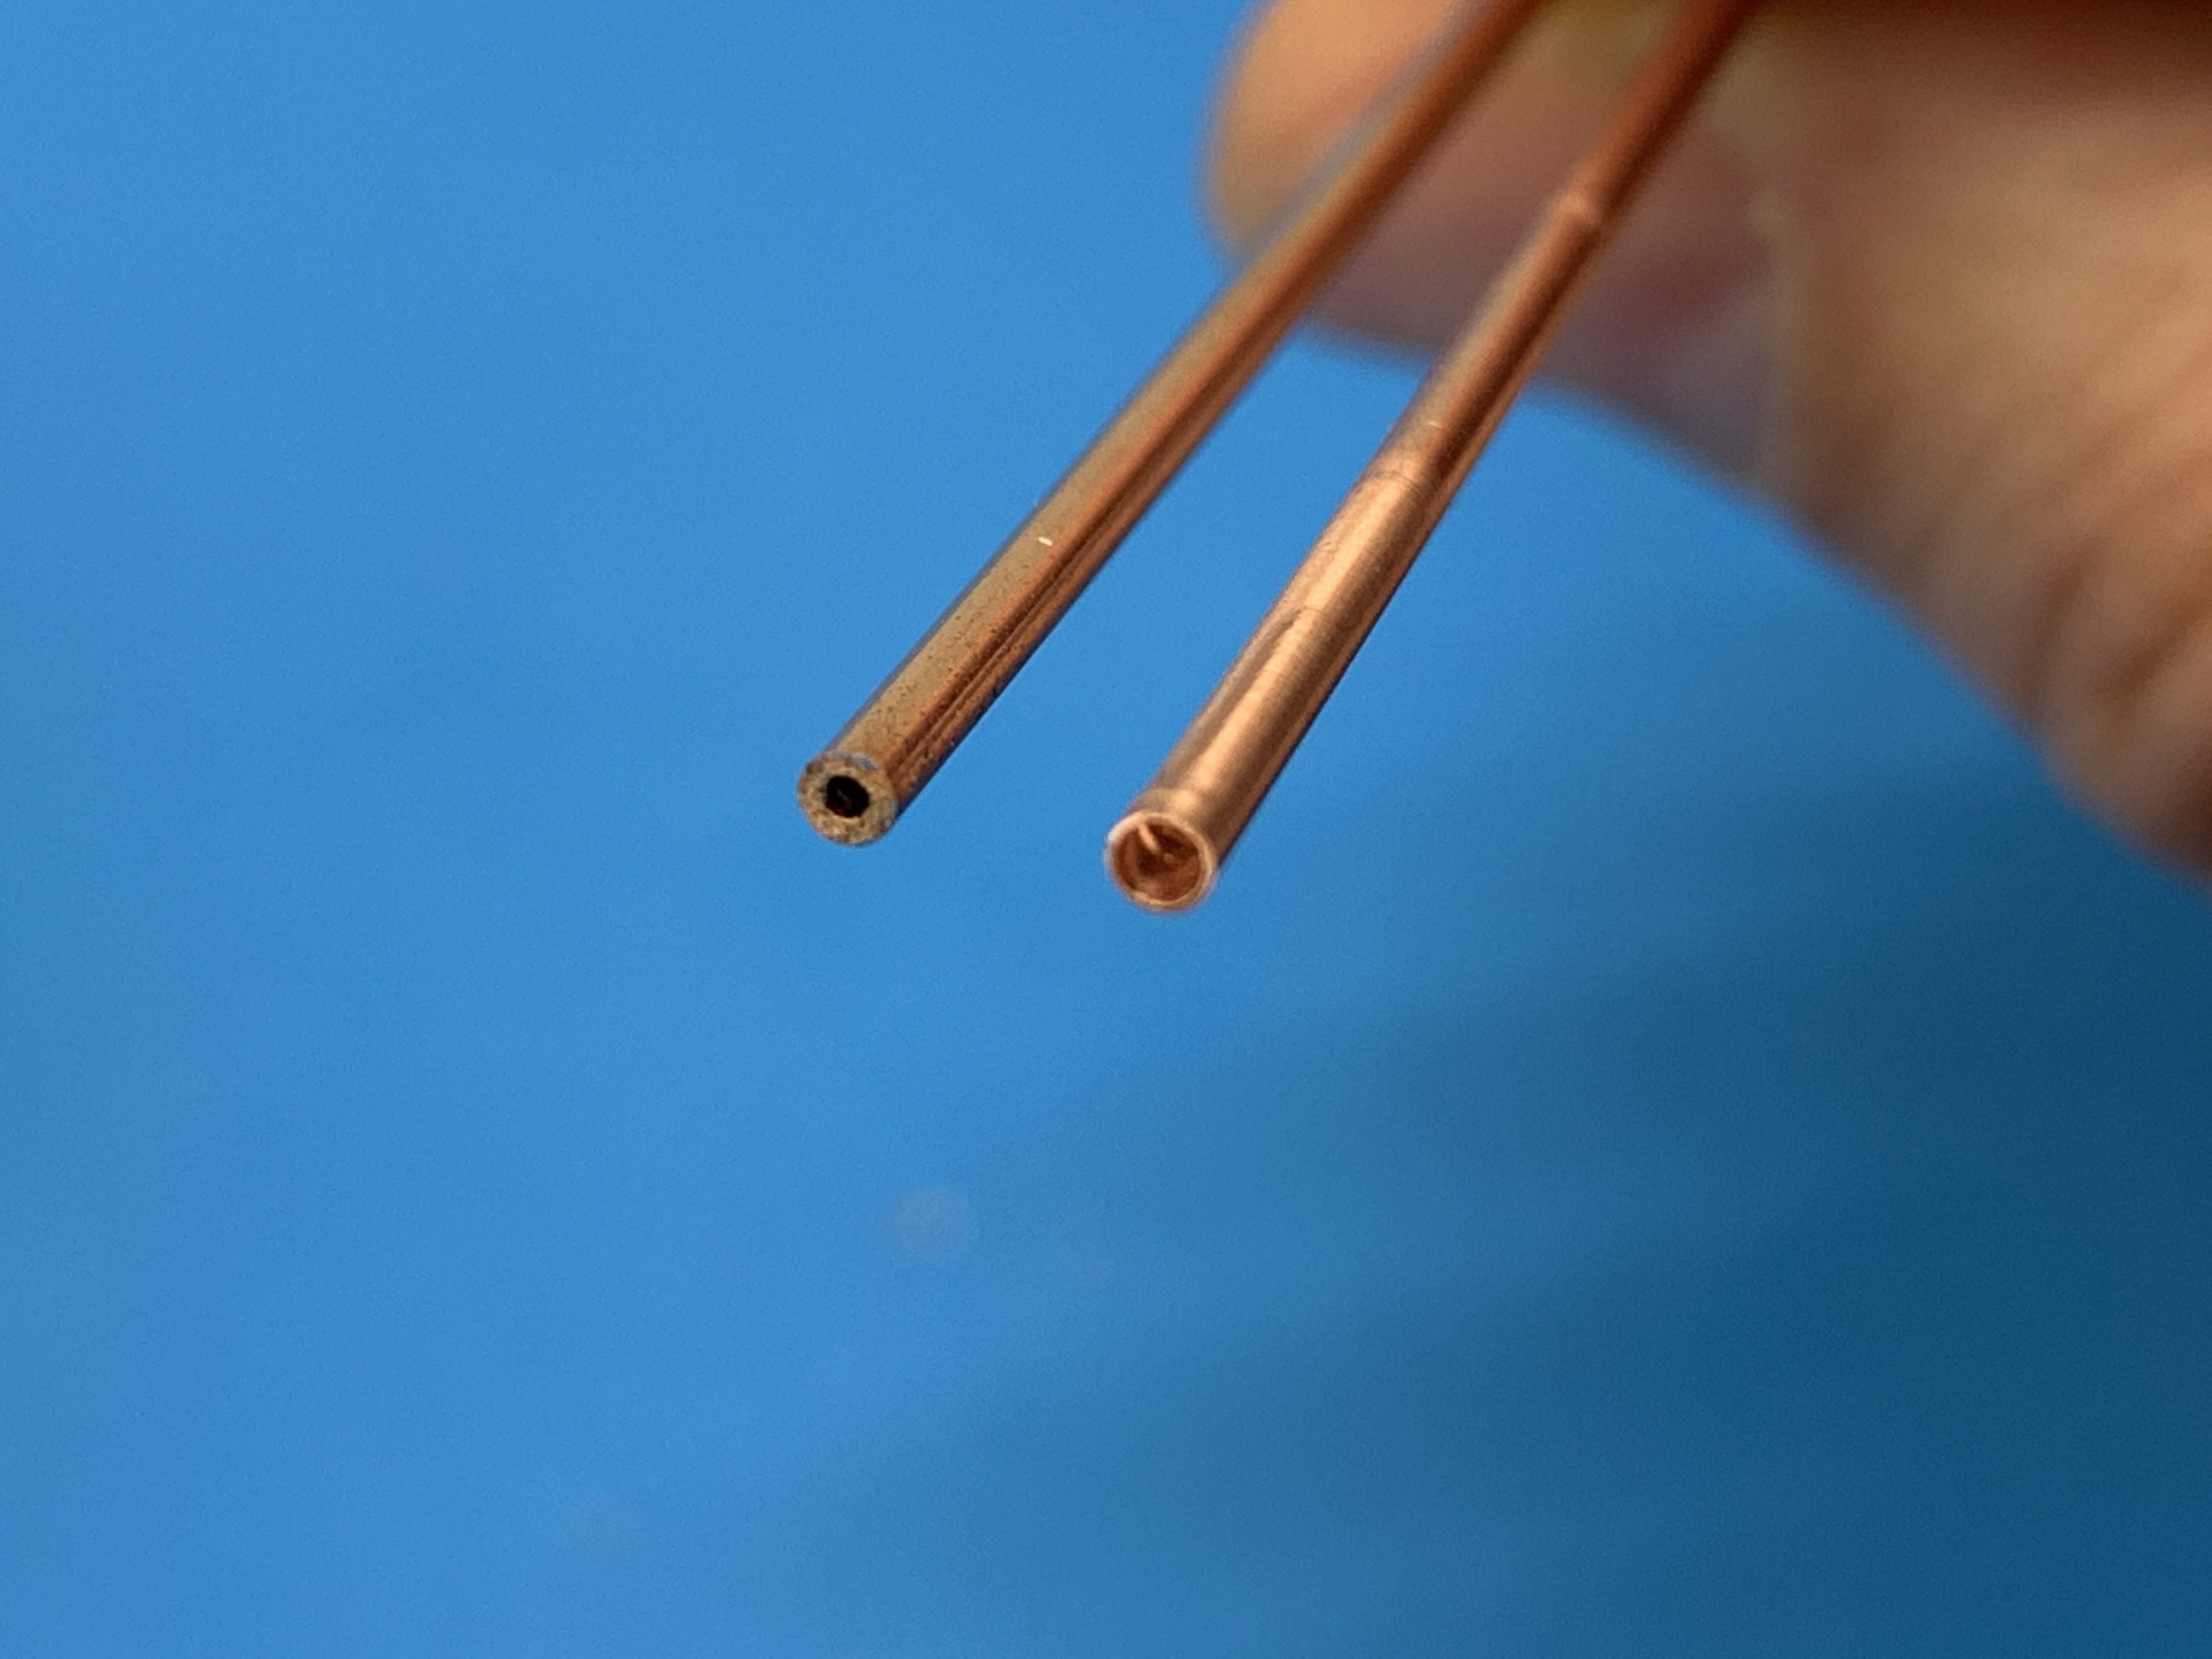
Once the Airacobra was together, I decided to improve a few parts. I replaced the solid hub cannon with some drilled out copper tube. I replaced the gun “barrels” with some hypodermic needles cut to size. I thinned out the propeller blades and drilled out the exhaust pipes. Lastly, I added brakelines to the main gear.

Painting the Airacobra
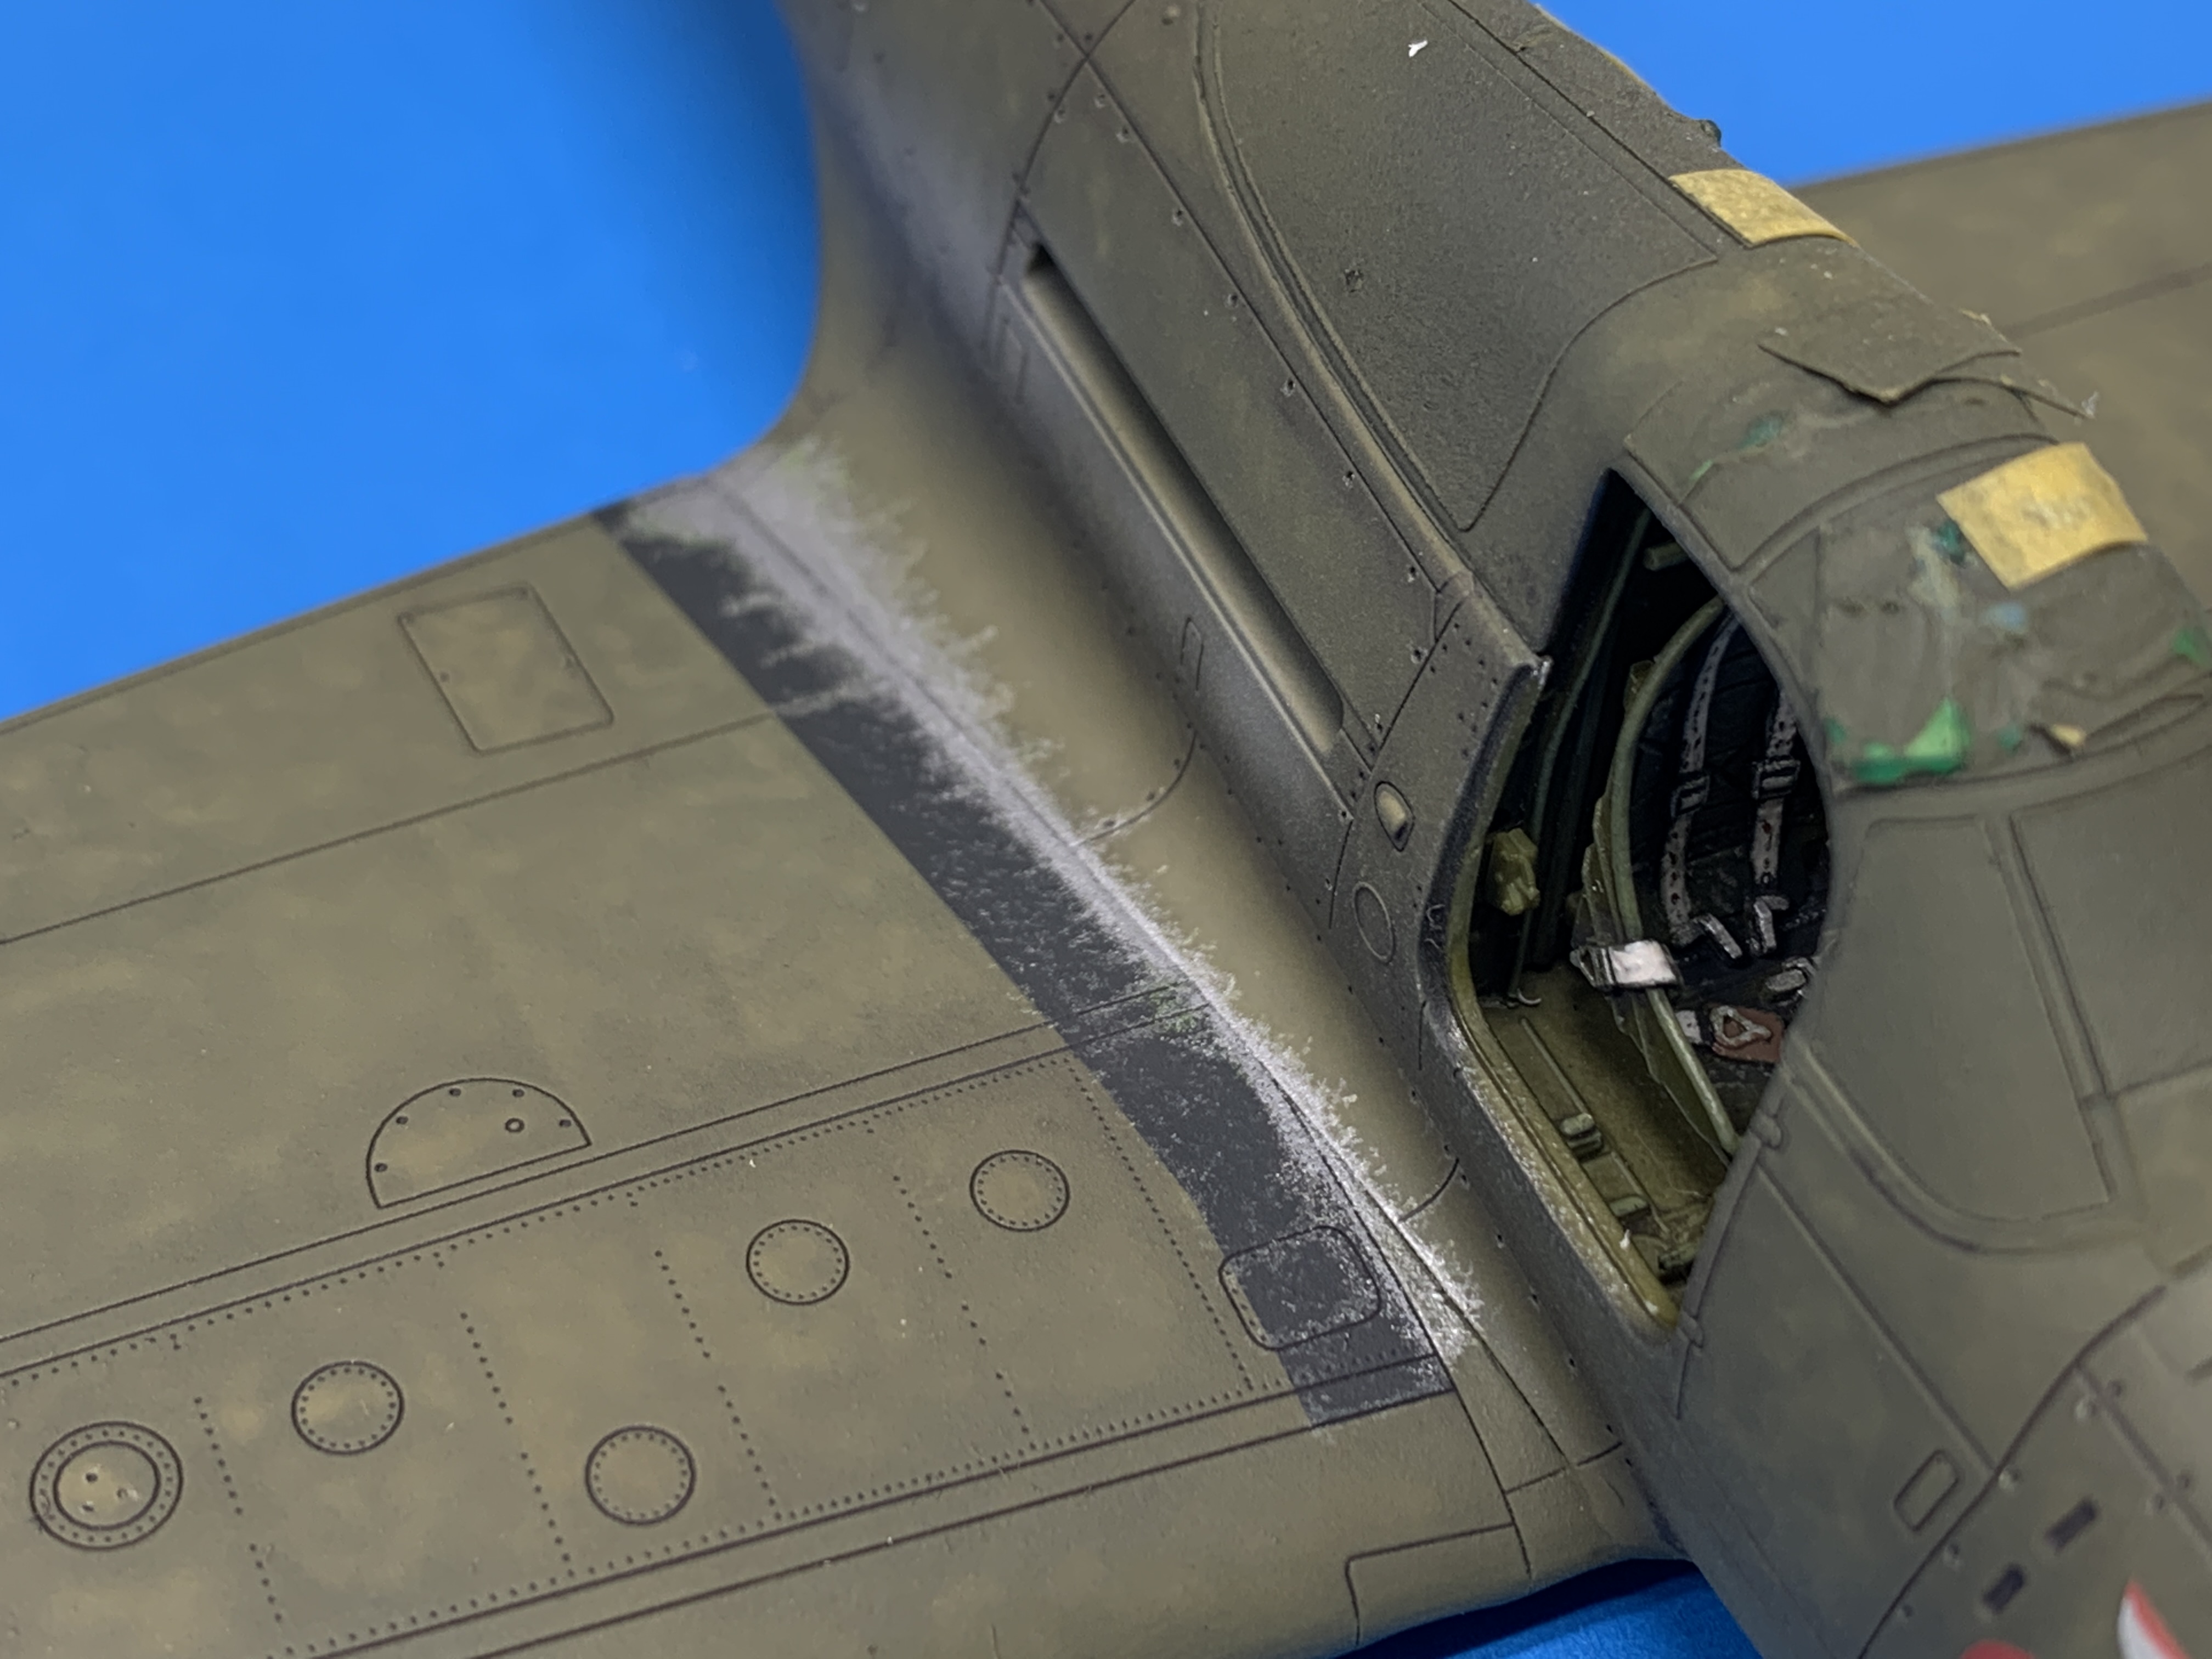
Another nice thing Arma does is to include precut masks for the canopy and the gear. Now I find with most of these sets, they come very close to being perfect but there are always some pieces that do not completely cover one or more canopy parts. The Arma set was no exception. This was not a big deal as I just needed to add a teeny strip of tamiya tape here and there and then seal everything in with liquid mask
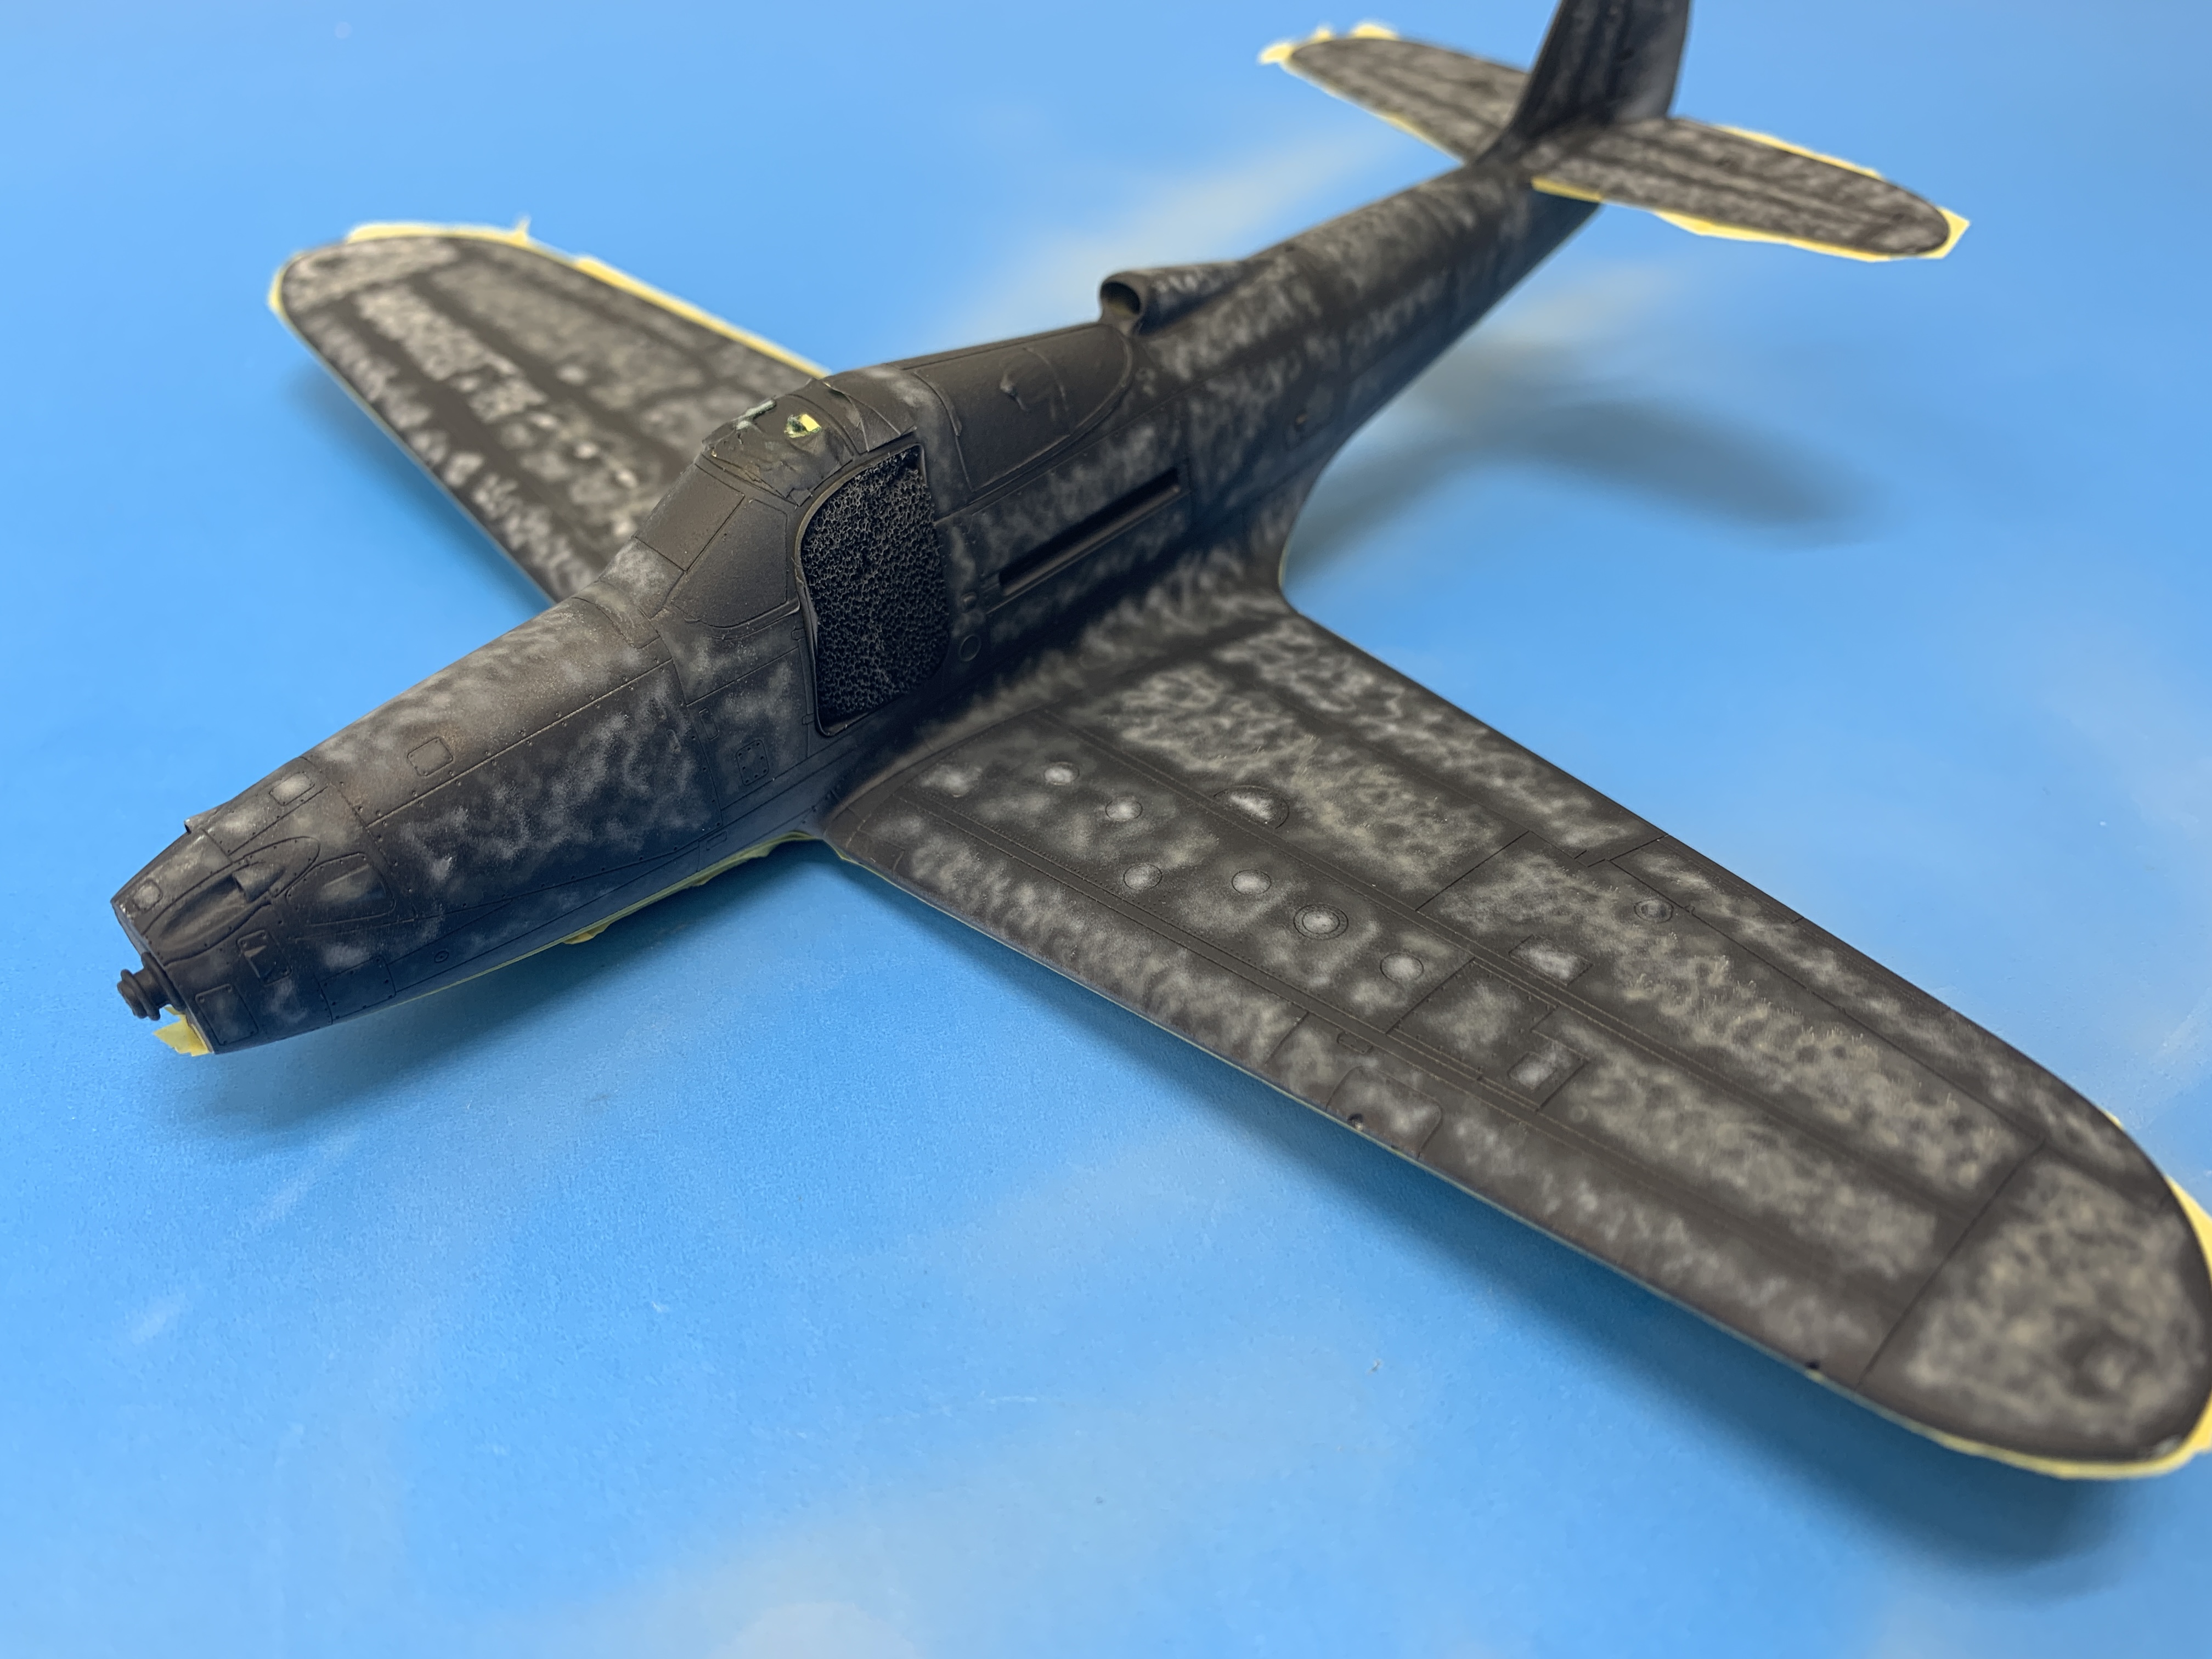
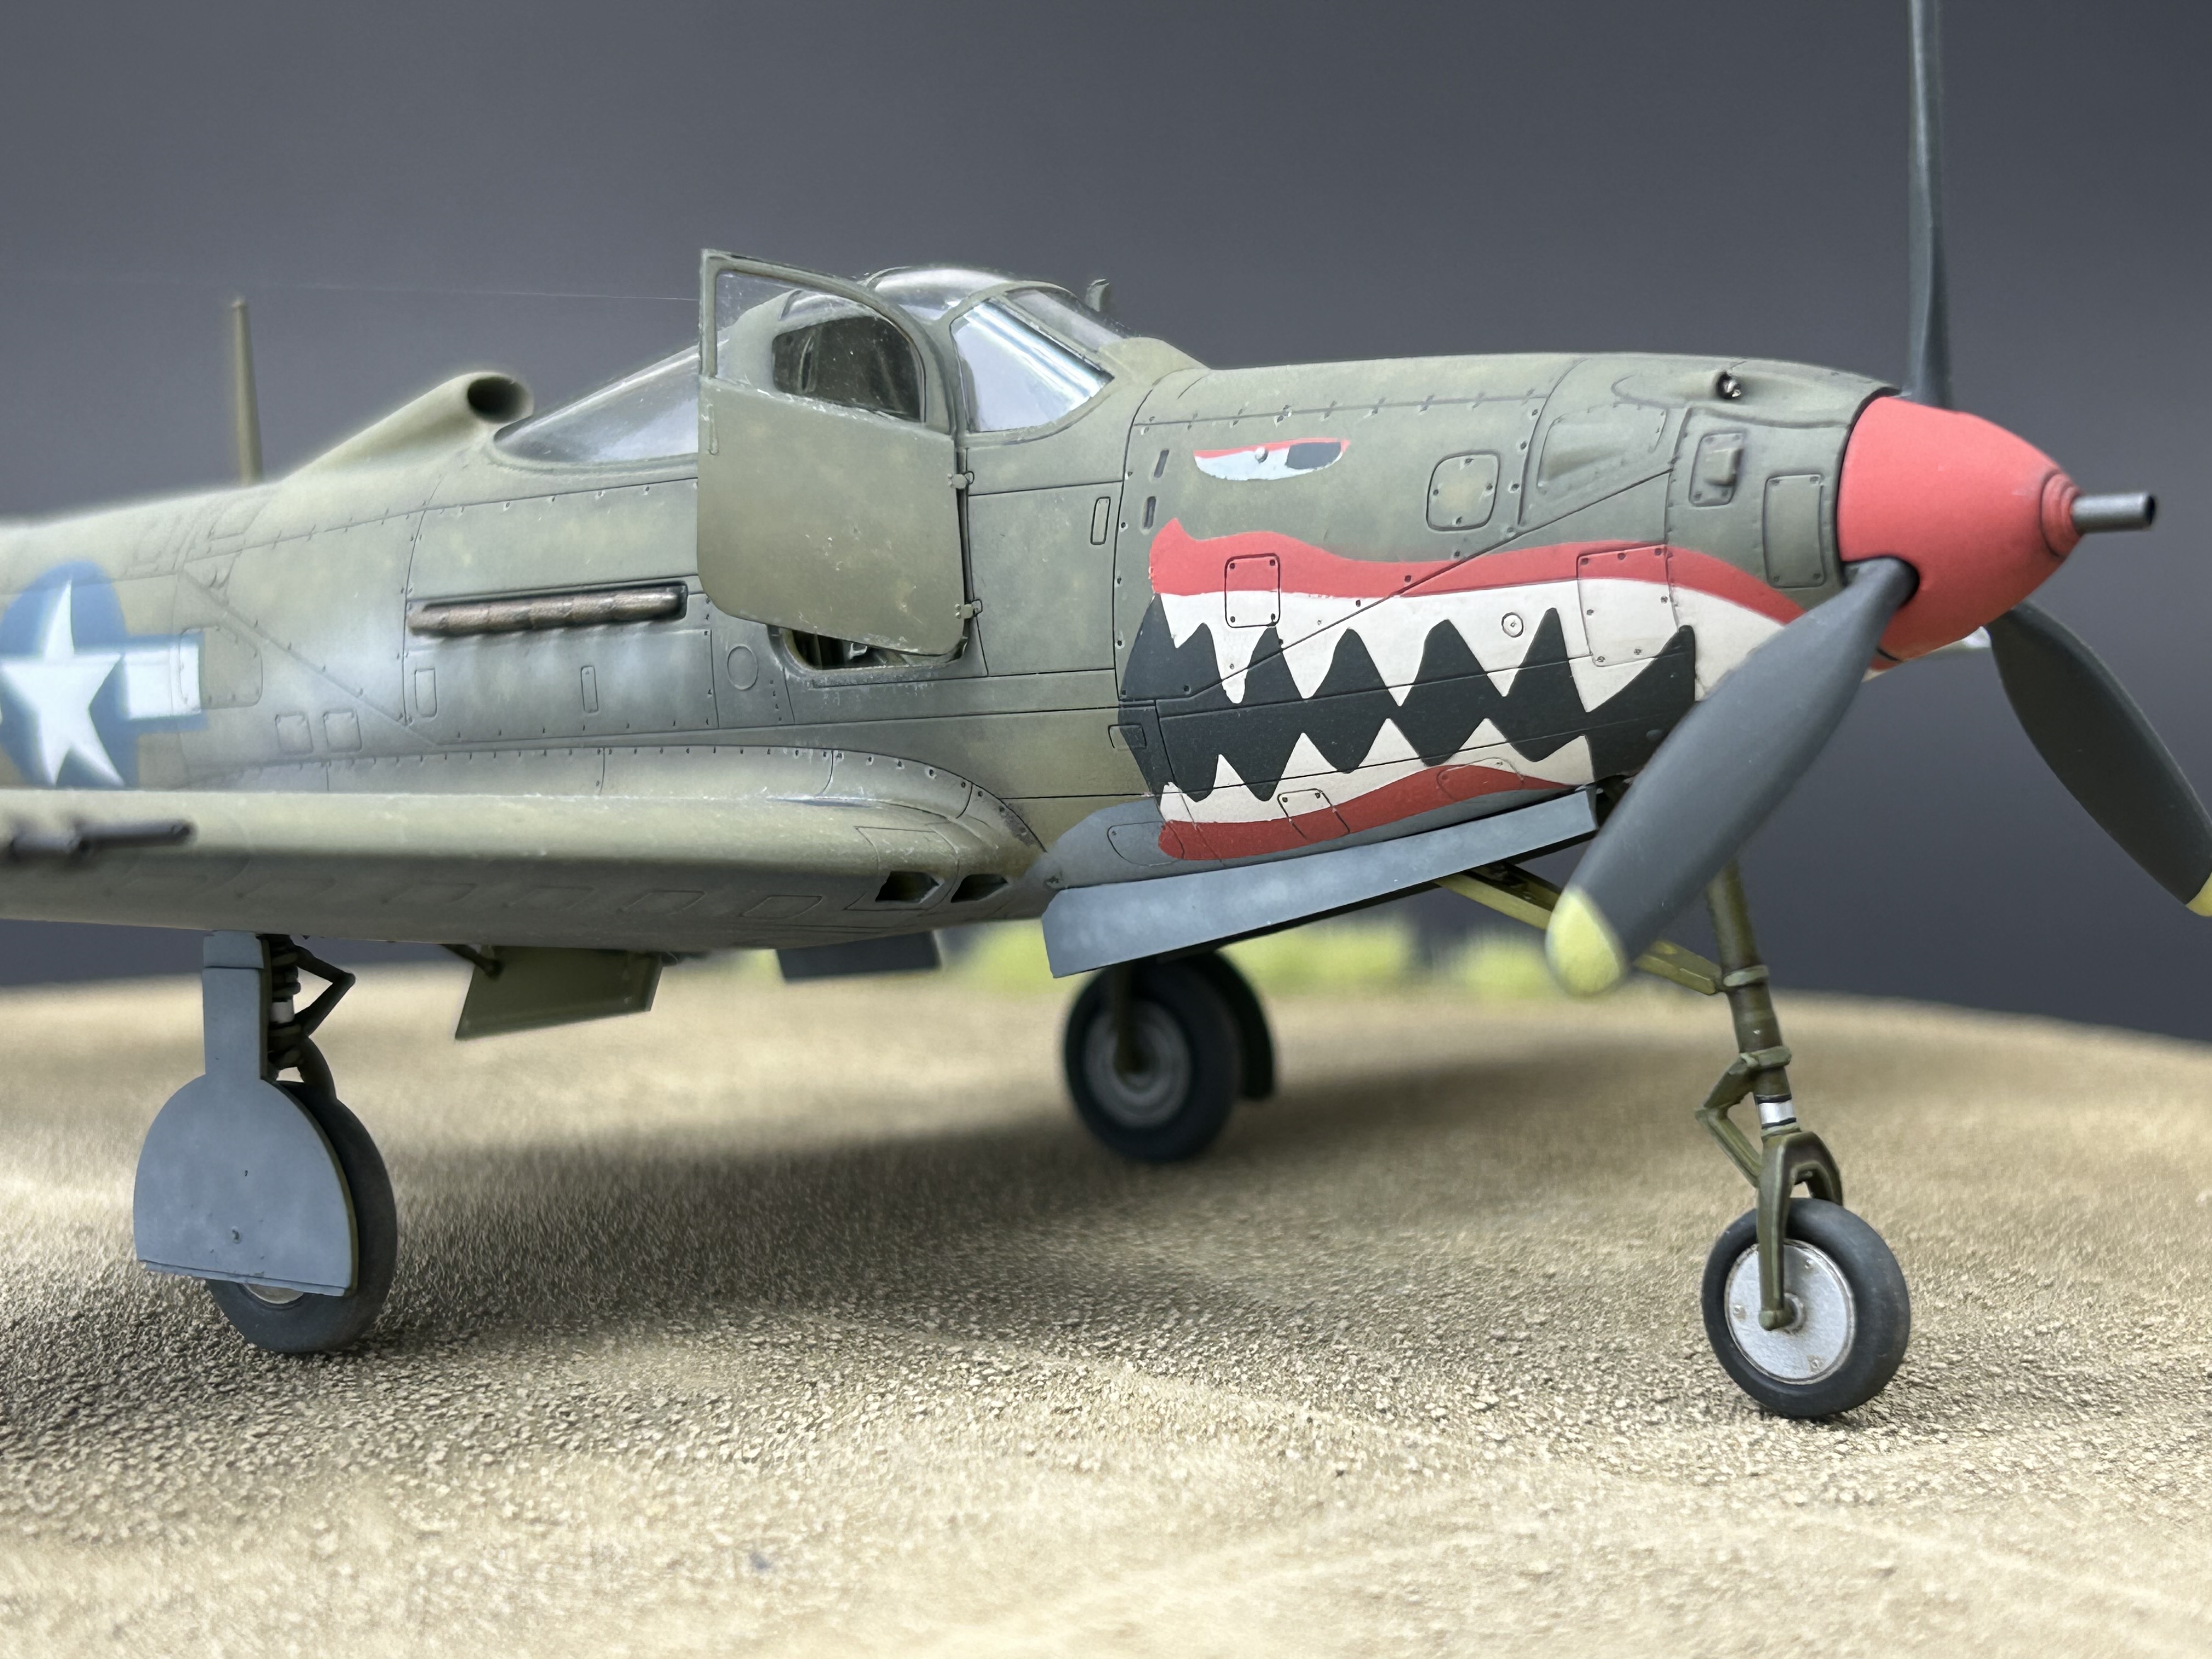
My goal with this model was to get the plane to look sun faded and worn like the real thing was in the Pacific. So, after covering the entire model with Tamiya Flat Black, I marbled the upper and lower surfaces with thinned mixes of Flat White and Medium Grey. I do this free hand and I can tell you – this takes a while to finish! The key is to keep lines thin and the splotches tight as you move randomly across the model.
When it is time for the top coat, the danger is spraying too much colour and obliterating all that nice marbling underneath. But there are two ways to lower this risk:
- Use thinned paints; and
- Be ready to walk away at any time!
I thinned my top coats to about 30 parts paint to 70 parts thinner. I turned up the compressor pressure and I have faster movements across the model while I build up the colour. And when I think I am getting to that sweet spot, I take a break and walk away from the model. I find that when I return to the model, I am looking at it with ‘fresh eyes’ and I find it much easier to determine if more coats are needed. I admit, it might sound silly – but it works.
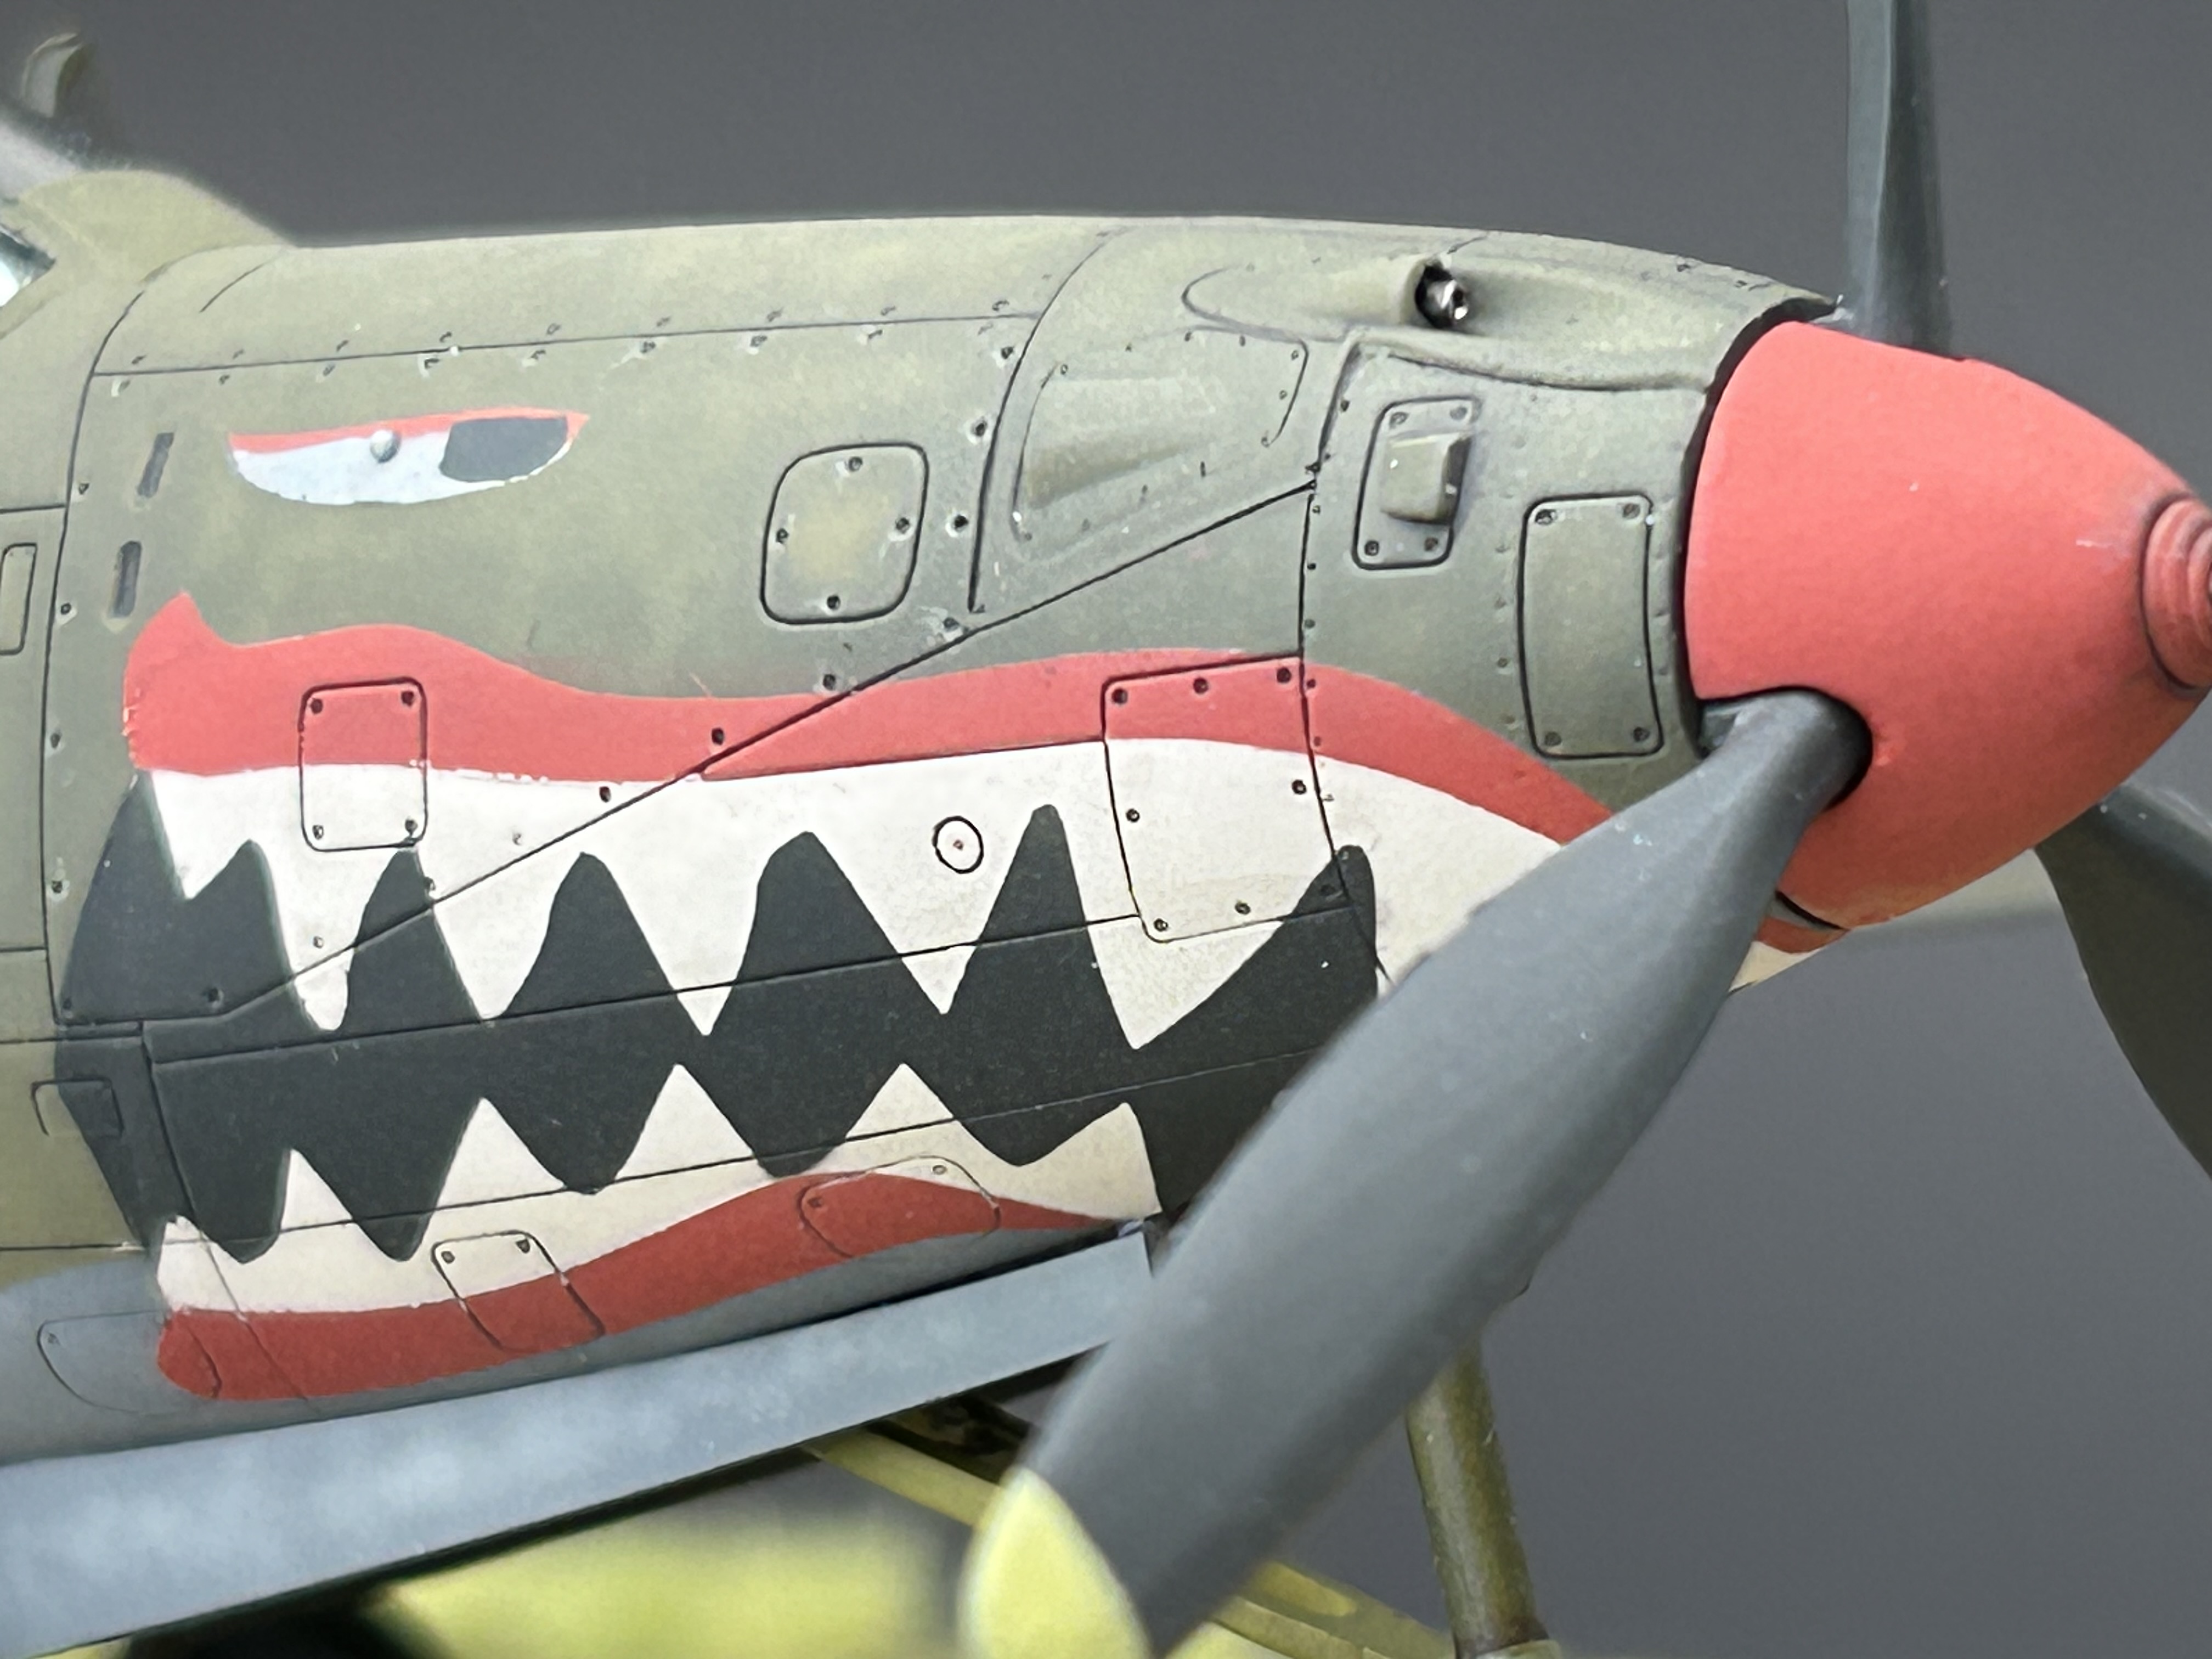
I made the mask using shark mouth artwork that I found online. Of course, I tried just loading that file into the Silhouette cutter software but, well, it really didn’t work becuse the image was a picture and not a true vector image. So, I cleaned up the design using Microsoft Paint3D, and this time the Silhouette software liked the image and made me some beautiful cut lines.
Painting the shark mouth was an exercise of painting one colour at a time, then properly masking each colour before painting the next. And careful as I was, I still managed one small paint leak under the red mask but it was really easy to fix.
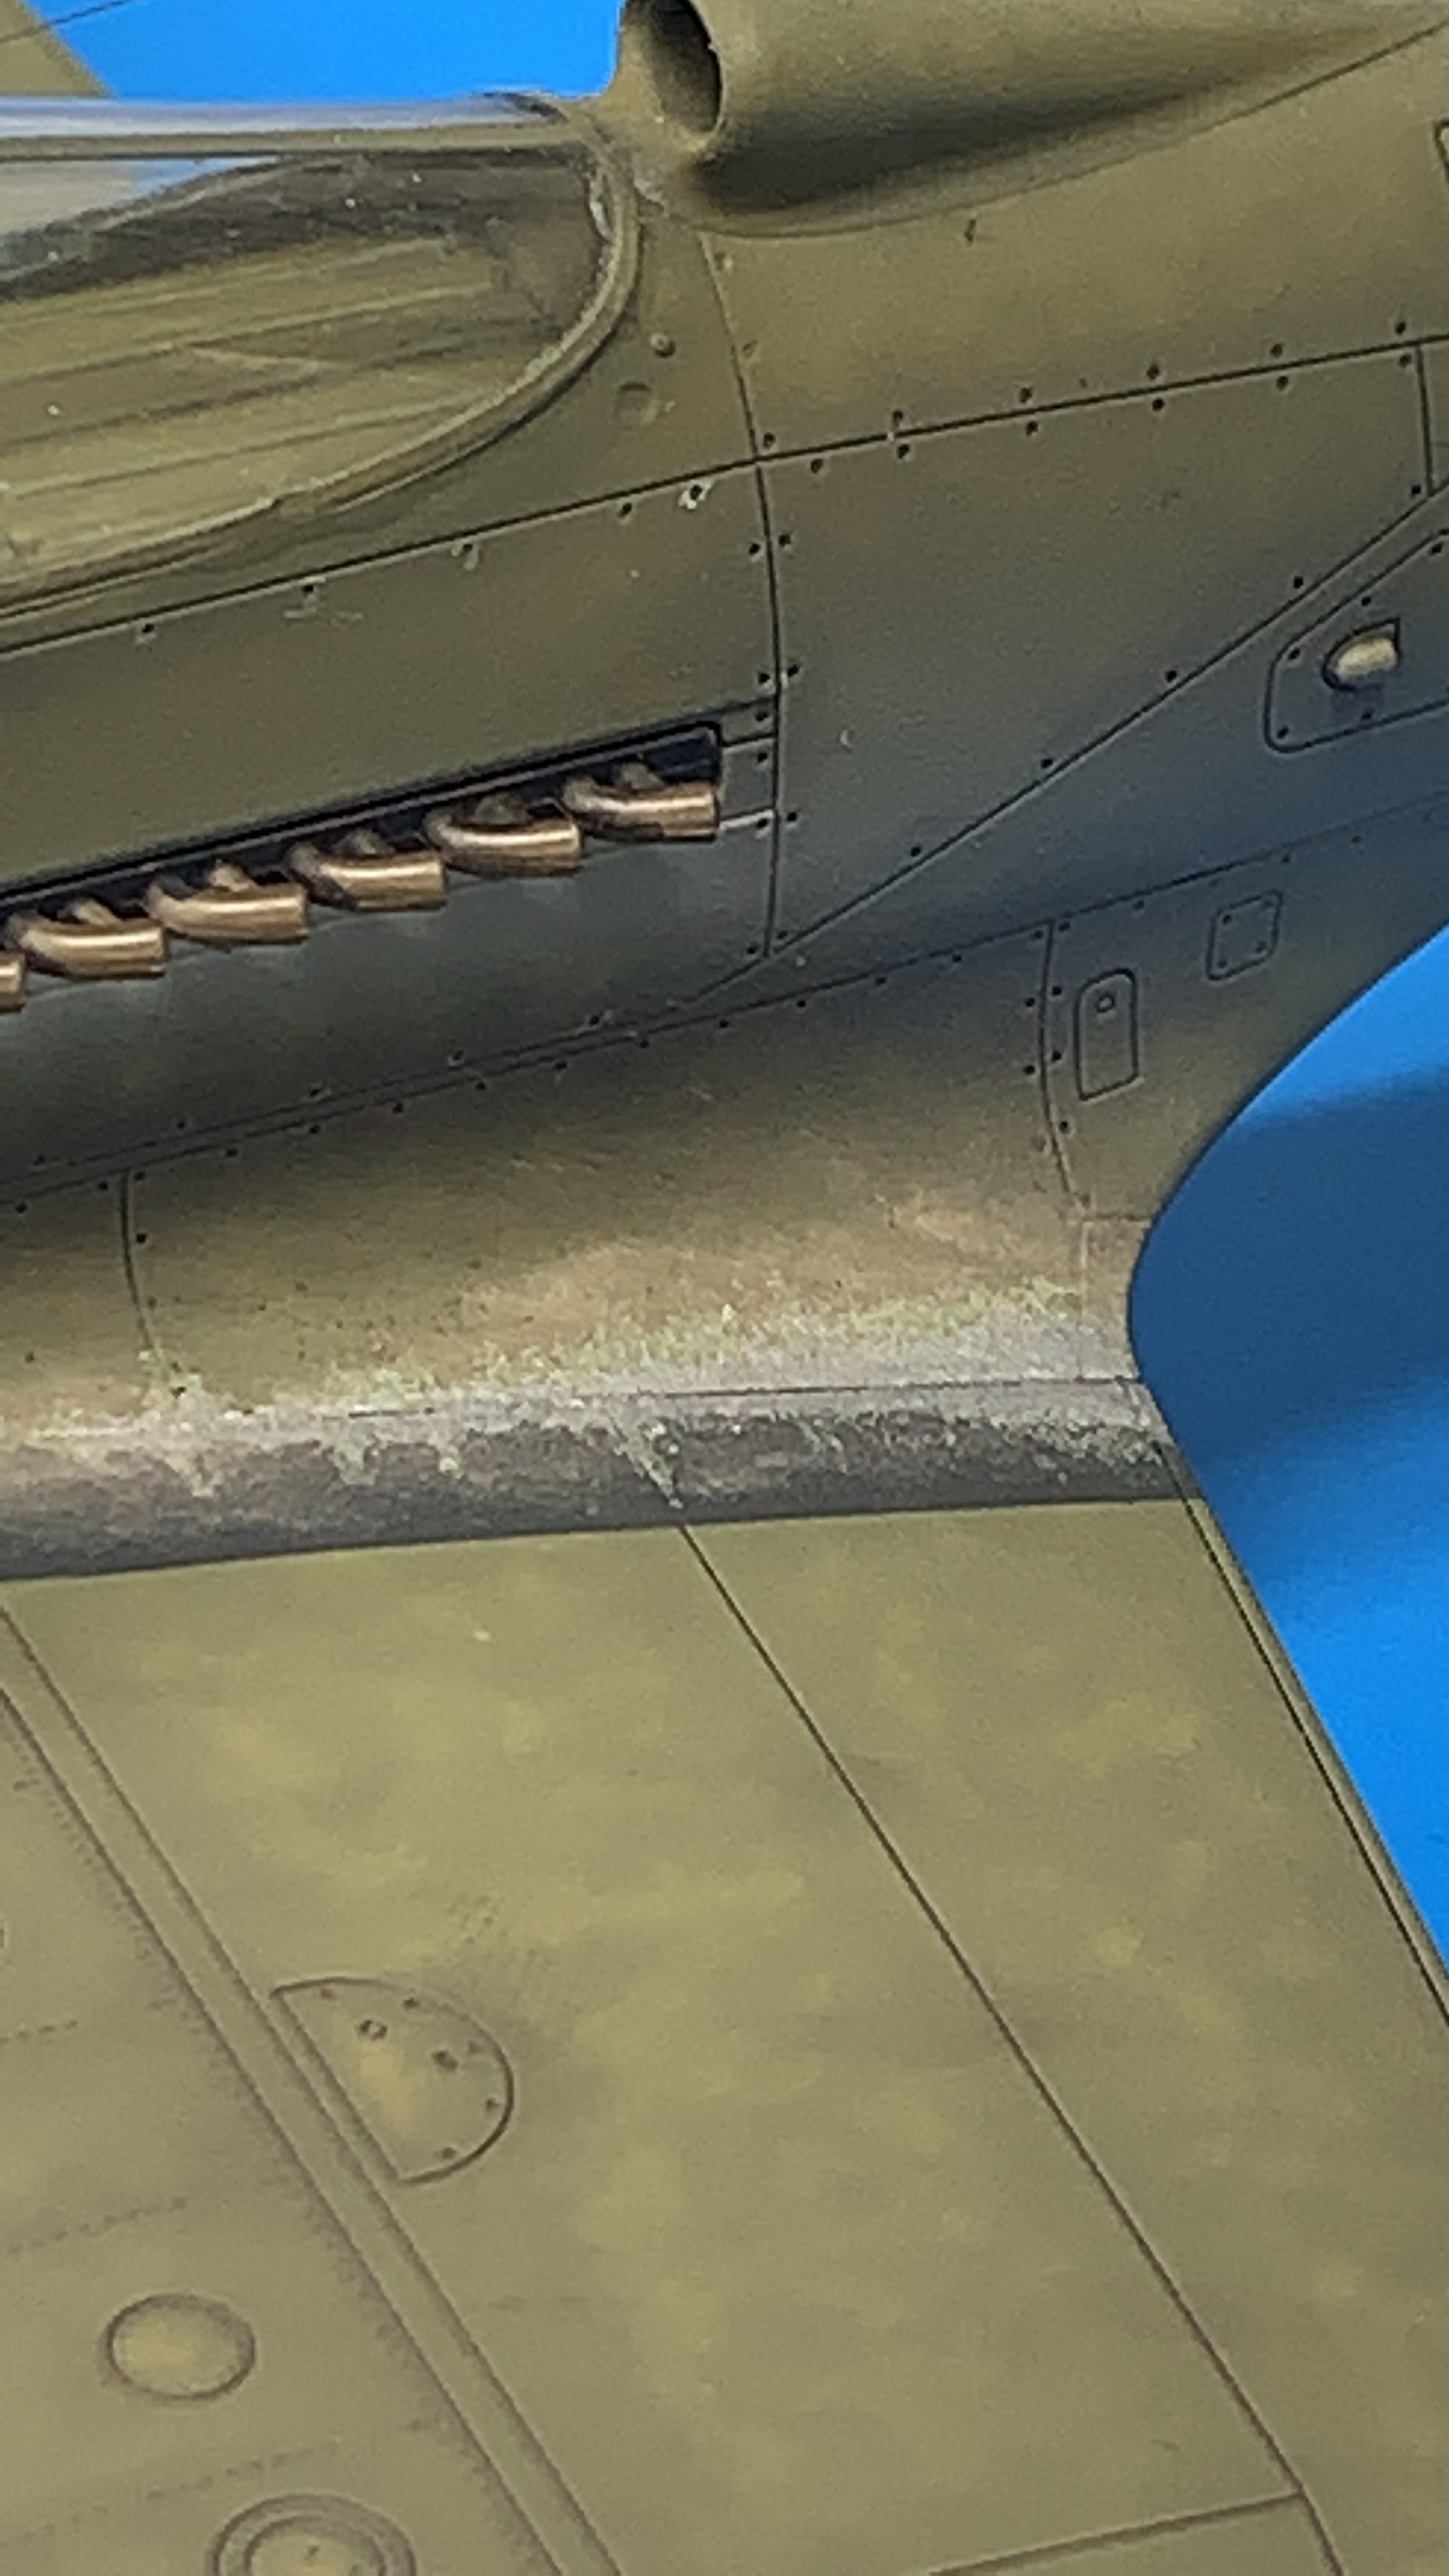
After that, sealed everything Tamiya Clear, I highlighted the panel lines using AK panel line wash and then I was ready to try using pencils to simulate the chipping and scratching of the paint at the wing roots. I’ve tried prisma silver pencils to “chip” the finish before – but I did it all wrong and my model looked like it had measles. This time, again with the help of some good pictures, I was going to concentrate on the recurring wear patterns. The other thing I noted in the pictures was despite all the dirt, staining and sun fading these planes had, the paint was remarkably durable. These were not planes with chipped and flaking paint. So, all I had to do was keep myself disciplined.

The look I was after was paint that was rubbed, scuffed and scratched to the point where it gradually wore off. Like painting the top coat, it also pays to take a break and walk away from the model in order to prevent pencil scratching madness. I did that a few times until I was happy with the results.
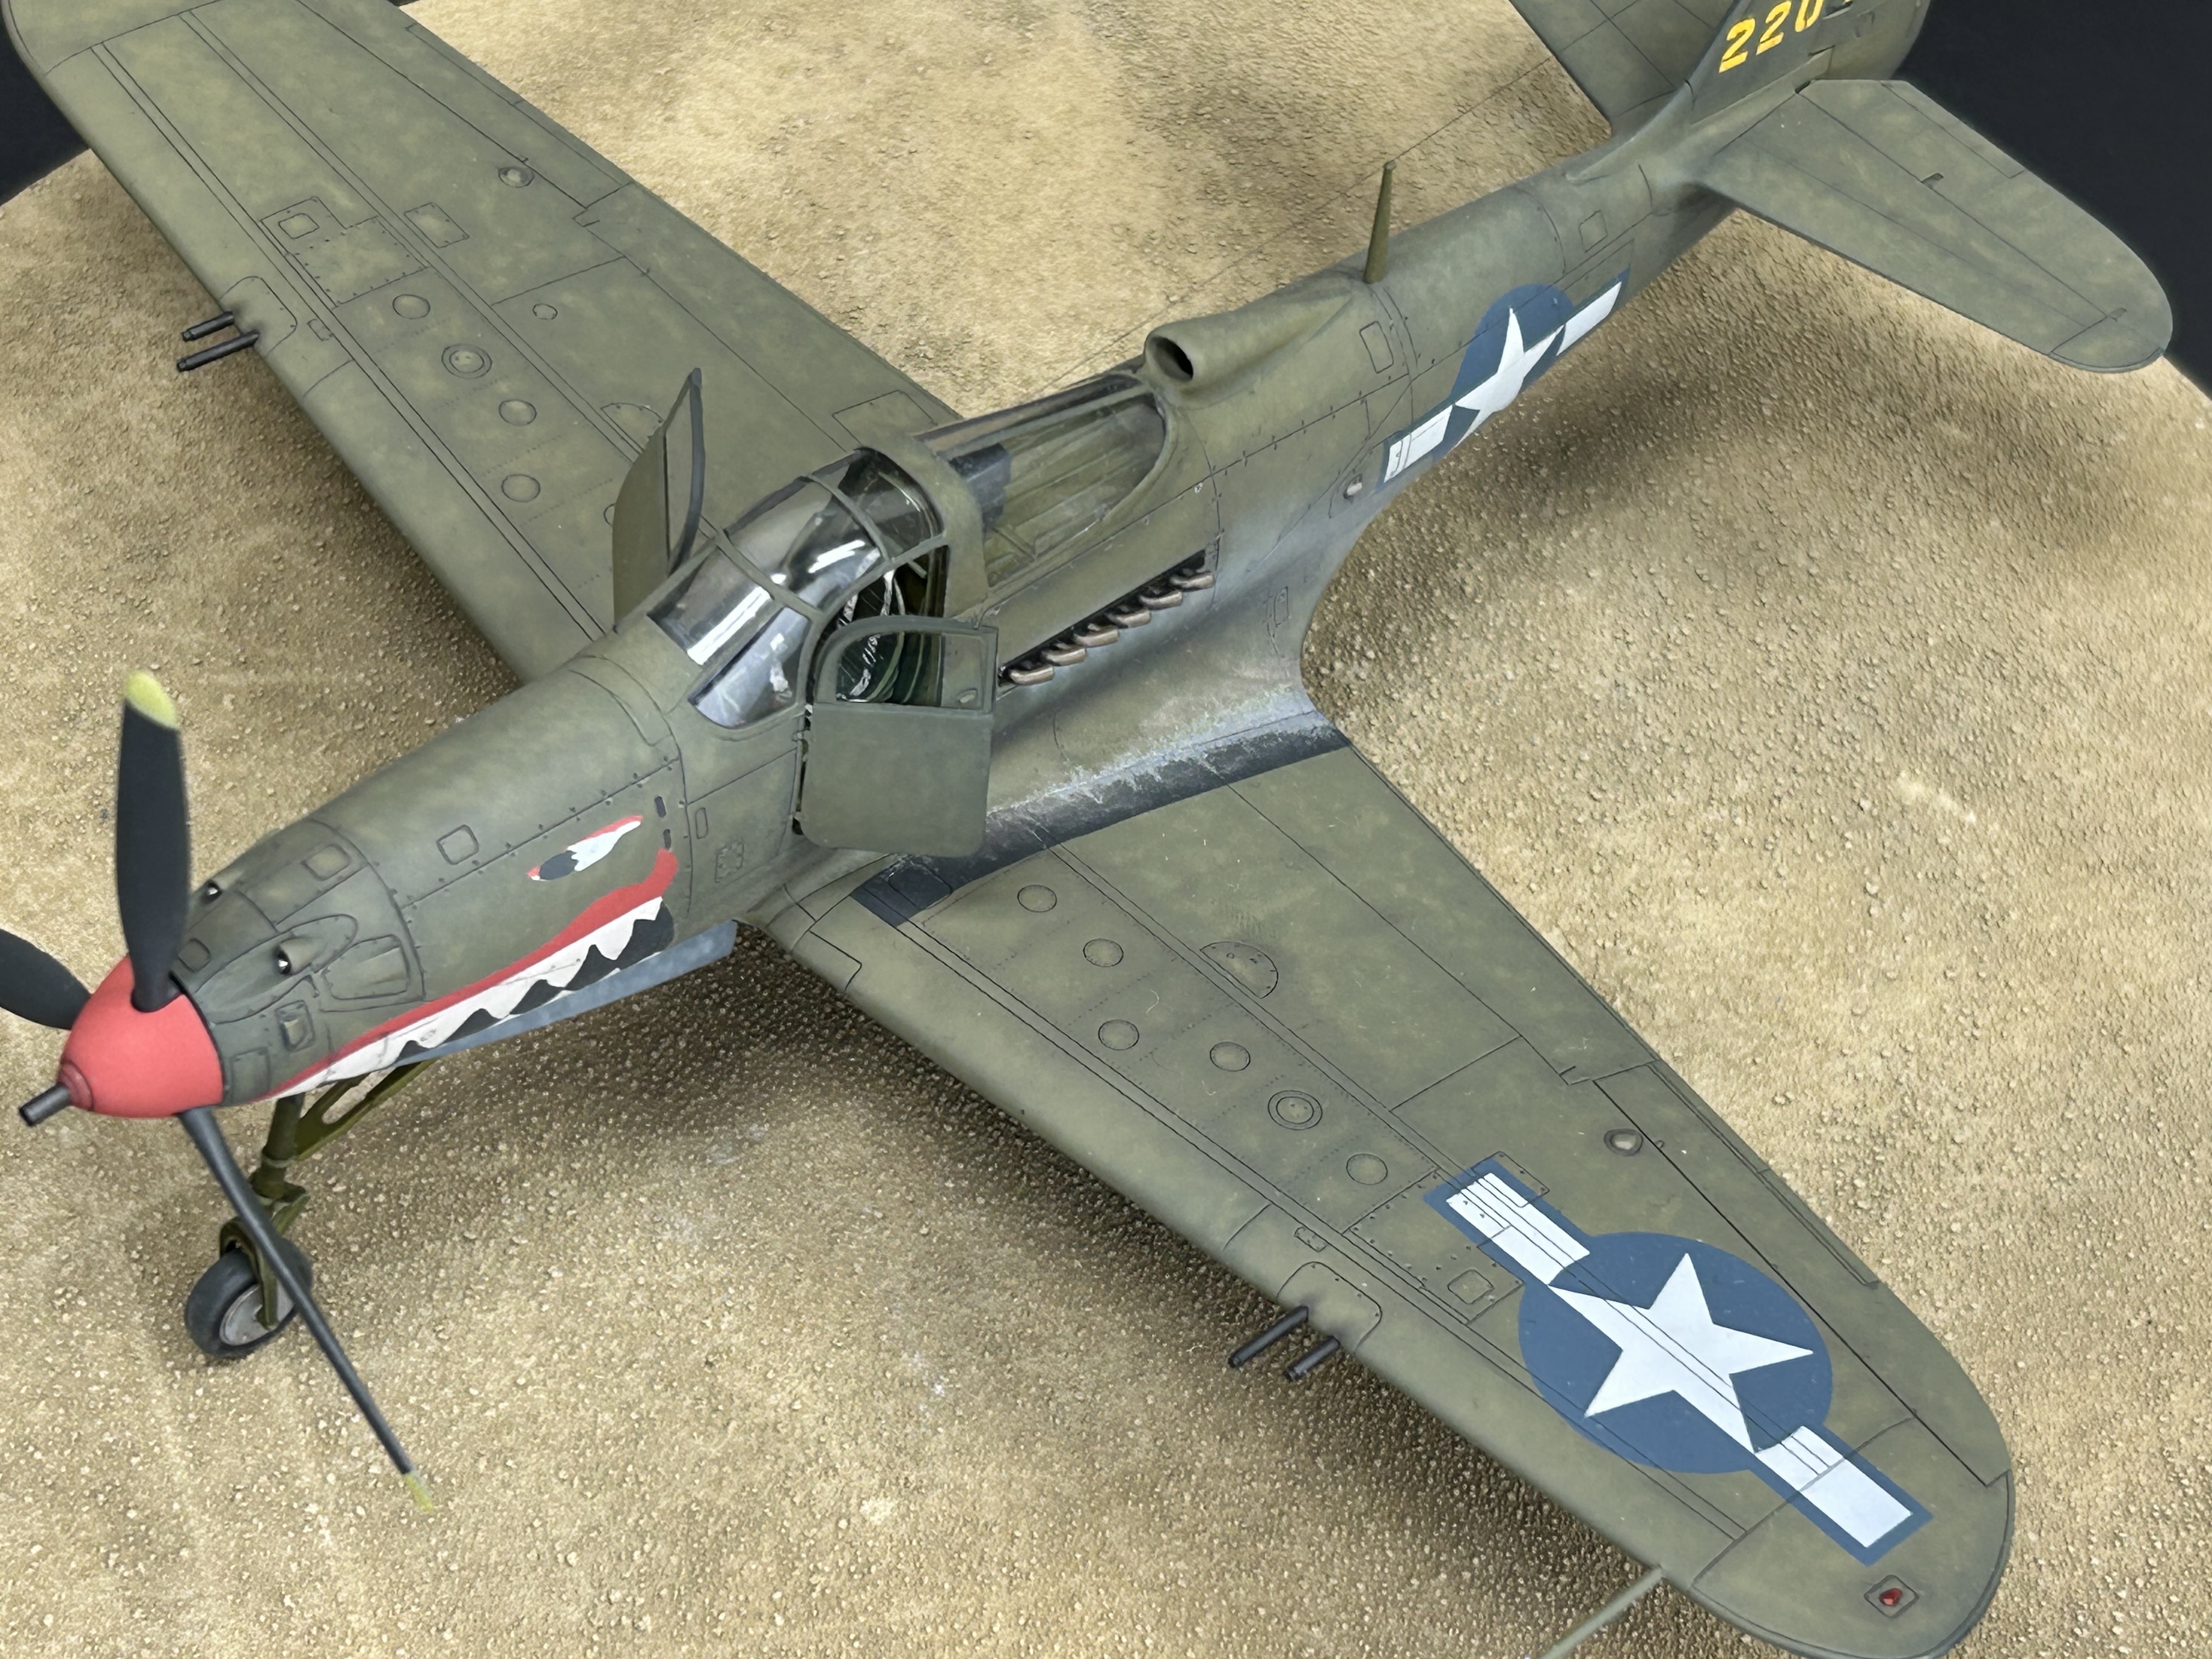
Final Result
And there you have it – one completed 48th scale Arma P-39 Airacobra. Not the easiest kit in the world to build but I am very happy with how the painted shark mouth turned out. I also think I had success with my exhaust stains and I was pleasantly surprised by how well the pencils worked this time. I’ll definitely be experimenting more with them.
Wanna See A Video of this Build?
Hell yes you do!
Last Thing
I mean, aside from the P-40, I can’t think of another plane that looks better with a shark mouth. I’ll go so far as to say: An Airacobra isn’t an Airacobra unless it’s got one big ol red and menacing shark mouth on it.
I am really happy how this kit turned out and I am glad I practiced a few new techniques before taking a risk and trying them on the finished model. I think there is more to learn and I am looking forward to more experimentation.
I am glad I was able to figure out the Saturn Ultra 3D printer and I am really looking forward to using it to make more and more parts for future builds. I was intimidated at first but I was highly motivated to dip my toe in and see how I can use it. At the time I joked with my wife: the reason why Elegoo sent this to me was to prove that if this guy can figure it out and make nice 3d prints, everyone else can too. If you want to get one, you can save on your purchase by using this link. And you will help support my channel!
Arma’s free 3d print file was a nice ‘extra’ in the kit. I can see this become a popular trend for model kit manufacturers. Maybe have the basic kit parts in the kit with a link to some free 3d files to entice primary buyers, and then maybe making some upmarket bits available for an extra fee. Things like engines, figures, etc. Arma is already doing this.

Fantastic result of what is a finicky build. That shark mouth came out brilliantly
Jen Wright did an excellent series of YT vids on ironing out all the kits wrinkles. Definitely worth a view . Her channel is Jenesis Modelcrafts and Design
LikeLiked by 1 person