
I love airplane engines, which is pretty much why I’ve built so many big, round-nosed WW2 props. That big ol’ engine, just begging for detail, is visible to all. I pretty much always start my builds with the engine, no matter what those instructions say.
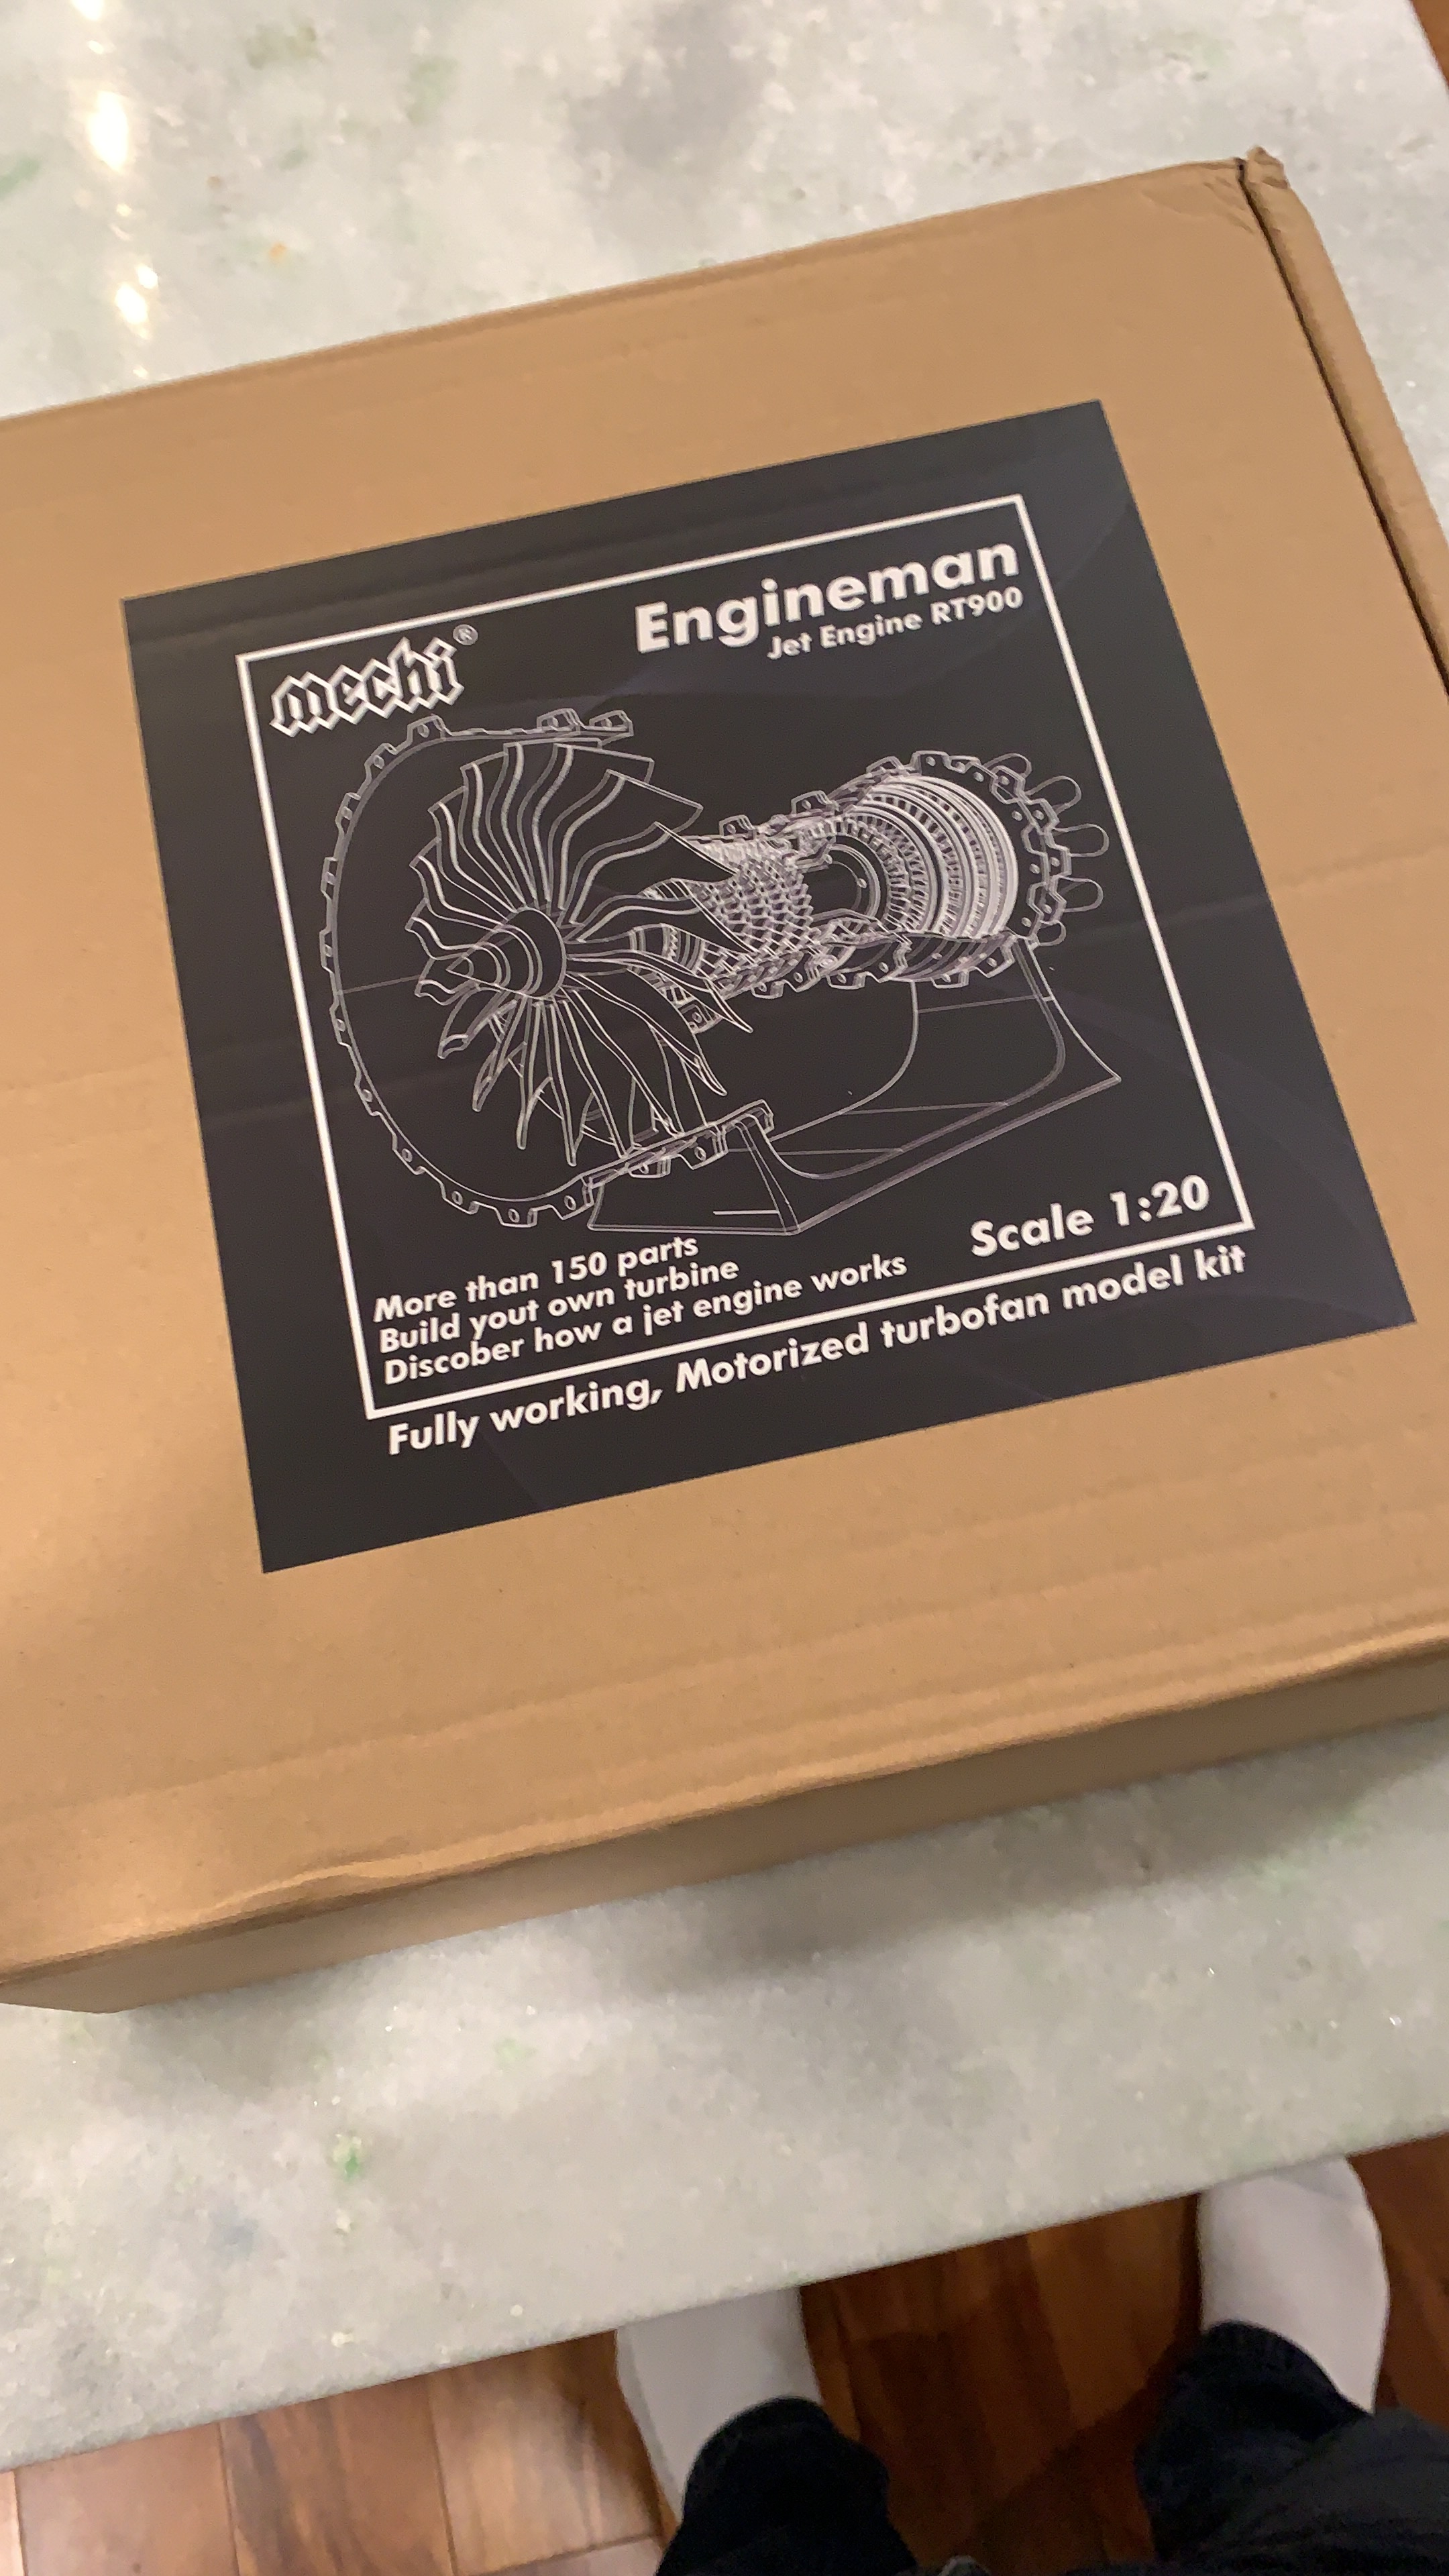
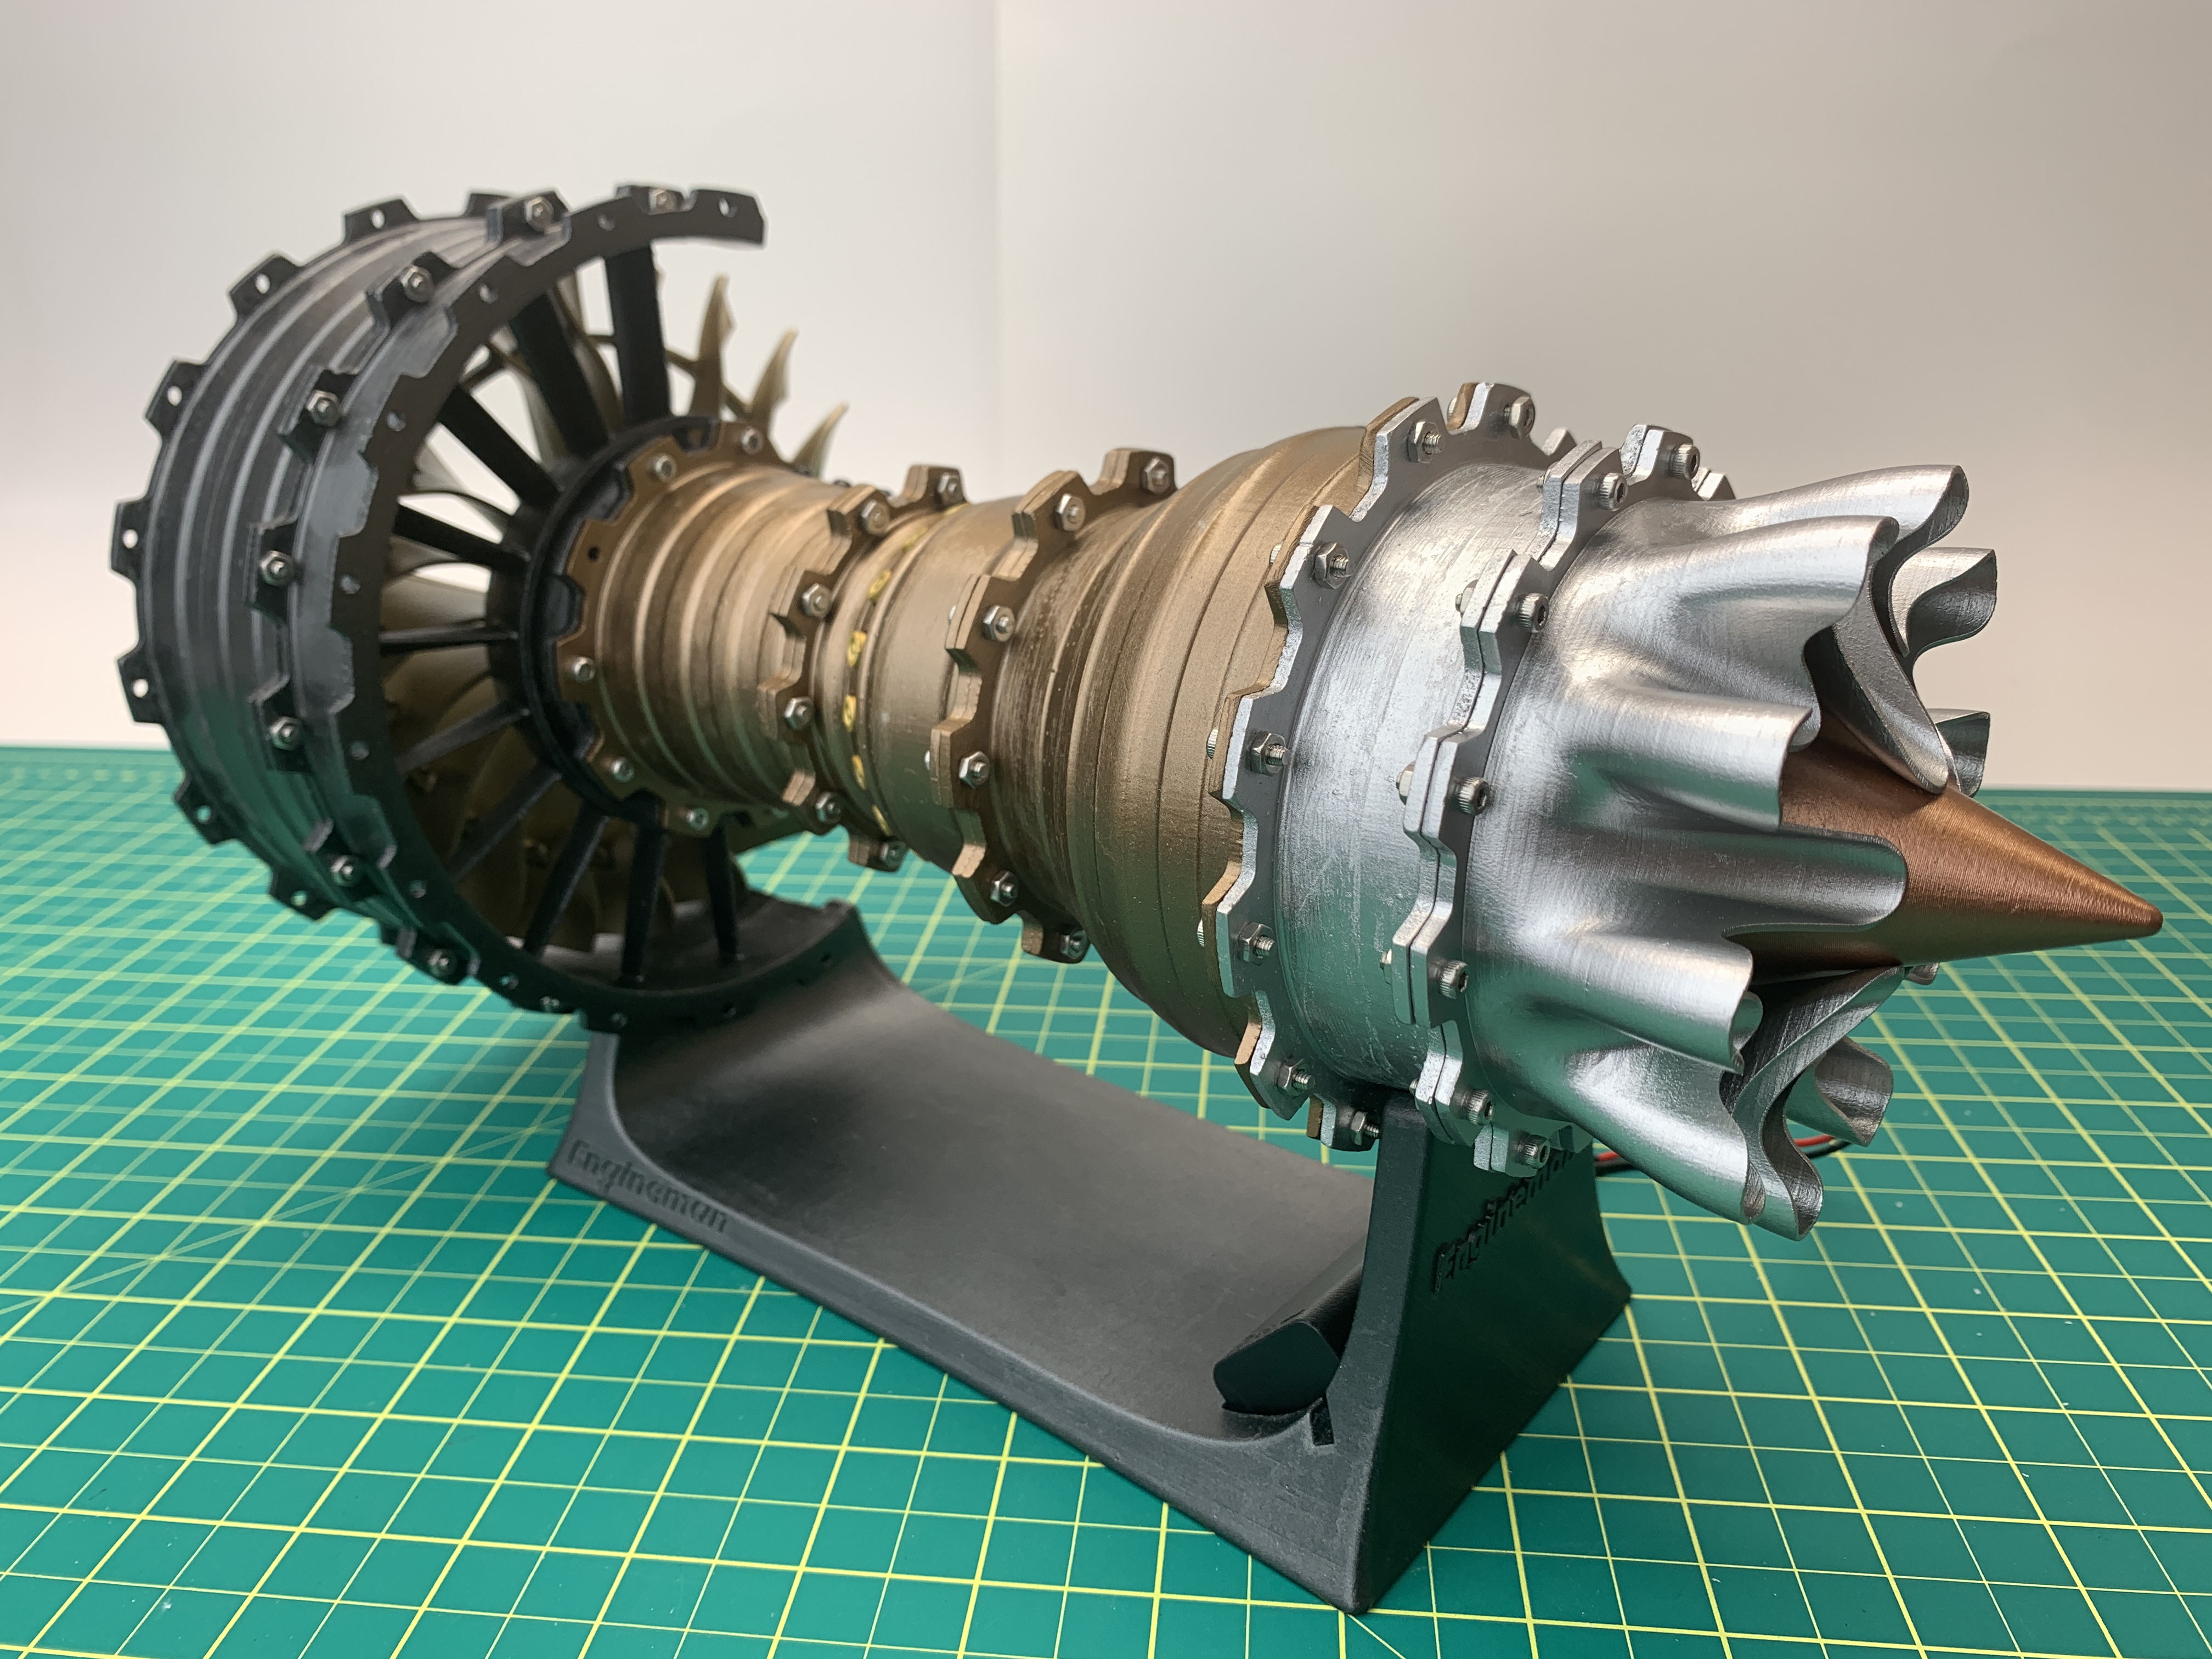
A few months ago, a representative from Stirlingkit reached out to me. She explained that she really enjoyed my build videos and asked whether I’d like to build and review one of their jet engine kits. Now, I’ll be the first to admit that I had never heard of these kits before being contacted, but the more I looked at pictures of the model, the more I wanted to do this project. What I like most about this 1/20th model is that it is a ‘cutaway’ designed to show what is going on inside a jet engine. It reminds me a lot of those cut-open engines in air museums.
Stirlingkit shipped me this kit direct and wow, this packaging is the truth. Every part is individually honeycombed in packing foam and all of this is housed within a thick cardboard box. Nothing was broken in my example. In fact, don’t think it would be possible to break a part:
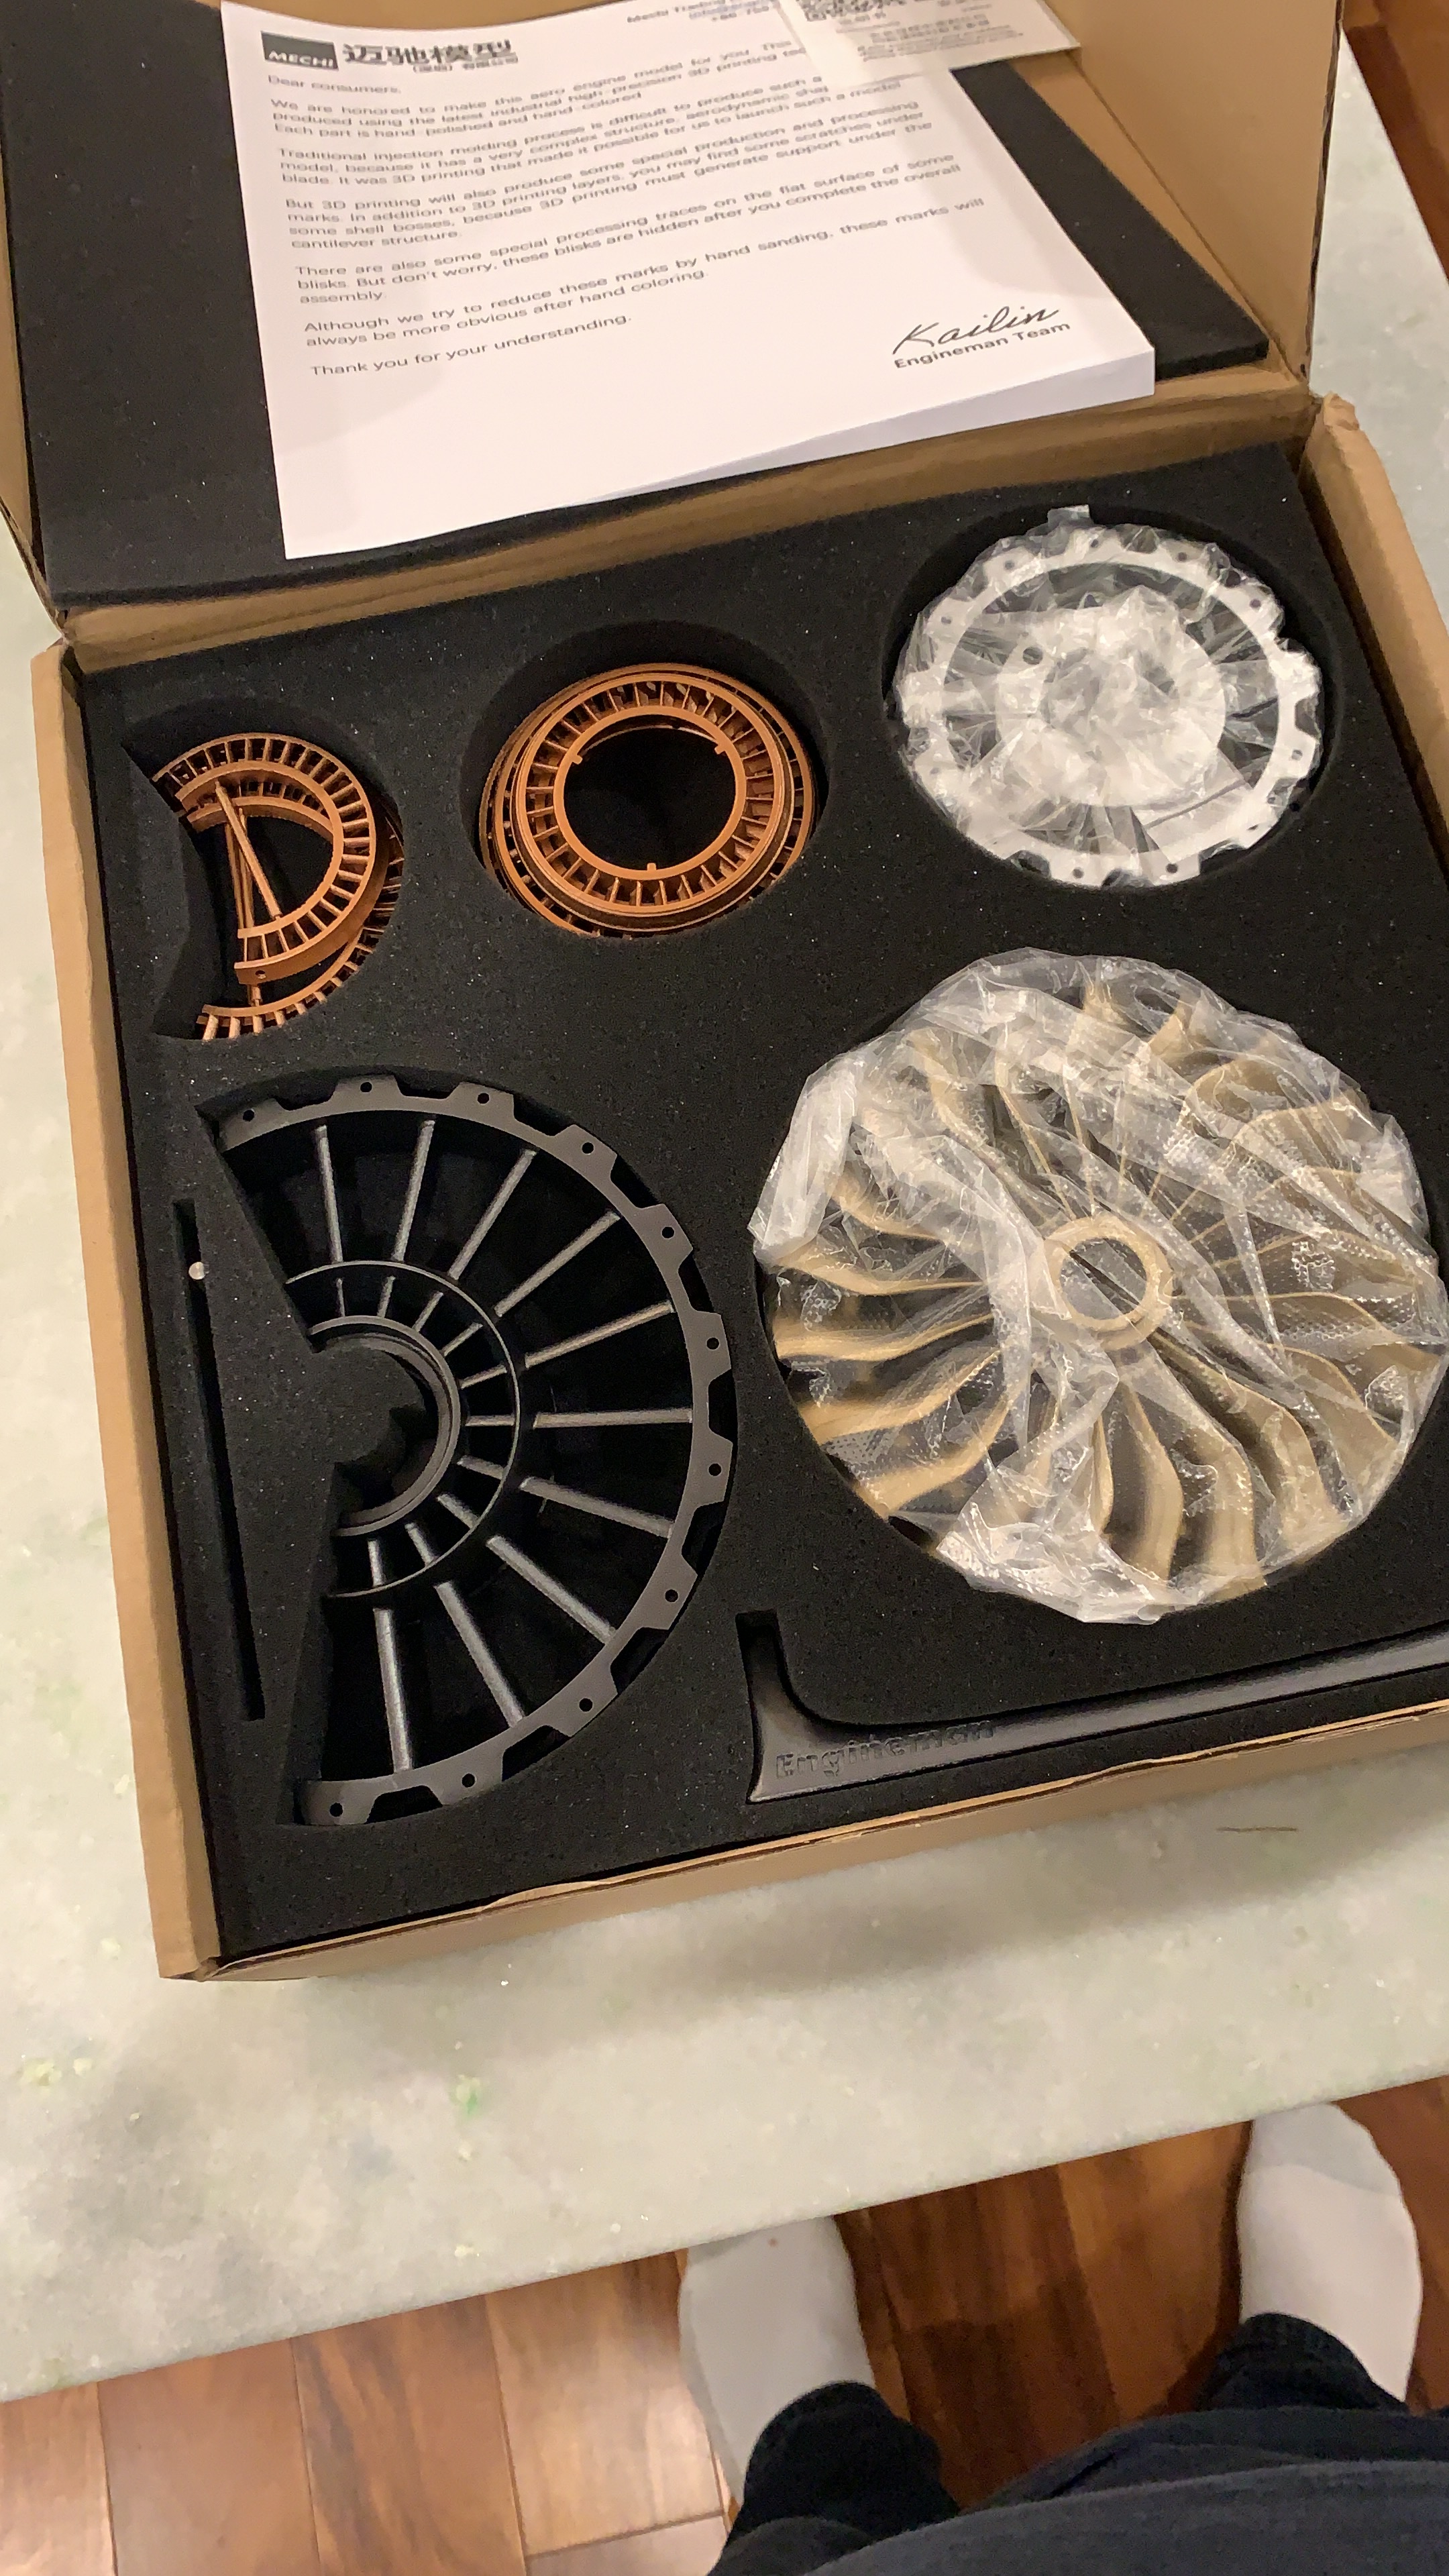
And everything is in there, engine parts, fan blades, a little electric motor…. and a lot, and I mean a LOT of nuts and bolts. The main parts are 3D printed plastic and if you are not familiar with this material – it is a lot like plastic but it seemed to be “tougher” to snip through and file down. The plastic also seemed to be a lot more rigid than the styrene found in most model kits I’ve built. That said, the parts were also hefty and nothing seemed fragile.
The only ‘nit’ I could give is that there were no printed instructions. Instead, there are two barcodes to scan which will take you to digital instructions and a build video. See, I am old school and I like paging through paper instructions despite the fact I immediately recycle them when the build is complete. So, yeah, it seems kinda dumb but that is the way I am used to building a model. But, it would not surprise me if mainstream manufacturers go this way over the next few years. I can even see some great advantages to going full digital: Full page colour photos, massive instruction pictures, pages of detail, links to video, and immediate ‘oopses’ corrected… Also, there is no issue with losing instructions so long as they are housed somewhere online!
Maybe this old dog needs to get with the times and learn some new tricks.
Once I got the parts sorted out, the build went rather quickly. Everything except for the fasteners and the little electric motor is 3D printed and painted with different shades of metallic paint. Therefore, most of the parts require no cleanup but I highly recommend smoothing out those that do require a snip here and there. You don’t want anything to ‘catch’ on this working model so a little extra care with the nippers and then a knife will go a long way.
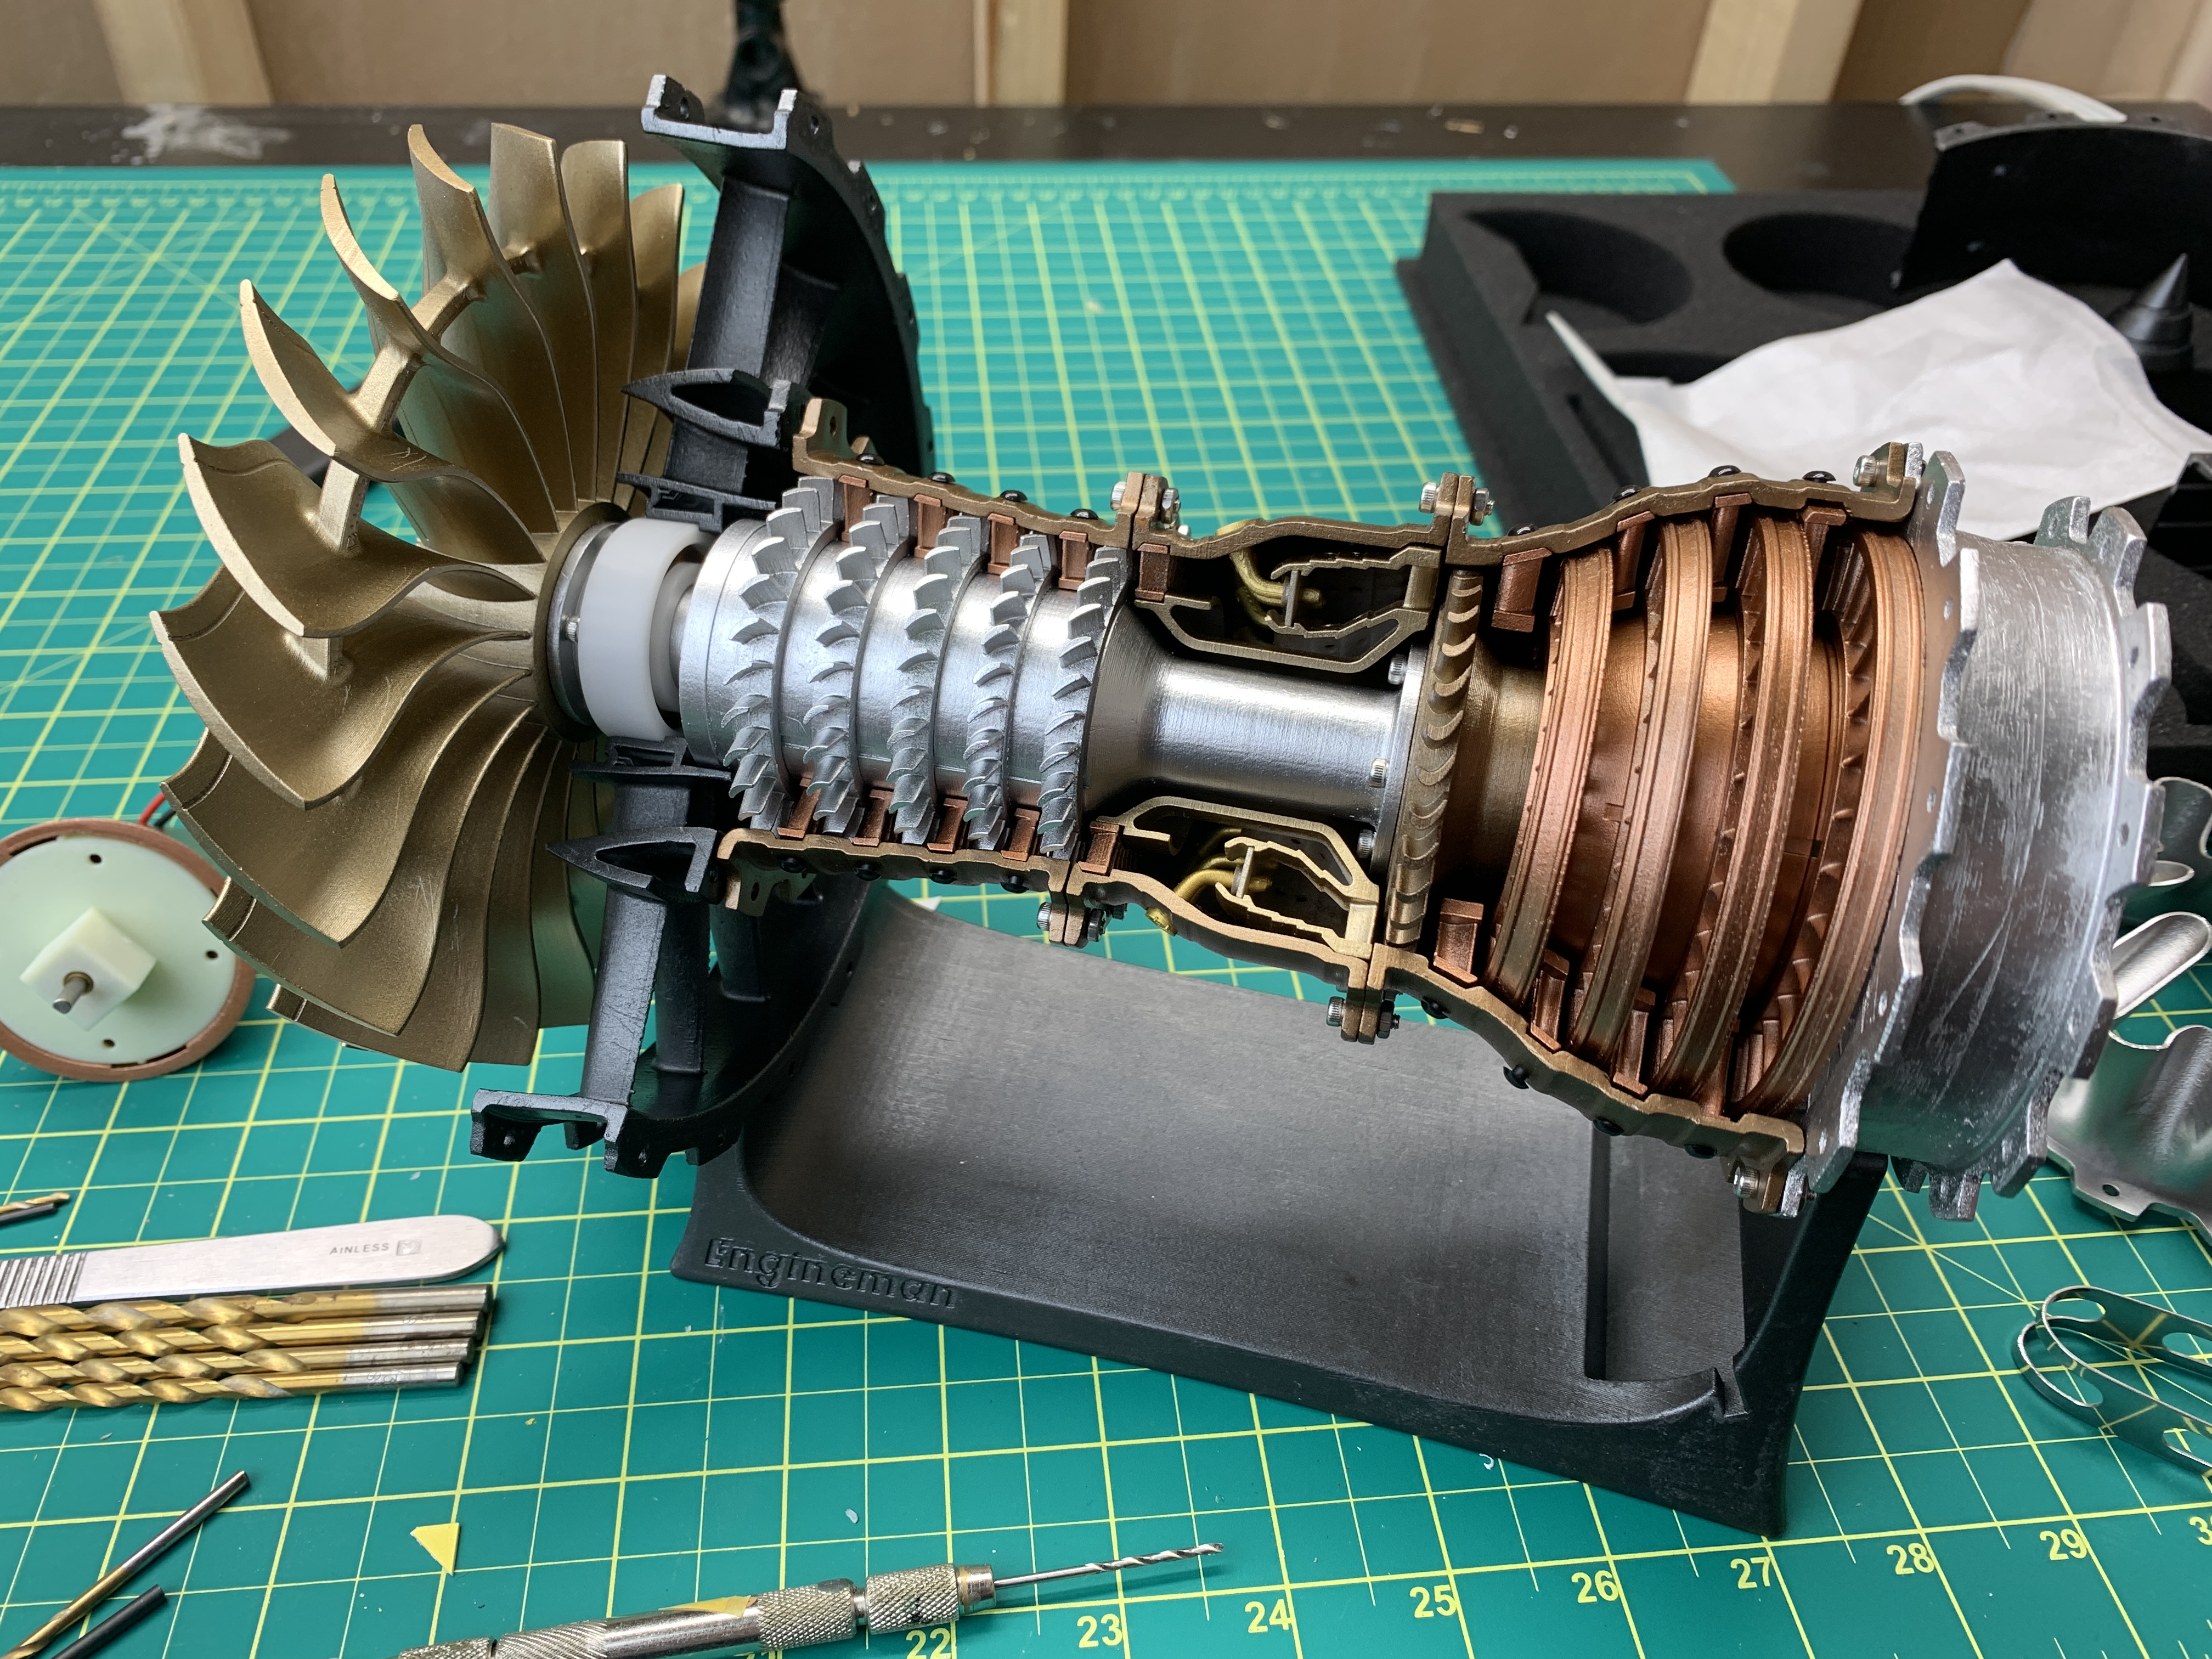


Truth be told, I could have built the entire thing in an evening without much trouble except when I got to the second last step. There is some clever engineering on the kit to make one part of it spin the opposite way to the fan. This involves a 3D-printed gear on a hidden spindle. Unfortunately for me, the opening of the spindle was too narrow to allow it to spin freely. And of course, no, I did not have the right sized bit to reshape the hole. Isn’t that always the case? Anyhow, I have a few hardware stores near me so getting the right bit wasn’t an issue. But I will say this: drilling into the 3d plastic was not easy either. This stuff is tough.
Of course, I crossed my fingers before I switched the engine on. My record with electronics and scale models is wobbly at best. LEDs rarely light the first time and little motors sometimes sputter. But this one worked, no problem at all!
What a relief that was.
I posted a build video for this model and you can watch it here:
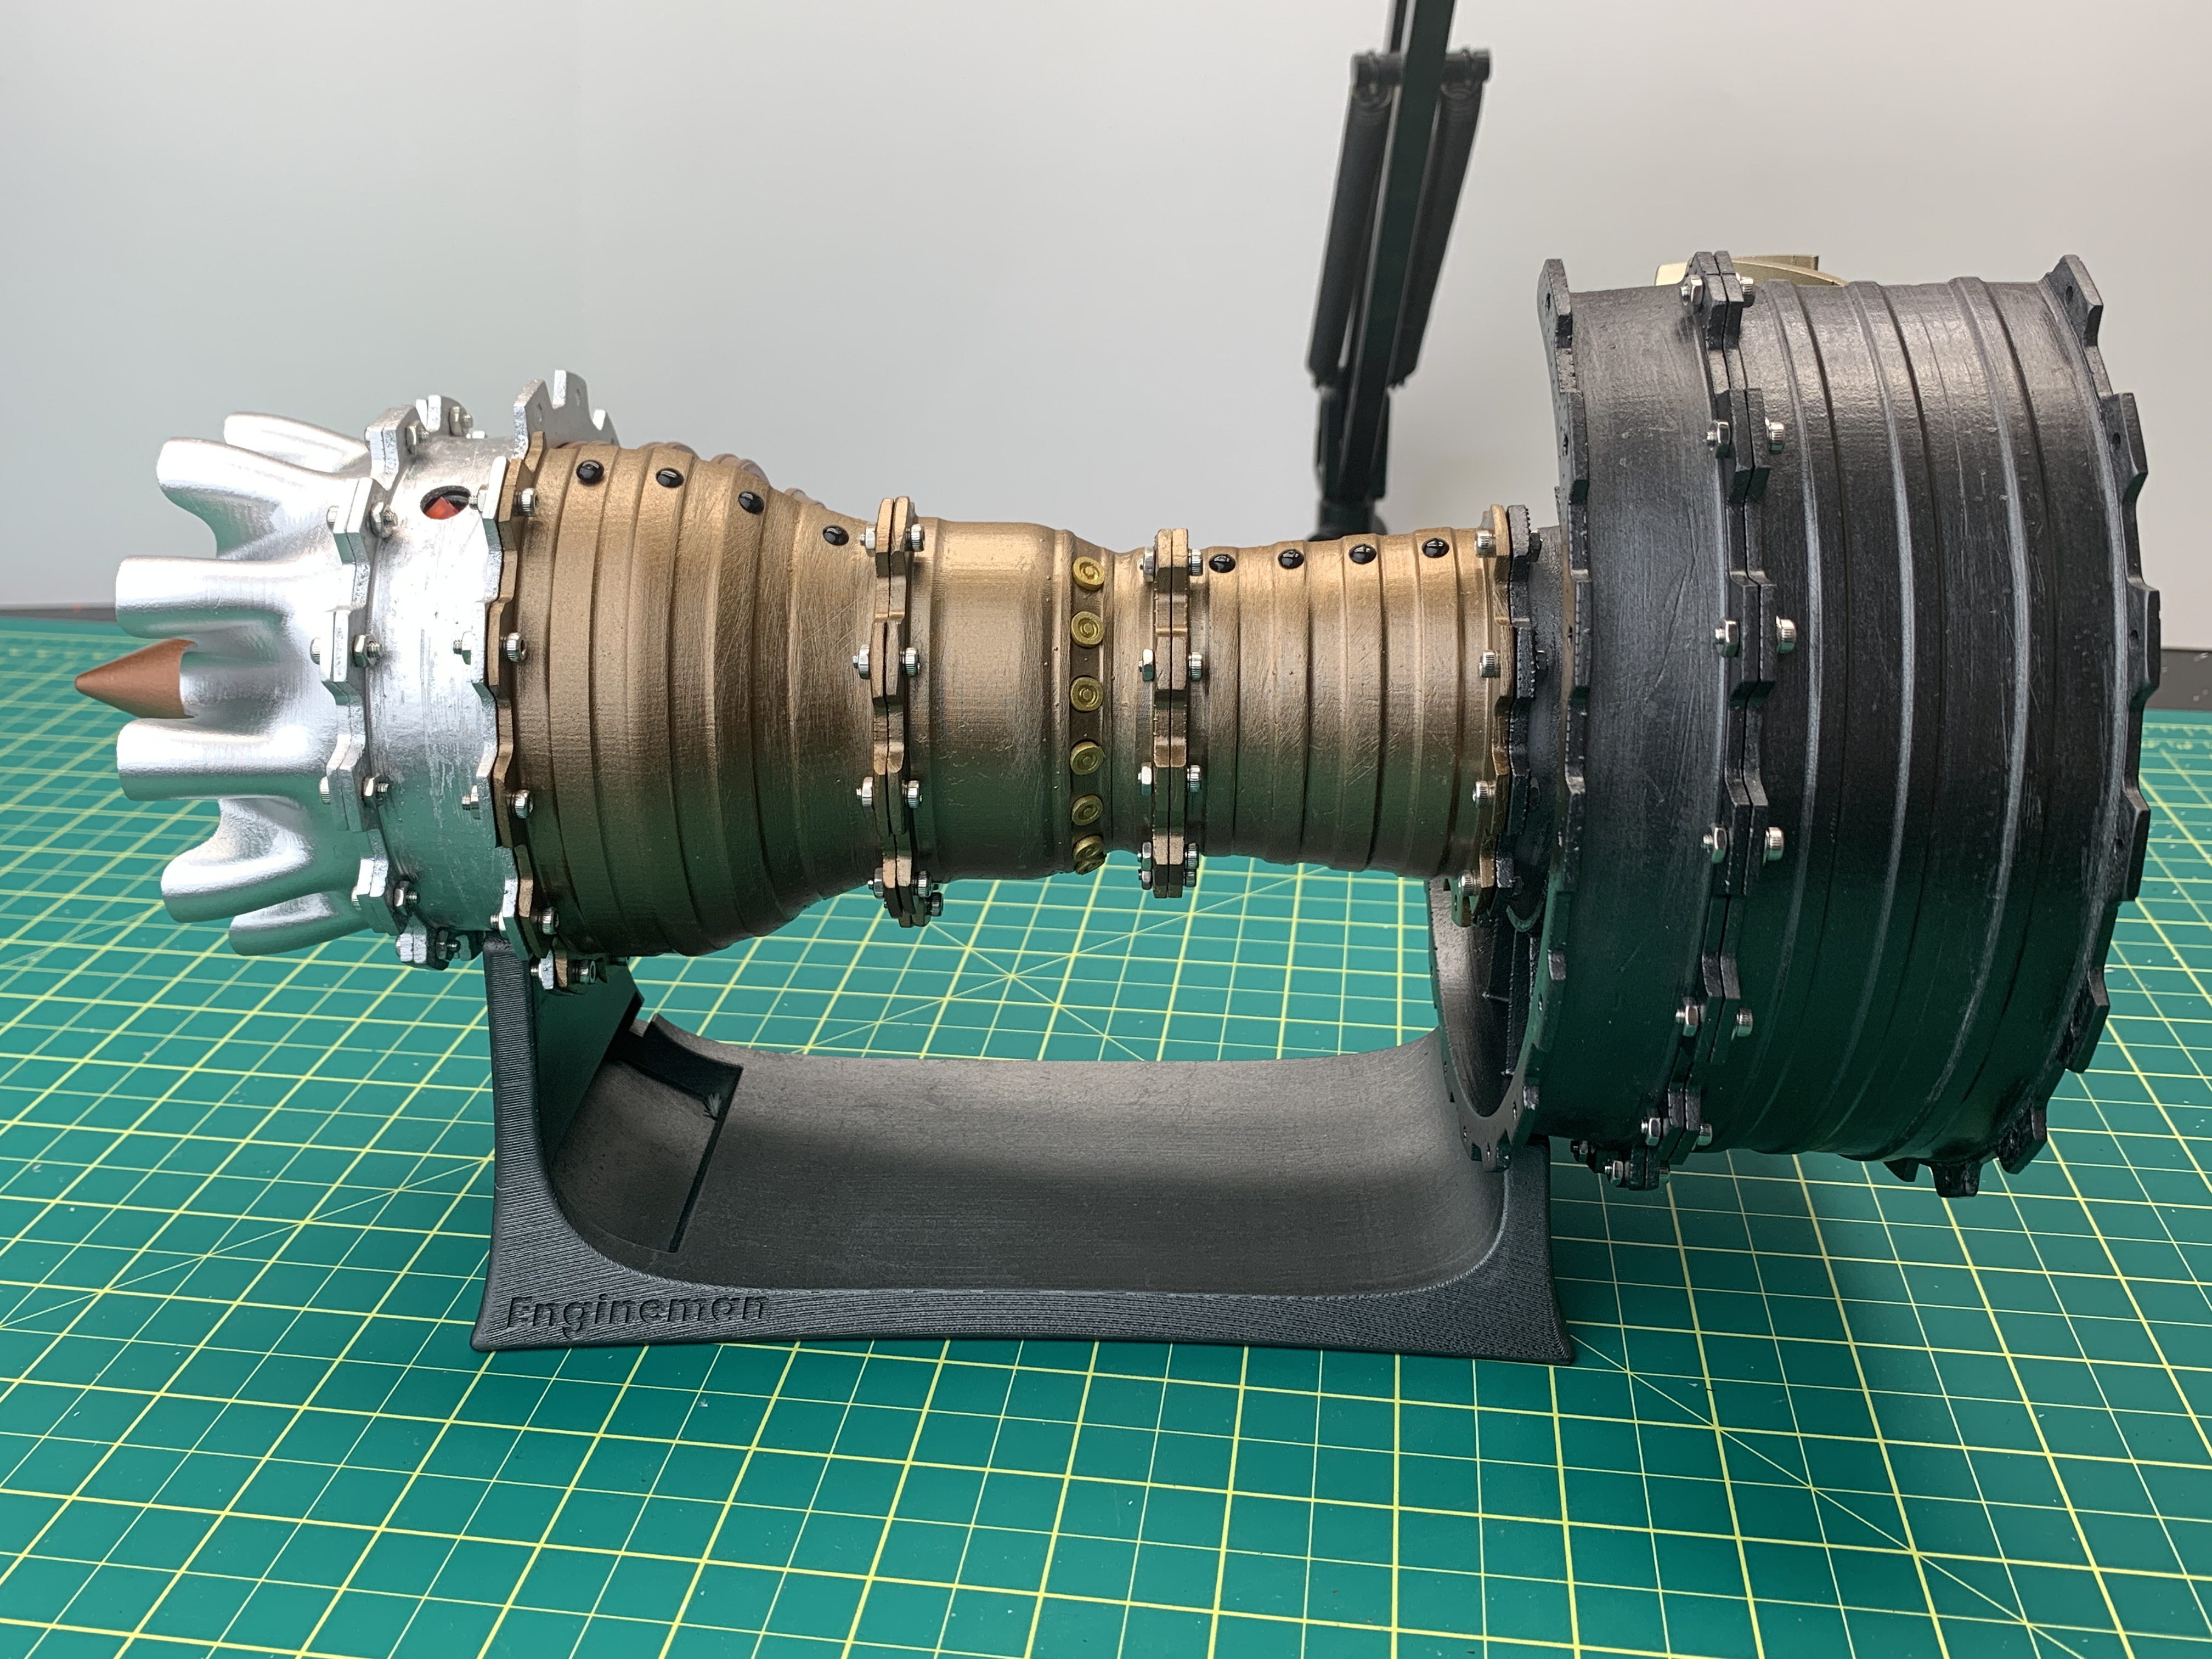
Final Thoughts
I’d like to give a special thanks to Stirlingkit for reaching out and sponsoring my video. I had a great time building the kit. I think that it makes for a very attractive model of a jet engine. And the size is just right for a desk or a bookshelf. I love how it looks when it is spinning. The Little Intern also likes it and has shown it off to her friends.
They do have a couple prop engine kits that look interesting. I’d love to build some sort of WW2 radial engine. I’ll keep my eye out for a cutaway working model of an R-2800 engine or something similar.
